
Dreamwerks BLOG / ARTICLES
Recessed vs. Surface Mount Medicine Cabinets: Which is Best?
If you've been staring at your bathroom wall trying to figure out what kind of medicine cabinet to get, you're not alone. This is one of those decisions that feels simple on the surface (no pun intended) but actually has a lot of layers to it. Should you go with a surface mount medicine cabinet or a recessed one? What's the real difference? Which one works best for your bathroom? Let's break it all down in plain English - no jargon, no fluff - just the honest stuff you need to make a smart choice. What Even Is a Surface Mount Medicine Cabinet? A surface mount medicine cabinet is exactly what it sounds like. It mounts directly onto the wall without cutting into the drywall or studs. You hang it, you bolt it, and it sticks out from the wall by a few inches. Simple, clean, done. These cabinets come in tons of styles - with mirrors, without mirrors, with lights, without lights. They work for pretty much any bathroom, whether you're dealing with a tight corner in a small bathroom or a wide open wall in a master bath. The biggest thing to know: installation is way easier with a surface mount than with a recessed cabinet. You don't need to worry about what's inside the wall; no cutting is required, and most people can hang one themselves in under an hour. And What About a Recessed Medicine Cabinet? A recessed medicine cabinet sits inside the wall. You cut a hole in the drywall, slide the cabinet in, and it sits flush with the surface. The result looks really sleek and built-in - like it was always meant to be there. If you're going for a clean, minimalist look in your bathroom, a recessed cabinet is tough to beat. The downside? Installation is more involved. You've got to check for insulation, electrical wiring, plumbing, and studs before you start cutting. In some bathrooms - especially ones with insulated exterior walls or walls packed with pipes - a recessed cabinet just isn't an option. Most homeowners who go the recessed route hire a contractor, especially if it's their first time doing it. Recessed vs Surface Mount Medicine Cabinet: The Real Comparison When you're weighing a recessed vs surface mount medicine cabinet, there are a few things you really need to think about: 1. Your Wall Type This is the first question to ask. Do you know what's inside your bathroom wall? If you've got a thin interior wall with empty space between studs, a recessed cabinet might work great. But if you've got an exterior wall, tile, or concrete behind the drywall, a surface mount is your friend. 2. Installation Difficulty Surface mount wins this round, hands down. You don't need any special tools or wall knowledge. Most come with basic hardware and can be hung in the same afternoon you bring them home. A recessed installation takes planning. You'll need to measure twice (or ten times), check for hidden hazards in the wall, and possibly patch drywall if things go sideways. 3. How Much Space You're Working With This one matters a lot, especially if you've got a smaller bathroom. A surface-mount cabinet sticks out from the wall, which means it takes up some of your floor-adjacent space. In a tight bathroom, this can feel like the cabinet is crowding you. A recessed cabinet doesn't eat into the room at all. It sits flush, so it's perfect for small bathroom vanity areas where every inch counts. 4. Storage Depth Here's something most people don't think about until it's too late: recessed cabinets are typically shallower because they're limited by the wall depth (usually 3.5 to 4 inches). Surface-mount cabinets can be made deeper, which means more room for bulkier items like hairspray, bottles, and first aid supplies. If you need serious storage, a surface mount might actually give you more room to work with. Bathroom Storage Solutions: Thinking Beyond the Cabinet Whether you go recessed or surface mount, your medicine cabinet is just one piece of the puzzle when it comes to bathroom storage solutions. Most bathrooms need more than one spot to stash stuff. Here are some things worth thinking about alongside your cabinet choice: Floating shelves - Great for towels, candles, or decorative items. They don't take up floor space and look really modern. Under-sink organizers - If you've got a vanity with cabinet doors underneath, that space is gold. Stackable bins and pull-out drawers make it way more useful. Drawer dividers - The small stuff (cotton swabs, hair ties, nail clippers) tends to take over. Dividers keep things from becoming a tangled mess. Over-toilet shelving - One of the most underused spots in any bathroom. A simple shelf unit above the toilet can hold extra toilet paper, towels, and more without taking up floor space. These bathroom storage ideas work alongside your medicine cabinet to create a system that actually keeps your bathroom feeling organized, not cluttered. Shower Storage Ideas That Work With Your Bathroom Setup While we're talking storage, let's not forget the shower. A lot of people focus on medicine cabinets and ignore what's happening inside the actual shower - and then end up with a lineup of bottles on the floor or a crammed corner caddy that falls down every other day. Here are some shower storage ideas worth considering: Built-in shower niches - These are recessed shelves inside the shower wall. Same concept as a recessed medicine cabinet - they sit flush and look clean. Great for shampoo, conditioner, and body wash. Corner shelves - Easy to install, affordable, and they make use of space that's usually wasted. Tension pole caddies - No drilling, no installation. These stand between the floor and the ceiling of your shower. Good for renters or anyone who doesn't want to touch the tile. Magnetic strips - Sounds weird for a shower, but waterproof magnetic strips can hold metal razor handles and other tools right on the wall. Getting your shower storage sorted out means your medicine cabinet doesn't have to do all the heavy lifting. When everything has a place, the whole bathroom just feels better. Medicine Cabinet With Mirror: Do You Need One? Almost every medicine cabinet these days comes with a mirror on the front. And honestly, that's one of the biggest selling points. You get storage and a mirror in one, which saves wall space you'd otherwise use for a separate mirror. A medicine cabinet with mirror is especially practical if your bathroom has limited wall space or only one light source. You can position the cabinet right where you need it - above the sink, at eye level - and the mirror works perfectly for morning routines. Some models even come with built-in lighting around the mirror, which is a nice bonus if your bathroom lighting isn't great. These lit mirrors are huge right now in bathroom design, and they make a real difference when you're trying to do makeup or shave. Recessed Medicine Cabinet With Mirror: Best of Both Worlds? If you want the clean, built-in look AND a functional mirror, a recessed medicine cabinet with a mirror is a solid pick. You get the flush wall profile, the hidden storage, and the mirror - all in one unit. These are especially popular in modern and contemporary bathrooms where the design goal is to keep things minimal and streamlined. No extra frames, no bulky protrusions, just a smooth mirror that opens up to reveal everything you need. The tradeoff, again, is installation. You've got to be prepared to cut into the wall and deal with whatever's back there. But if you're already doing a bathroom renovation, this is a great time to get it done right. How This Fits Into Your Overall Vanity Setup Your medicine cabinet doesn't exist in a vacuum. It's part of your whole vanity setup, and the right choice depends on what else you've got going on in the bathroom. If you're working with a floating vanity - one of those wall-mounted designs with no legs - you already know the look you're going for: clean, modern, airy. A recessed medicine cabinet or a surface mount with a slim profile will complement that aesthetic much better than a big chunky cabinet. Floating vanity tops are also trending right now, and they pair really well with recessed cabinets because both give you that built-in, custom feel. The whole bathroom ends up looking cohesive, like it was designed on purpose rather than thrown together piece by piece. If you're going more traditional with your vanity, a surface-mount medicine cabinet with a framed mirror can look really sharp and intentional. Small Bathroom? Here's What to Focus On For anyone working with a small bathroom, storage decisions feel even more high-stakes. You've got less room to experiment, so you want to get it right the first time. Here's the honest truth about small bathroom vanities and medicine cabinets in tight spaces: If your wall allows it, a recessed cabinet is better because it doesn't eat into your space. If recessed isn't possible, choose a surface mount that's as shallow as possible. Go tall rather than wide if you can - a taller cabinet gives you more storage without taking up more wall width. A mirrored cabinet does double duty and eliminates the need for a separate mirror. And don't forget vertical space. Most people in small bathrooms focus so much on the vanity and medicine cabinet that they ignore everything above eye level. Tall storage towers, stacked shelves, and hooks on the back of the door can dramatically increase your usable storage without touching a single wall stud. What to Look for When Shopping Whether you end up going surface mount or recessed, here's a quick checklist of things to look at when you're shopping: Size - Measure your wall space before you go anywhere near a store or website. Know your width, height, and depth limits. Number of shelves - More shelves with adjustable heights give you flexibility as your storage needs change. Mirror quality - If it comes with a mirror, check the thickness and whether it's anti-fog. A cheap mirror in a humid bathroom fogs constantly. Soft-close hinges - Small thing, big quality-of-life upgrade. No slamming doors at 6 am. Finish - Brushed nickel, matte black, chrome - pick something that matches your faucets and other fixtures so the bathroom looks pulled together. Lighting - If you want built-in lights, make sure you've got an outlet nearby or plan for electrical work. Final Verdict: Which One Should You Get? Here's the short version: Get a recessed medicine cabinet if: Your wall allows it (interior wall, no insulation or pipes) You want a clean, flush look You're doing a full bathroom renovation anyway Space is tight, and you don't want anything sticking out Get a surface-mount medicine cabinet if: You want an easy, DIY-friendly installation Your wall isn't suitable for cutting (tile, exterior wall, concrete) You need deeper storage You're renting or don't want permanent wall changes At the end of the day, both types work well. The best one for you is the one that actually fits your bathroom, your budget, and your lifestyle. Don't overthink it - pick the one that solves your specific problem, and then use the tips in this post to fill in the rest of your storage needs around it. A well-organized bathroom doesn't have to be complicated. It just has to work for you.
Read moreDreamwerks BLOG / ARTICLES

Do You Need an Electrician for a Lighted Medicine Cabinet
So you just picked out a beautiful lighted medicine cabinet for your bathroom and now you're staring at it, wondering - do I need to call an electrician for this, or can I handle it myself? Totally fair question. And honestly, the answer depends on a few things. Let's break it all down so you can make a smart decision before you pick up a screwdriver - or a phone. What Is a Lighted Medicine Cabinet, Anyway? A lighted medicine cabinet is basically a two-in-one - you get storage space behind a mirror, plus built-in lighting around or inside the cabinet. Most of them run on electricity, which is why people start wondering whether they need professional help. Some models plug directly into an outlet. Others are hardwired, meaning they connect straight into your home's electrical system with no plug involved. That difference right there is what determines how complicated the installation gets. When You Probably Don't Need an Electrician If your new bathroom mirror cabinet with lights is a plug-in model, and there's already an outlet nearby in your bathroom, you're likely in good shape to DIY this. Here's why: The medicine cabinet installation itself - mounting the cabinet to the wall - is pretty straightforward for most homeowners. You'd be dealing with basic carpentry stuff: finding studs, drilling, and securing the cabinet in place. No electrical work needed beyond plugging it in. The same goes for surface-mounted cabinets. They sit on the wall instead of inside it, so you skip all the wall-cutting headaches. As long as you're mounting it at the right height and there's a nearby outlet, you can likely do it yourself on a weekend afternoon. When You Should Definitely Call an Electrician Here's where things get real. If your cabinet is hardwired - and a lot of the nicer models are - you're going to need someone licensed to handle the wiring. In most states, connecting directly to your home's electrical system without a permit or proper license is illegal. It can also void your homeowner's insurance if something goes wrong. Beyond legality, bathrooms are wet environments. The combination of water and electricity is no joke. A licensed electrician knows how to handle GFCI outlets, proper circuit protection, and moisture-rated wiring - things that directly protect your family. So if your mirrored cabinet with lights needs to be hardwired, don't risk it. Hire a pro. What About Recessed vs. Surface Mount? This matters a lot during bathroom cabinet installation. Here's the quick breakdown: Surface Mount Cabinets - These attach directly to the wall. Easier to install, less disruption, and great for bathrooms where you can't or don't want to cut into the wall. Still need to secure into the studs properly. Recessed Cabinets - These go inside the wall, giving you a flush, built-in look. Way more work. You'll need to cut an opening, check for studs and plumbing, and potentially deal with wiring inside the wall. If you go recessed AND hardwired, you really should have a professional involved. Getting the Medicine Cabinet Mounting Height Right A super common mistake people make is hanging the cabinet too high or too low. The standard rule of thumb for medicine cabinet mounting height is to center the mirror portion at eye level - for most adults, that's around 60 to 65 inches from the floor to the center of the cabinet. If multiple people of different heights use the same bathroom, aim for somewhere in the middle. Also, account for the countertop height - you don't want to be craning your neck every morning just to see your reflection. For kids' bathrooms, you can go a bit lower, obviously. Just think about who's actually using the space every day. Understanding Standard Medicine Cabinet Sizes Before you even start the installation, make sure your cabinet fits your wall space. Standard medicine cabinet sizes typically range from about 14 inches wide up to 30 inches or more. The most common sizes you'll see are: • 14" x 18" - Good for small powder rooms • 16" x 26" - Very popular, fits most single-sink vanities • 24" x 30" - Works well for larger vanities • 30" x 30" - Great for double vanities or wide bathroom walls Measure your wall space carefully, especially if you're going recessed. You need to make sure there's no plumbing or electrical running through the area where you plan to cut. Steps for a Basic Bathroom Medicine Cabinet Installation If you've confirmed you have a plug-in model and you're comfortable with basic home improvement tasks, here's a general idea of what bathroom medicine cabinet installation looks like: Step 1: Pick your location. Think about the mounting height, proximity to the sink, and whether you're going with a surface or recessed. Step 2: Find your studs. Use a stud finder. This is non-negotiable if you want the cabinet to actually stay on the wall. Step 3: Mark your mounting points. Use a level. A crooked cabinet is going to bug you every single day. Step 4: Drill and mount. Follow the manufacturer's instructions. Most cabinets come with a template or mounting hardware. Step 5: Connect the light. Plug it in, or if hardwired - call your electrician at this point if you haven't already. Step 6: Check it. Open and close the door, check the mirror, test the lights. How Much Does It Cost to Hire an Electrician? If you do need electrical work done, here's a rough idea of what to expect. Most electricians charge between $50 and $100 per hour. For a straightforward hardwired bathroom mirror cabinet with lights, you're probably looking at one to three hours of work, depending on your home's setup. If you need a new circuit run or a GFCI outlet added, that can add to the cost. Get a quote upfront so there are no surprises. Tips for Choosing the Right Lighted Medicine Cabinet Not all cabinets are created equal. Here's what to look for when you're shopping: Lighting type matters. LED lighting is the way to go. It lasts longer, uses less energy, and gives off a clean, bright light that's great for getting ready in the morning. Check the IP rating. This tells you how moisture-resistant the cabinet is. For bathrooms, look for at least IP44 or higher. Think about storage. A mirrored cabinet with lights that looks amazing but has zero shelf space inside isn't going to help you much. Look for adjustable shelves. Consider the door style. Single door, double door, mirrored on both sides - all options exist. Pick what makes sense for your space and how you use it. Common Mistakes to Avoid Here are a few things people get wrong when doing medicine cabinet installation on their own: Skipping the level. Eyeballing it never works. Always use a level. Not checking for pipes or wiring inside the wall. Especially important for recessed installs. Use a stud finder that also detects wiring and pipes, or get a professional opinion first. Ignoring the weight limit. A cabinet full of toiletries can get heavy. Make sure you're mounting into studs, not just drywall. Forgetting about the outlet location. If your plug-in model's cord is short, you might end up with the cord hanging visibly down the wall. Plan ahead. Final Verdict: Do You Need an Electrician? Here's the simple version: If your lighted medicine cabinet is a plug-in model and you're comfortable with basic DIY - go for it. Take your time, use a level, find your studs, and follow the instructions. If it's hardwired - hire a licensed electrician. It's worth every penny for the safety and peace of mind. And if you're doing a recessed installation in an older home where you're not sure what's inside the walls - even for a plug-in model, it doesn't hurt to get a professional to at least check things out before you start cutting. A well-installed bathroom mirror cabinet with lights can completely transform the feel of your bathroom. It's one of those upgrades that looks expensive but doesn't have to be - as long as you do it right the first time.

Useful Products & Tools for Installing Dreamwerks Shower Kits
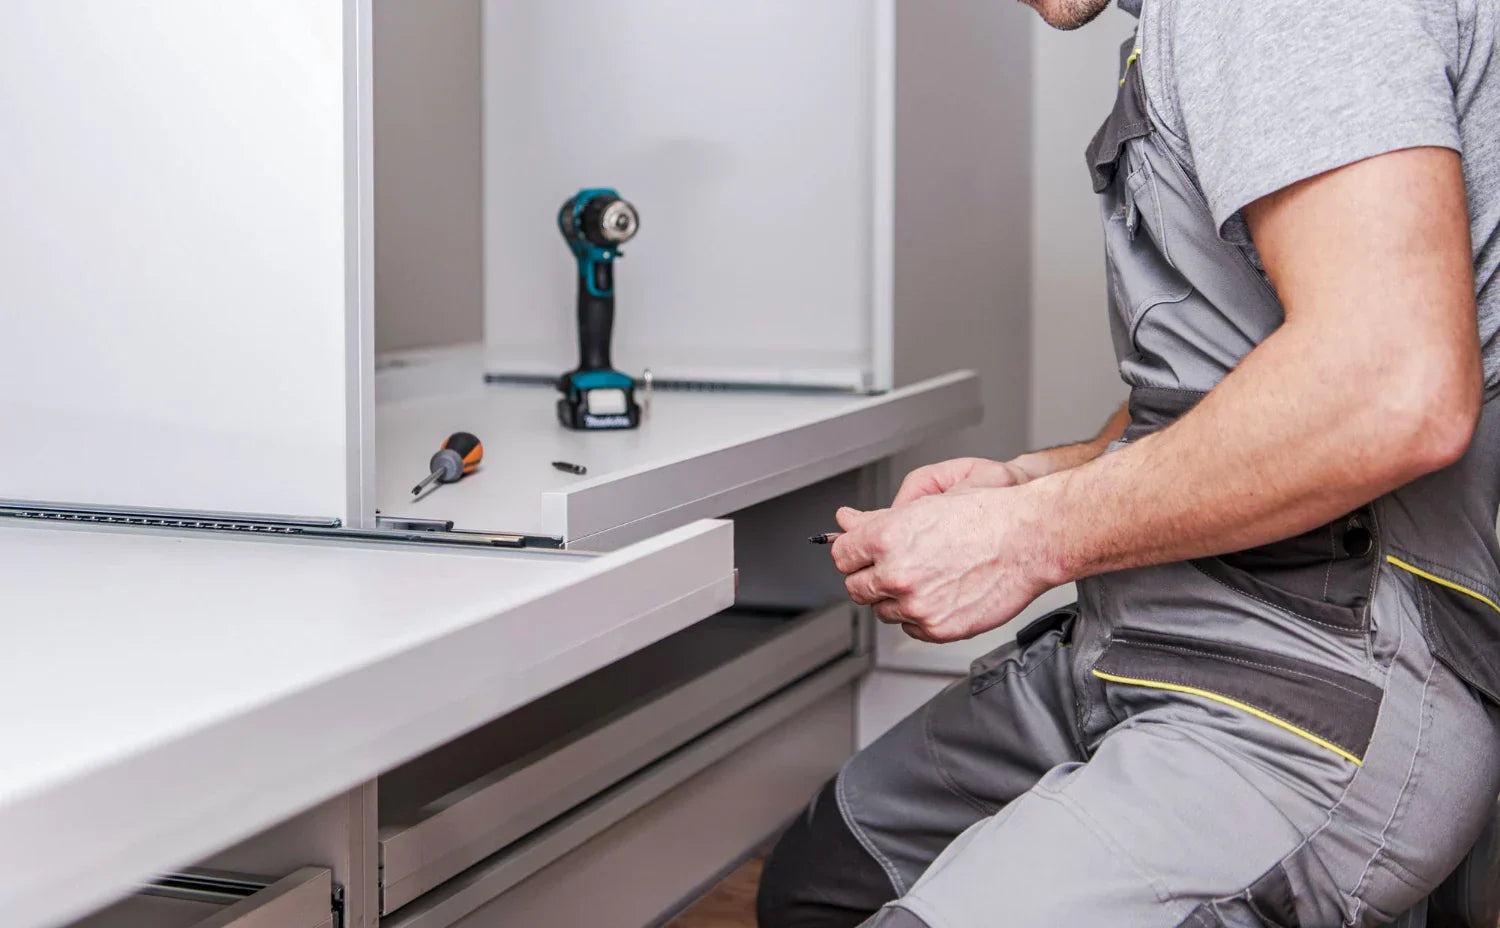
Ready to install a shower kit from Dreamwerks? You're already ahead of the game - Dreamwerks shower kits are designed to make the installation process as straightforward as possible, with model-specific installation manuals, downloadable guides, and installation videos for every unit they make. But even the best-designed shower kits require the right tools and products to install correctly. Whether you're working with complete shower kits, corner shower kits, or shower enclosure kits, having the proper equipment on hand before you start saves time, prevents damage, and gives you a result that looks and performs like a professional installation. This guide breaks down everything - tools, materials, and products - that you'll want on hand for a complete Dreamwerks shower kit installation from start to finish. What Tools Do You Need to Install a Shower Kit? To install a shower kit properly, you need a combination of measuring and leveling tools, drilling and fastening equipment, silicone sealant and adhesive, shimming materials for the base, and safety gear for handling glass panels. The exact list varies slightly by model, so always cross-reference with your Dreamwerks installation manual before starting. 1. Measuring and Leveling Tools Before a single panel goes up or a base gets set, accurate measurement and leveling are everything. This is the stage that determines whether your shower kit installation looks clean and professional - or ends up with gaps, unlevel surfaces, and doors that don't close properly. What you'll need: • Spirit level or digital level (48 inch minimum) - for checking walls and base alignment before and after installation • Tape measure - for confirming rough opening dimensions against your kit's specifications • Plumb bob or laser level - especially useful for corner shower kits where two walls must be perfectly square to each other • Carpenter's square - confirms wall corners are at 90 degrees before you begin attaching wall panels or door frames • Pencil and marking tape - for clearly marking substrate cut lines, screw positions, and drain center points Pro note: Dreamwerks installation manuals for shower enclosure kits call out specific maximum wall thickness tolerances at door mounting points. Measure your finished wall thickness before buying any supplementary materials - you may need to adjust your substrate thickness to stay within spec. 2. Drilling and Fastening Equipment Every shower kit installation involves driving fasteners into walls - whether you're anchoring wall panel support channels, securing door tracks, or fixing the base to the floor. The right drilling setup protects your tile and substrate from cracking and ensures anchors hold long-term. What you'll need: • Hammer drill or rotary drill - needed for drilling into tile, cement board, or masonry • Diamond-tipped tile drill bits - standard drill bits will crack ceramic or porcelain tile; always use tile-specific bits • Screwdriver set (Phillips and flathead) - for assembly of door hardware, channel profiles, and trim pieces • Power drill with driver bits - speeds up fastening of wall channels and base screws considerably • Masonry anchors and wall plugs - for anchoring into tile or cement board where studs are not accessible • Stud finder - critical for locating studs behind your substrate to anchor the heavy door tracks and wall jambs securely Important: For complete shower kits that include both wall panels and door sections, Dreamwerks manuals specify exact screw sizes and anchor types for each component. Do not substitute with whatever you have on hand - mismatched hardware can compromise the structural hold of the door frame over time. 3. Substrate and Wall Preparation Products One of the most important steps when you install a shower kit is getting the substrate right. Dreamwerks wall panels are thin - approximately 3.0 to 3.2 mm - and require a continuous rigid backer to prevent flex and long-term failure. This applies to all their shower kits, from standard rectangular units to corner shower kits. What you'll need: • Exterior-grade plywood (1/2 inch to 3/4 inch) - the recommended continuous backer for wall panels in most Dreamwerks installation manuals • Cement board (max 3/4 inch at door mounting points) - accepted as an alternative in select models; always verify with your specific installation manual • Waterproof membrane or vapor barrier - applied over the substrate before panels in wet zone areas for added moisture protection • Circular saw or jigsaw - for cutting plywood or cement board panels to fit your shower alcove or corner configuration • Sandpaper or rasp - for smoothing cut edges on substrate panels before installation 4. Products for How to Install a Shower Base Correctly Knowing how to install a shower base properly is arguably the most critical step in the entire process. A base that isn't level, isn't sealed correctly, or isn't supported properly will cause drain alignment issues, cracking, and water leakage - problems that are expensive to fix after the fact. Dreamwerks bases are molded from acrylic, fiberglass, or thermoplastic (ABS/PVC, depending on the model). They require specific products to install properly: • Plastic shims (non-compressible) - for leveling the base on uneven subfloors; never use wooden shims in wet areas as they can rot and compress over time • Mortar bed or base support foam - some shower base installations benefit from a mortar bed or pre-formed support foam beneath the base for full contact support • PVC-compatible sealant - for sealing the drain connection and the base perimeter; use a product that stays flexible after curing • 100% silicone caulk (mold-resistant formulation) - for sealing the joint between the base and the wall panels • Drain wrench or pliers with rag padding - for tightening the drain assembly without scratching the base surface 5. Sealing and Finishing Products The difference between a shower kit that lasts 5 years and one that lasts 20 often comes down to how well it's sealed at installation. Every joint, every edge, and every penetration point needs proper treatment. • 100% silicone caulk in matching color - for sealing panel-to-panel joints and panel-to-base joints; neutral cure silicone is best for acrylic and glass surfaces • Painter's tape - for masking clean, straight caulk lines at joints and trim edges • Caulk gun - for smooth, controlled silicone application • Denatured alcohol or surface prep wipes - for cleaning all bonding surfaces before applying silicone; silicone will not adhere properly to dirty or oily surfaces • Plastic trim tools or a wet finger - for smoothing caulk beads to a clean, professional finish • Grout or color-matched caulk - for any tile work around the shower enclosure perimeter 6. Safety Gear - Non-Negotiable for Any Shower Kit Installation Whether you're installing corner shower kits, full shower enclosure kits, or complete shower kits with glass door panels, personal protective equipment is not optional. • Cut-resistant gloves - rated for glass handling when moving wall panels or glass doors • Safety glasses - during all drilling, cutting, and silicone work • Knee pads - for base installation and floor-level work • Closed-toe, slip-resistant footwear - especially important on wet bathroom floors • Dust mask - when cutting cement board, which releases silica dust Quick Reference: Tool & Product Checklist for Dreamwerks Shower Kit Installation • Spirit level (48") + tape measure + carpenter's square • Stud finder + hammer drill + diamond tile bits • Exterior-grade plywood (1/2"–3/4") or cement board for substrate • Plastic shims for shower base leveling • PVC-compatible drain sealant + 100% silicone mold-resistant caulk • Masonry anchors for tile/cement board walls • Caulk gun + painter's tape + surface prep wipes • Cut-resistant gloves + safety glasses + knee pads • Model-specific Dreamwerks installation manual - downloaded before you start Final Thoughts Knowing how to install a shower kit is only half the equation. Having the right tools and products staged and ready before you begin is what separates a smooth one-day installation from a frustrating multi-day project. Whether you're tackling complete shower kits, corner shower kits, or full shower enclosure kits, the categories above cover everything you'll need. Dreamwerks makes the installation process as straightforward as possible with detailed, model-specific guides. But the tools and materials are your responsibility to source. Get them right, follow the manual, and your Dreamwerks shower kit installation will deliver a result that looks great and performs reliably for years to come.

Tips for Installing & Moving a Frameless Sliding Shower Door
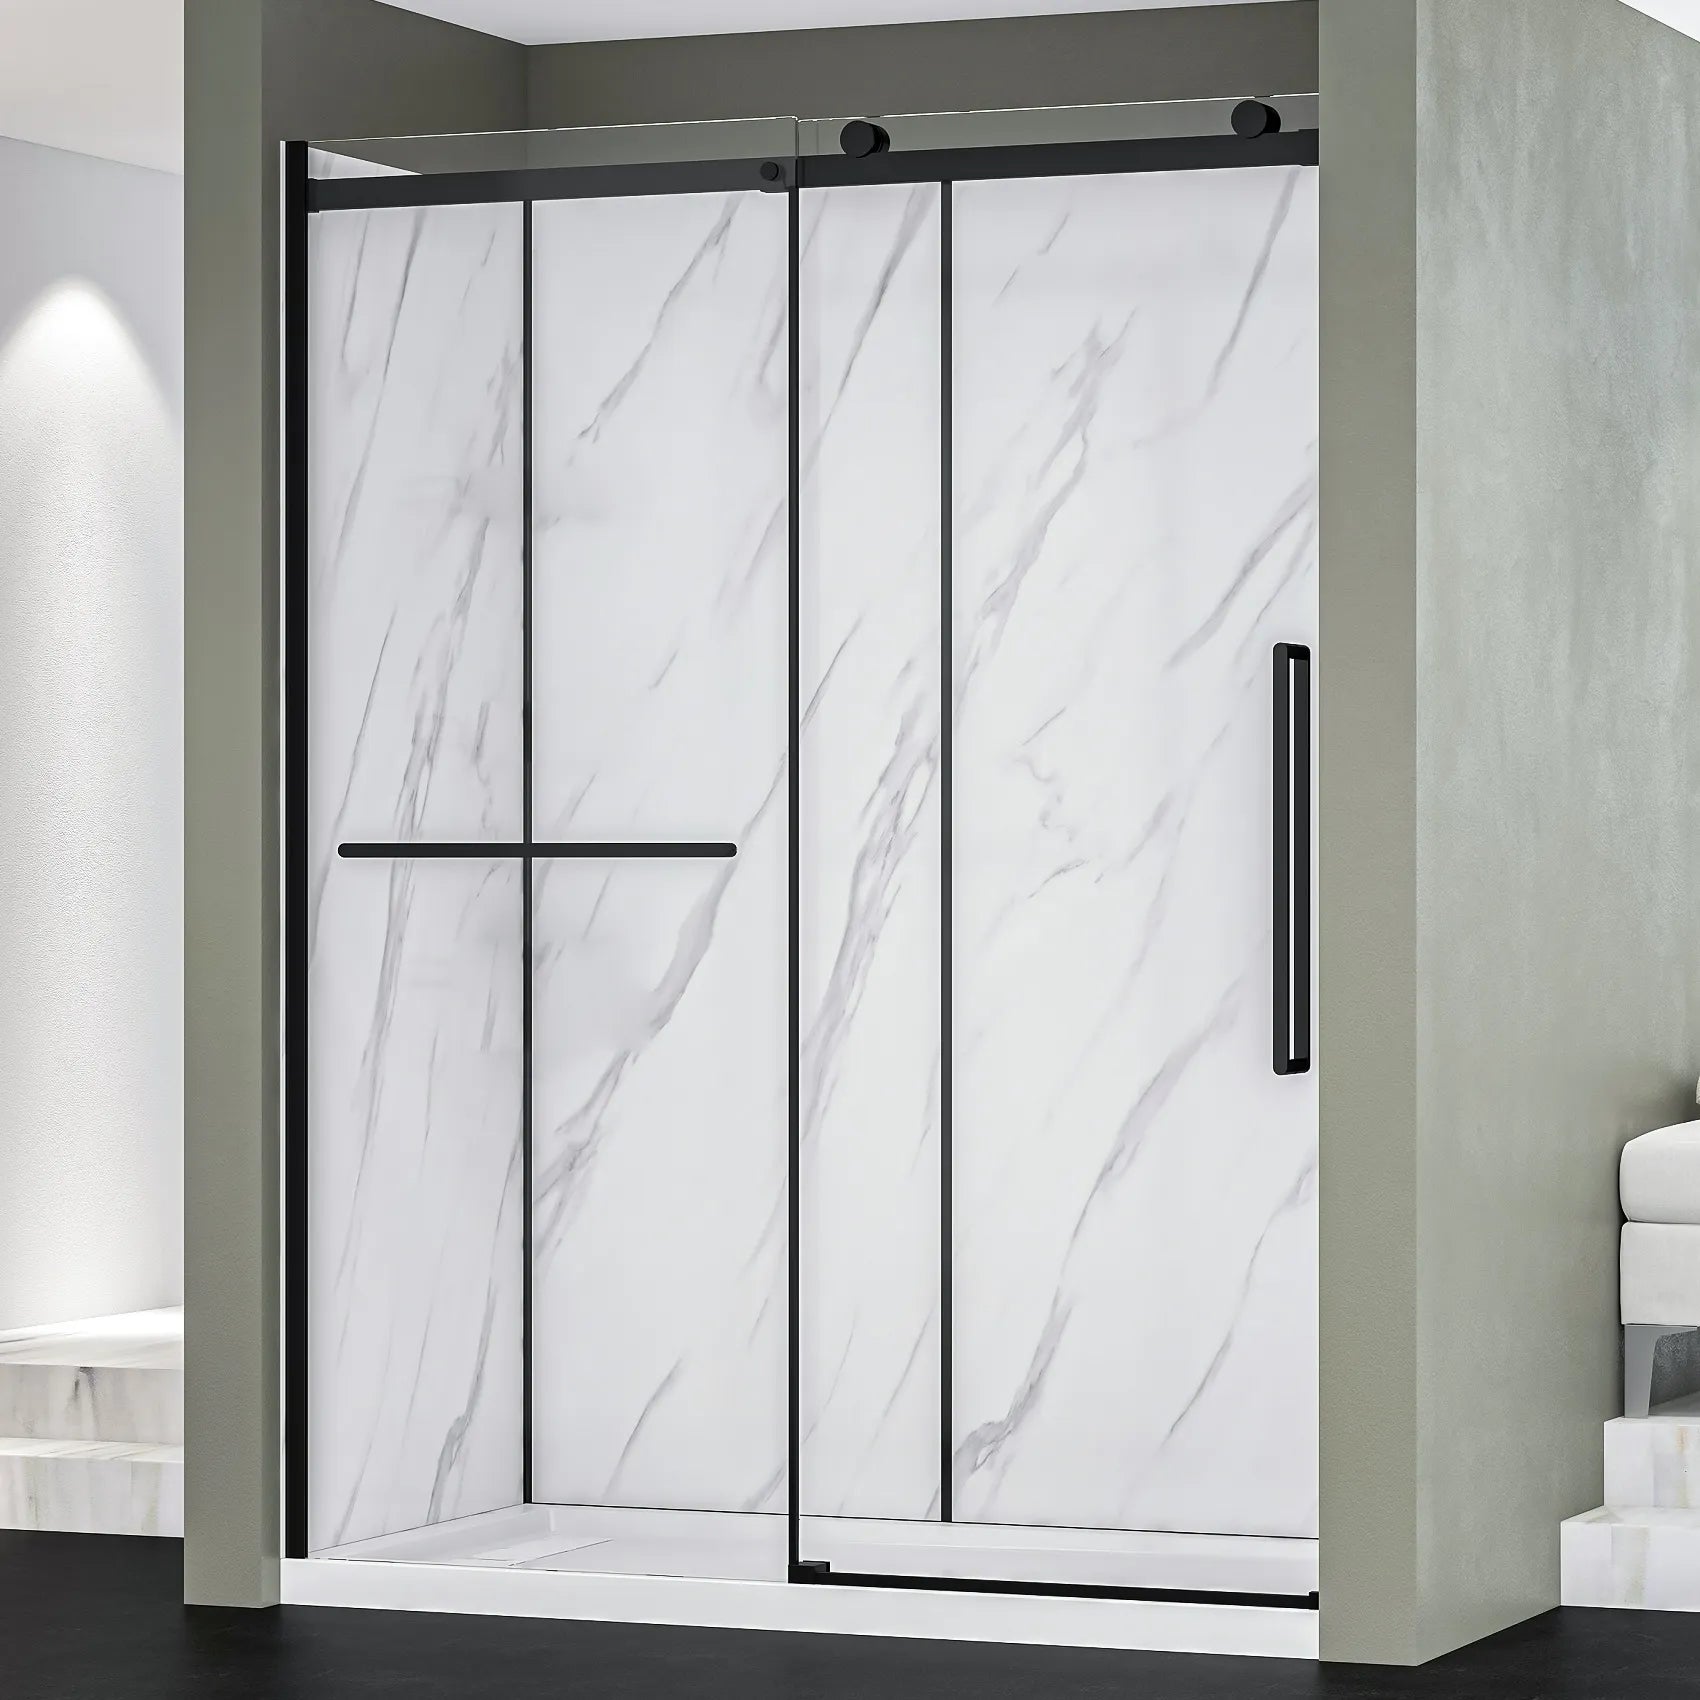
Frameless sliding shower doors are one of the most popular choices in modern bathroom design - and for good reason. They bring a clean, open look to any space, work beautifully as shower tub doors, and give bathrooms that high-end, spa-like feel. But as stunning as frameless shower doors are, they come with a unique set of safety challenges that framed doors simply don't. Whether you're installing brand-new glass shower doors or moving an existing unit during a renovation, the weight, size, and fragility of frameless glass demand respect. A single wrong move can result in serious injury, a cracked panel, or a door that never sits or slides correctly again. This guide covers 5 essential safety tips for anyone installing or moving a frameless sliding shower door - from luxury shower doors in a master bath to tub shower doors in a family bathroom remodel. Is It Safe to Install a Frameless Sliding Shower Door Yourself? Yes - with the right preparation, tools, and safety practices, installing or moving a frameless sliding shower door is a manageable project. The key risks are the weight of the glass panels, improper track alignment, and unsecured hardware. Following the 5 safety tips below reduces these risks significantly and helps ensure your shower door operates correctly for years. Tip #1: Never Handle Glass Shower Doors Alone This rule applies to every type of glass shower door - but it is absolutely non-negotiable with frameless sliding shower doors. A standard frameless glass panel can weigh anywhere from 50 to over 100 pounds, depending on glass thickness, and the panels used in luxury shower doors with 10 mm to 12 mm tempered glass are on the heavier end of that range. Tempered glass is strong under normal use but highly sensitive to uneven pressure on its edges and corners. If one person tries to carry or position a large panel solo, the uneven grip creates stress points that can cause the glass to shatter - and when tempered glass breaks, it shatters into hundreds of small fragments. The rule: Always have at least two people handling any glass shower door panel. For larger frameless panels over 60 inches tall, use three people or professional suction cup lifting tools designed for flat glass. Keep hands on the flat faces of the glass - never grip edges or corners bare-handed. Tip #2: Wear the Right Protective Gear - Every Time This one sounds obvious, but it gets skipped more often than you'd think, especially on quick repositioning jobs where someone decides to "just move it a few inches." With frameless shower doors, there is no such thing as a quick, casual adjustment. Before touching any glass shower door panel - whether you're doing a full shower door installation or simply sliding a panel off its track to clean the hardware - make sure everyone involved is wearing the following: • Heavy-duty cut-resistant gloves (rated for glass handling, not standard work gloves) • Closed-toe shoes with slip-resistant soles - glass fragments on a wet bathroom floor are a serious hazard • Safety glasses or goggles - especially during track installation or when drilling into tile • Long sleeves when carrying panels to protect forearms from edge contact This applies whether you're installing high-end luxury shower doors or standard tub shower doors - the glass behaves the same way regardless of price point. Tip #3: Verify the Track and Wall Anchor Points Before Lifting the Glass One of the most dangerous moments in any sliding shower door installation is lifting a heavy glass panel into a track that hasn't been properly secured. If the top track shifts, flexes, or pulls away from the wall while the panel is being positioned, the glass can slide, tip, or fall. Before the glass comes anywhere near the installation area, complete and verify all of the following: • Top and bottom tracks are fully secured to the wall and floor with the correct fasteners - anchored into studs or solid backing, not just tile or drywall • All wall jambs and side profiles are plumb and level - a sliding shower door panel that is even slightly out of square will bind or jump its track • Track screws are fully tightened and checked for any flex or movement • The floor track is sealed and positioned correctly per the installation manual - this is especially critical for shower tub doors where the track spans the tub deck Important: This step is where reading your specific shower door installation manual matters most. The best shower doors - particularly frameless sliding models - have precise tolerances, and the dreamwerks guide will specify exact anchor requirements, screw types, and track alignment procedures for your model. Tip #4: Lift Into the Track - Never Slide From the Side This is a technique tip that directly affects safety. When placing a frameless sliding shower door panel into its track, the correct method is to tilt the panel slightly inward and lift the rollers or hangers vertically into the top track first, then lower the bottom guide into position. The common mistake is trying to slide the panel in from the side of the track opening while holding it near-vertical. This approach puts lateral stress on the glass edge, increases the risk of the panel slipping, and can damage the rollers or track hardware if the panel catches at an angle. For frameless sliding glass shower doors, the safest lifting sequence is: 1. Position both installers on the same side of the glass, one at each end of the panel 2. Tilt the top of the panel slightly toward the top track - maintain control of the angle at all times 3. Lift vertically to engage the top rollers or hanging hardware into the track 4. Lower the bottom of the panel gently until the bottom guide seats correctly 5. Test the slide before releasing full weight This same method applies when you're moving an existing glass shower door - removing a panel for cleaning, resealing, or repositioning during a renovation. Come out the same way you went in: top first, bottom second. Tip #5: Inspect the Glass and Hardware Before and After Every Move Tempered glass used in frameless shower doors - including glass shower doors, shower tub doors, and luxury shower doors - can have invisible micro-fractures from shipping or previous handling. These fractures may not cause immediate failure, but a panel with an undetected edge chip or stress crack can shatter spontaneously under temperature change or minor impact. Before every installation or move, inspect the glass panel in good lighting: • Run gloved fingers carefully along all four edges - feel for chips, nicks, or irregularities • Hold the panel up to natural light and look for any cracks, stress lines, or white-edge damage • Check the corner holes (if any) for micro-fractures radiating outward - these are high-stress points • After installation, check all hardware connections: roller wheels, hangers, and bottom guides should move freely with no binding or grinding Bonus: What Makes the Best Shower Doors Easier and Safer to Install? Not all frameless sliding shower doors are equally easy to handle. When shopping for glass shower doors, these features make installation safer and the finished product more reliable: • Pre-drilled, precision-cut corner holes - reduces drilling on-site, which is a major risk point for glass cracking • Quality roller hardware with smooth, adjustable hangers - easier to seat in track and less likely to bind • Magnetic seals and soft-close stops - reduce impact stress when the door closes • Included model-specific installation manual with clear torque specs and anchor requirements • Serviceable hardware components - so you can replace a worn roller without replacing the entire shower door These qualities apply across the full range - from tub shower doors and everyday sliding shower doors to premium luxury shower doors in high-end bathroom remodels. Final Thoughts Frameless sliding shower doors are a beautiful, durable choice for any bathroom - but they deserve careful handling. The five safety tips above cover the most critical risks: going solo with heavy glass, skipping protective gear, rushing the track installation, using the wrong lifting technique, and missing damage before installation. Follow these steps whether you're working with shower tub doors, glass shower doors in a walk-in enclosure, or the most premium luxury shower doors on the market. The glass doesn't care about the price tag - it responds to how you handle it.