



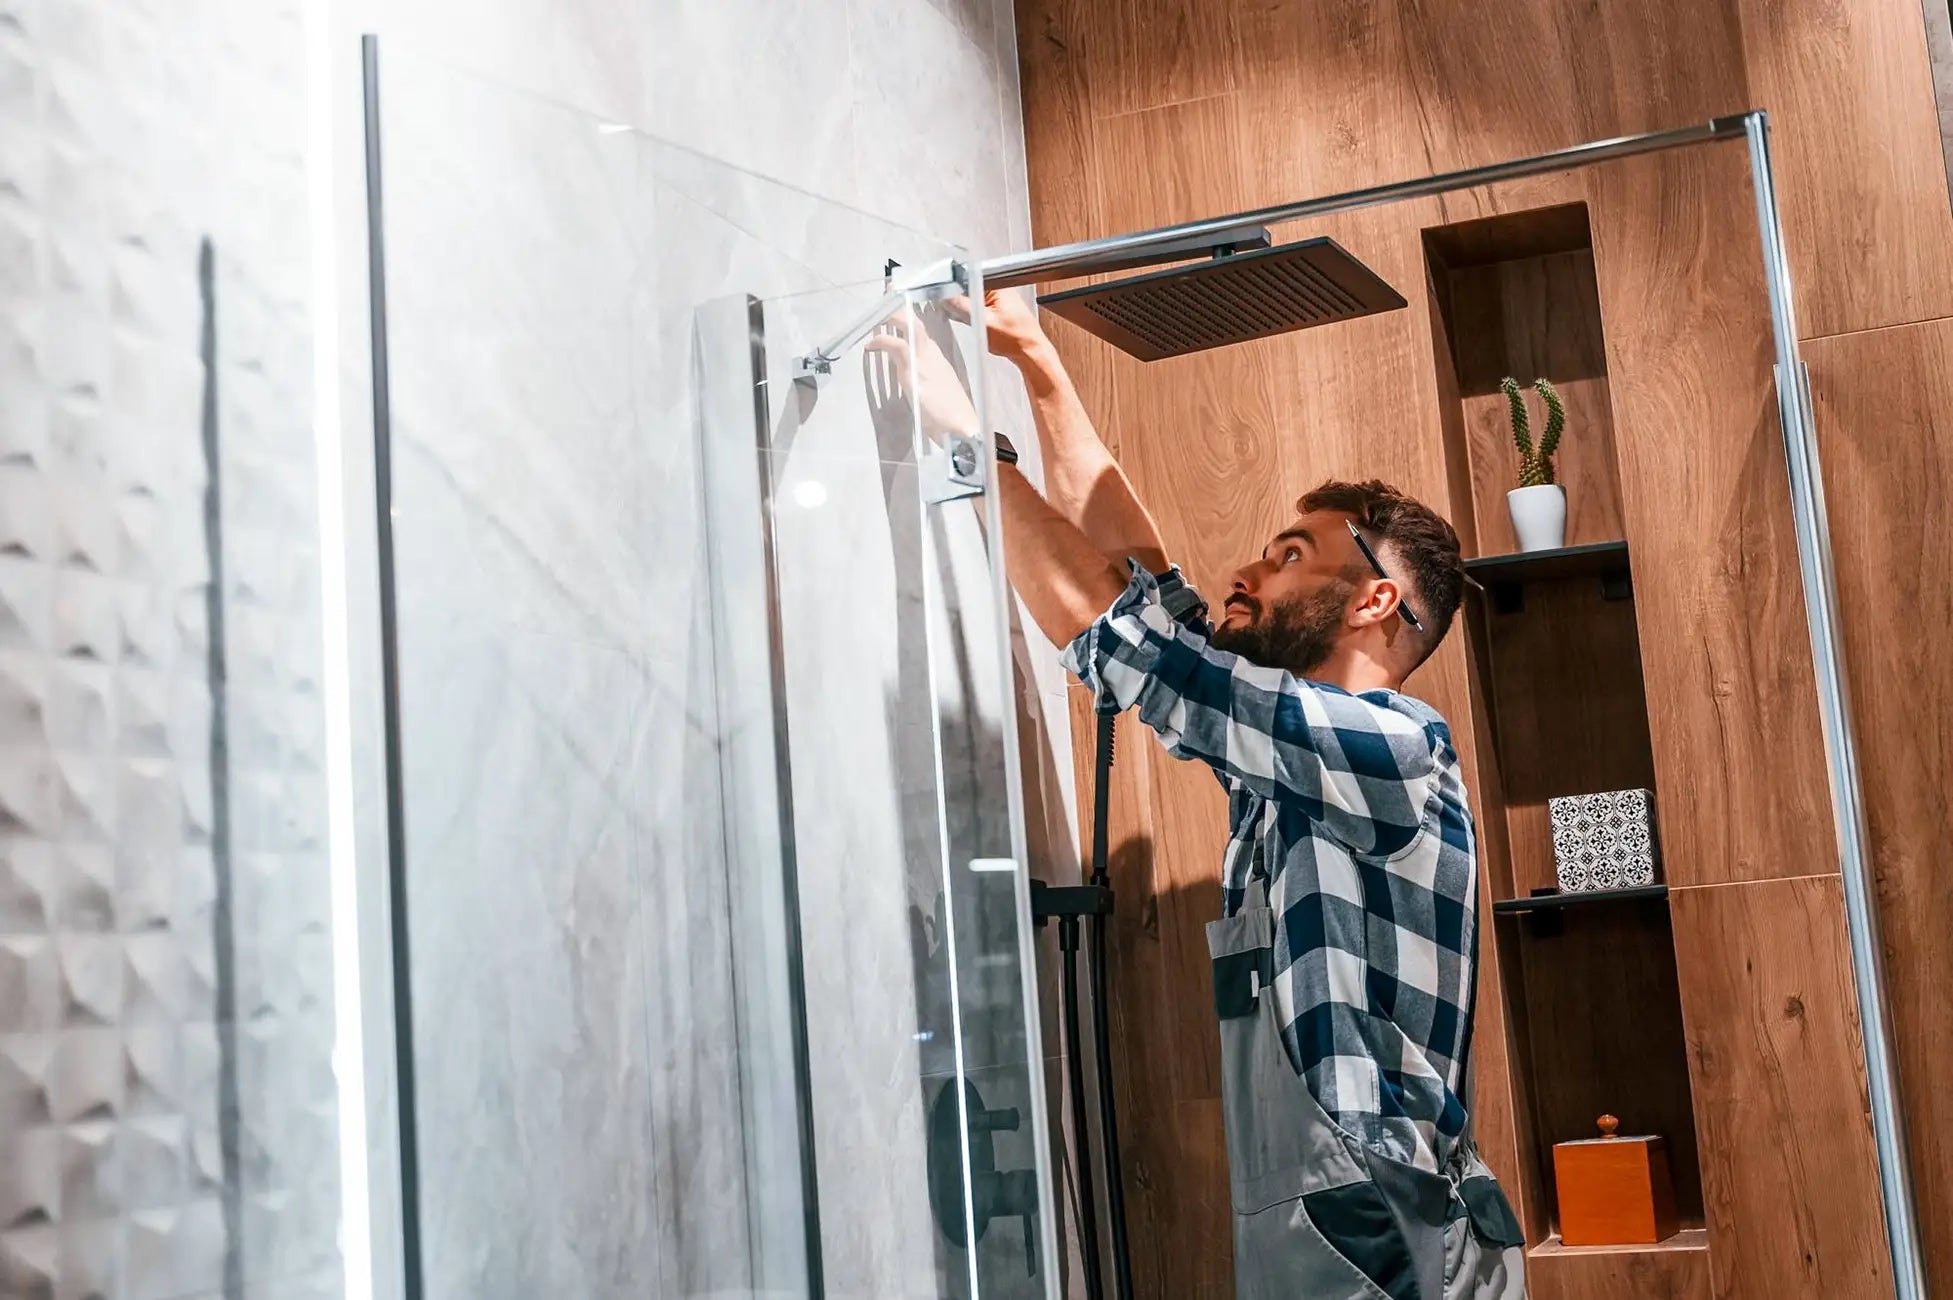
Installing a new shower can feel like a big job, but it really does not have to be. If you have ever wondered how to install shower fixtures on your own, you already know there is a lot of conflicting advice floating around online. The good news is that with the right tools, a free weekend, and this guide, you can finish the job without ever calling in a professional. Whether you are replacing an old tub or starting completely from scratch, a prefab kit makes the whole process far more approachable for the average homeowner. This guide breaks everything down into simple steps so you know exactly what to expect long before you pick up a single tool.
What You Need Before You Start
Before you touch anything, gather your materials so you are not running to the hardware store halfway through the project. Most shower kit installation projects need a handful of common items: a level, a power drill, silicone caulk, a caulk gun, plumber's tape, a screwdriver, a utility knife, and a helper to hold panels steady while you work. Measure your space carefully, because even an inch of difference can mean your kit does not fit the way you expect. Turn off the water supply to the bathroom before you begin any plumbing work, and clear the area completely so you have room to move around without tripping over tools or debris.
It also helps to read through the entire instruction booklet that comes with your kit before you start cutting or drilling anything. Every brand is a little different, and some kits include extra brackets, spacers, or trim pieces that are easy to miss if you skip ahead.
Choosing the Right Shower Kit
Not every prefab option is built the sam, so picking the right one for your bathroom really does matter. If your bathroom has two walls that meet at an angle, corner shower kits are usually your best bet, since they make smart use of tight spaces that a standard rectangular unit would otherwise waste. For bigger bathrooms, shower enclosure kits with sliding or hinged glass doors give a more open, modern look and let more light into the room. If you want everything bundled together in one box, including the base, the wall panels, and the door, complete shower kits are often worth the extra cost, since they save you from mixing and matching parts from different brands that may not line up perfectly.
Think about your bathroom's layout, your budget, and how much space you actually have before you buy anything. A kit that looks great in photos will not help you if it does not fit your specific footprint, so always double-check the manufacturer's measurements against your own.
How to Install Shower Kit: Step by Step
Step 1: Prep the Space
Start by removing your old tub or shower stall, along with any old caulk, grout, or adhesive left behind on the walls and floor. Check the subfloor closely for soft spots or water damage, and repair anything that looks weak before you move forward. This step matters more than most people think, since building on a damaged floor can lead to bigger, more expensive problems later on.
Step 2: Install Shower Base
The base is the foundation of your whole setup, so take your time here rather than rushing through it. Dry-fit the base first to make sure it sits level and flush against the drain opening. Once you are happy with the fit, apply a bead of plumber's putty or silicone around the drain, set the base in place, and connect it to the drain pipe underneath. Check with a level in several spots, since an uneven base can cause water to pool instead of draining the way it should.
Step 3: Put Up the Wall Panels
With the base secure, move on to the wall panels. Most panels snap or screw into place, starting from the back corner and working outward toward the front of the shower. Apply adhesive wherever the manufacturer recommends it, and press each panel firmly against the studs so it does not shift while it sets. Take your time lining up seams so they sit flush against one another, since gaps here can cause leaks down the road.
Step 4: Add the Door and Seal Everything
Once the walls are in place, attach the door or curtain track according to the instructions that came with your kit. Run a thin, even bead of silicone caulk along every seam, corner, and edge where water could possibly sneak through. Let it cure for the full time listed on the tube before you use the shower, which is usually at least twenty-four hours.
Step 5: Test the Water Connection
Turn the water supply back on slowly and check every joint for leaks as the water starts flowing. Run the water for several minutes and watch the base and walls closely the entire time. If everything was installed correctly, you should not see any dripping, pooling, or damp spots anywhere around the edges.
Common Mistakes to Avoid
A lot of first-time installers rush through the caulking step, which almost always leads to leaks down the road. Others skip checking the subfloor entirely, only to find soft spots months later once damage has already spread. Another common mistake is buying a kit that is close in size but does not actually match your bathroom's measurements, which forces awkward cuts and uneven gaps. People also sometimes forget to install shower base components in the correct order, connecting the drain before the base is properly leveled. Take your time with each step, and do not be afraid to double-check measurements twice before cutting or drilling anything.
Tips for a Long-Lasting Installation
A little extra care during installation pays off for years afterward. Always let caulk cure fully before running water, since rushing this step is the number one cause of early leaks. Check your seals every few months and re-caulk as soon as you notice any cracking or discoloration, since catching small issues early keeps water from reaching the subfloor. Many homeowners assume you need a contractor to install a shower kit properly, but with patience and the right prep work, the results can look just as clean as a professional job. Keep your grout and caulk lines clean with a gentle cleaner rather than harsh chemicals, which can break down the seal faster than normal wear and tear.
Final Thoughts
At the end of the day, learning how to install shower fixtures yourself is one of the most rewarding home projects you can take on. It saves you money, gives you full control over the finished look, and is far more doable than most people expect going in. Whether you choose one of the many prefab options on the market or go with a fully custom setup, the steps stay mostly the same: prep the space, set the base, build the walls, seal every seam, and test the connections before calling it done. Take it one step at a time, follow your kit's instructions closely, and you will have a fresh, leak-free shower ready to use before you know it.


