

Dreamwerks BLOG / ARTICLES
How to Clean Glass Doors: Best Way to Maintain Your Shower
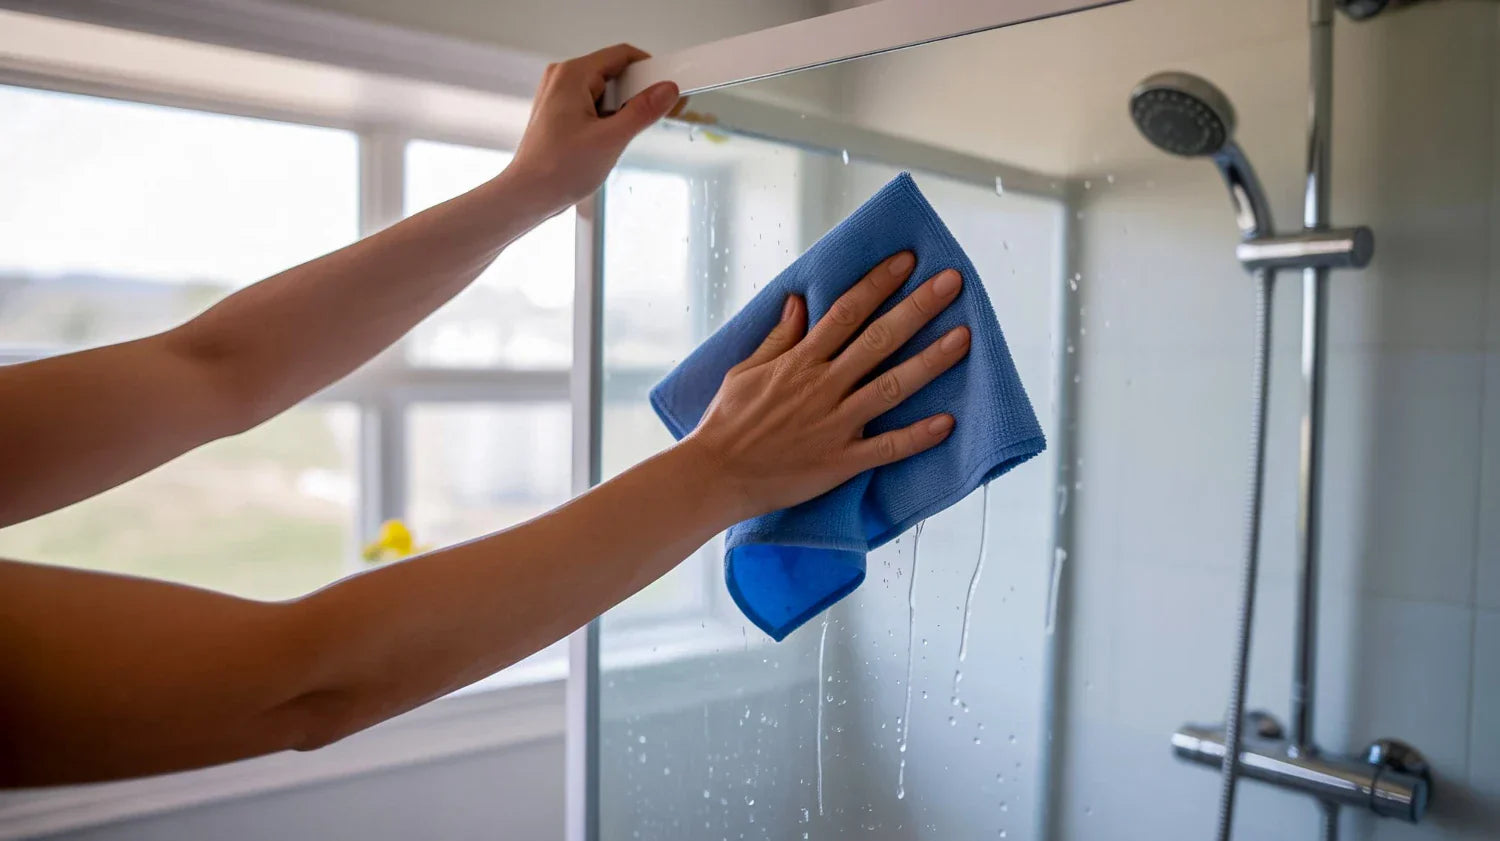
Let’s be honest for a second: nobody actually enjoys cleaning the bathroom. It’s usually the chore we kick down the road until we absolutely can’t stand looking at the grime anymore. And the biggest offender? Those glass shower doors. When they’re clean, the whole room looks like a five-star hotel. When they’re covered in that cloudy, white film, the whole vibe just feels... off. If you’ve been struggling to get that crystal-clear shine, don't worry. You don't need magic or a professional cleaning crew. You just need a better game plan. Learning how to clean glass doors is mostly about understanding what you’re up against and using the right tools for the job. Why Does My Shower Look So Cloudy? It’s frustrating, right? You take a shower to get clean, but the shower itself seems to get dirtier every time you use it. Most people think it’s just soap, but it’s actually a bit more scientific than that. First, you have hard water minerals. Depending on where you live in the USA, your water might be full of calcium and magnesium. When those water droplets dry on your glass, they leave the minerals behind. Over time, these build up into those annoying little white circles. If you want to remove water spots, you have to actually break down those mineral deposits. Then you have soap scum. This happens when the fats in your bar soap react with the minerals in the water. It creates a sticky, waxy layer that loves to grab onto everything-skin cells, hair, and dust. If you don't use a solid shower glass cleaner, you’re basically just moving that wax around instead of actually getting rid of it. The Essentials: What You Actually Need Before you start scrubbing until your arm hurts, let’s talk about your toolkit. You don't need a cabinet full of chemicals. In fact, some of the best stuff is probably already in your pantry. 1. The Right Scrubby Tool Stop reaching for the green scouring pads. You might think you're being tough on the grime, but you're actually leaving tiny scratches on the glass. Those scratches act like little "pockets" that trap even more dirt later. Stick to a soft microfiber cloth or a non-abrasive sponge. 2. A Reliable Squeegee If you don't have a squeegee yet, go get one. It is the single most important tool in this entire guide. It’s the difference between cleaning your shower once a week and cleaning it once a month. 3. The Best Shower Glass Cleaner You have two main choices here. You can go the DIY route or buy something off the shelf. The DIY Route: Mix equal parts white vinegar and water in a spray bottle. Add a few drops of blue dish soap (the kind used for greasy pots). The vinegar cuts the minerals, and the soap cuts the grease. It’s cheap, and it works. The Store-Bought Route: If the vinegar smell is too much for you, look for the best shower glass cleaner at the store. Look for brands that mention "dissolving minerals" or "water spot remover." The Deep Clean: Step-by-Step If your shower doors look like they’ve been through a sandstorm, a quick wipe won't cut it. You need to do a "reset" clean. Here is how to do it without losing your Saturday. Step 1: The Pre-Rinse Turn on the hot water for a minute to get the bathroom steamy. The heat helps loosen up the soap scum. Use your showerhead to rinse down the glass and get rid of any loose hair or surface dust. Step 2: Spray and Stay Spray your shower glass cleaner all over the door. Now, here is the secret: Wait. Don't start scrubbing immediately. Let the cleaner sit for at least 10 minutes. This gives the ingredients time to eat through the hard water buildup. If it starts to dry out, just spray a little more. Step 3: The Scrub Now that the gunk is softened up, take your microfiber cloth and work in circular motions. Start at the top and work your way down. You’ll feel the texture of the glass change as it gets smoother. Step 4: Focus on the Problem Areas To truly remove water spots that have been there for a while, you might need to apply a little more pressure. If the vinegar spray isn't doing it, make a paste out of baking soda and water. Rub it onto the spots, let it sit, and then wipe it away. The baking soda provides just enough grit to polish the glass without scratching it. Step 5: The Final Rinse Rinse everything off with cold water. Cold water doesn't create steam, so you can actually see if you missed any spots while the glass is still wet. How to Clean Hard Water Stains (The Heavy Duty Stuff) Sometimes, you move into a new place, and the shower looks like it hasn't been cleaned since the 90s. If the glass feels rough like sandpaper, you're dealing with serious mineral buildup. To clean hard water stains of this level, you might need a professional-grade acidic cleaner. Be careful with these, though-wear gloves and keep the door open for airflow. If you prefer to stay natural, lemon juice is a great alternative to vinegar. It’s highly acidic and smells a lot better. Just rub a cut lemon directly on the stains, let it sit, and rinse. The Secret to Never Scrubbing Again I’m going to let you in on a little secret. Professional cleaners don't have "magic" sprays; they just have better habits. If you want to clean glass doors less often, you have to stop the spots before they start. The 60-Second Squeegee Habit Every time you finish your shower, take your squeegee and wipe down the glass. It takes about one minute. By removing the water before it dries, the minerals never have a chance to stick. If the water isn't there, the spots can't form. It’s that simple. Use a Water Repellent. Once your glass is perfectly clean and dry, apply a glass treatment product (like the ones used on car windshields). It creates an invisible shield that makes water bead up and roll right off. It’s a total game-changer for keeping things low-maintenance. Common Mistakes People Make Using Dry Cloths on Dirty Glass: Never rub a dry cloth on a dry, dirty shower door. You’re just grinding the minerals into the glass. Always use a liquid cleaner to provide lubrication. Forgetting the Seals: Those clear plastic strips at the bottom of the door? They get nasty fast. Make sure to spray them with your best shower glass cleaner and use an old toothbrush to get into the grooves. Ignoring the Tracks: If you have a sliding door, the metal tracks at the bottom are usually full of standing water and soap. This is where mold starts. Dry them out after your shower to keep the bathroom smelling fresh. Why It Matters You might think, "It's just a shower door, who cares?" But taking the time to clean hard water stains is actually about protecting your home. If minerals stay on the glass for years, they can actually "etch" the surface. This means the minerals chemically bond with the glass, causing permanent damage that no amount of scrubbing will fix. At that point, your only option is to replace the glass, which can cost hundreds or even thousands of dollars. Cleaning it now saves you a massive headache (and a big bill) later. Plus, let’s be real, stepping into a crystal-clear shower just feels better. It makes your morning routine feel a little more like a treat and a little less like a chore. Wrapping It Up Keeping your bathroom looking great doesn't have to be your second full-time job. By using a simple vinegar mix or the best shower glass cleaner you can find, and spending sixty seconds with a squeegee every morning, you can keep that "just-cleaned" look for weeks at a time. Don't let the hard water win. Start with a deep clean this weekend to remove water spots, and then stick to the daily maintenance. Your future self will thank you when you don't have to spend three hours scrubbing on a Saturday.
Read moreDreamwerks BLOG / ARTICLES

Easy Ways to Clean and Maintain Your Shower Kit?
Keeping your bathroom clean doesn’t have to feel like a full-time job! If you’ve recently installed one of those stylish shower kits, you’re probably in love with how sleek and modern it looks. But here’s the thing — if you want it to stay that way, a little maintenance goes a long way. Whether you own a complete shower kit, a luxury shower enclosure, or one of the modern shower enclosure kits, this simple guide will walk you through everything you need to know to keep your shower looking fresh, shiny, and as good as new. Let’s jump right in! Why Cleaning Your Shower Kit Matters Your bathroom is one of the most used areas in your home, and shower kits are often exposed to soap scum, water stains, and grime every single day. If left unattended, all that buildup can ruin the look of your beautiful setup and even damage the surface over time. Here’s why regular cleaning and maintenance matter: It prevents mold and mildew buildup. Keeps your shower kits shiny and spotless. Extends the life of your enclosure materials. Saves money on expensive repairs or replacements later. Makes your bathroom smell fresher and look brand new! If you love a bathroom that sparkles, you’ll definitely want to make cleaning part of your weekly routine. Step-by-Step Guide to Cleaning Your Shower Kit Alright, let’s keep this simple and fun. No complicated jargon or fancy chemicals. Just real, easy steps that anyone can do! Step 1: Gather Your Cleaning Supplies Before you start, grab what you need. Here’s a handy list: A soft sponge or microfiber cloth White vinegar Baking soda Spray bottle Mild dish soap Warm water An old toothbrush for tight corners Avoid harsh cleaners with bleach or ammonia — they can dull the finish of shower kits or damage the glass panels. Step 2: Spray, Soak, and Wait Combine equal amounts of warm water and white vinegar in a spray bottle. Spray generously on the glass panels and walls of your shower kits. Let it sit for about 10–15 minutes. This helps loosen soap buildup and hard water stains. If you have a luxury shower enclosure, pay extra attention to the corners and edges where grime loves to hide. Step 3: Scrub Gently After soaking, take a soft sponge and gently scrub in circular motions. For tough spots, sprinkle a bit of baking soda on the sponge — it works like a natural scrubbing agent without scratching the surface. Use the toothbrush to clean small areas like joints, hinges, or drain covers in shower enclosure kits. Step 4: Rinse Everything Off Once you’ve scrubbed away all the grime, rinse with clean water. Use a handheld shower or a bucket of warm water to wash away the residue. Make sure no cleaning solution is left behind — it can leave streaks or attract more dirt later. Step 5: Dry It Like a Pro Here’s the secret step most people skip — drying! After rinsing, use a clean microfiber cloth to dry the surfaces. This prevents water spots and streaks. Tip: Keep a squeegee in your bathroom and run it over your shower kits after every use. It takes less than a minute and keeps them spotless every day. Maintenance Tips to Keep Your Shower Kit Looking New You’ve cleaned your shower once, but what about keeping it that way? Follow these easy maintenance tips and your complete shower kits will look brand new all year round! Do a quick rinse daily: After every shower, rinse off the walls and doors. It prevents soap and shampoo buildup. Use mild cleaners only: Harsh chemicals can ruin the glass and finish of shower kits. Keep it dry: Moisture invites mold. Wipe down surfaces with a cloth or wiper after every shower. Clean the drain weekly: Avoid clogs by removing hair and residue. Polish the hardware: Use a soft cloth and gentle cleaner to make your metal parts shine. Check for cracks or loose seals: Early fixes save money and keep your shower enclosure kits watertight. Ventilate the bathroom: Turn on the fan or open a window after a shower to prevent moisture buildup. Natural Cleaners That Work Wonders Want to skip store-bought chemicals? Try these natural options for your shower kits: Vinegar + Baking Soda Mix: Cuts through soap scum. Lemon Juice: Removes water stains and smells amazing. Hydrogen Peroxide: Great for whitening grout and removing mildew. Salt + Vinegar Paste: Works great for deep-cleaning metal fixtures. These are eco-friendly, budget-friendly, and safe for your luxury shower enclosure. Common Shower Kit Mistakes to Avoid Even with the best cleaning habits, mistakes happen. Here’s what to watch out for: Using abrasive pads or steel wool — they’ll scratch your shower kits. Leaving vinegar on too long — it can damage metal trims. Ignoring water spots — they can etch into glass over time. Not sealing grout lines — moisture sneaks in and causes damage. Forgetting regular cleaning — consistency is key! Remember, prevention is always easier (and cheaper!) than repairs. Choosing Quality Shower Kits Makes Cleaning Easier If your shower is a nightmare to clean, it could be the product quality. Complete shower kits from reputable brands like Dreamwerks are designed for easy maintenance and durability. Here’s why top-quality shower kits are worth the investment: Smooth, non-porous surfaces that resist stains. Frameless or semi-frameless glass that wipes clean easily. Smart drainage systems to prevent standing water. Durable hardware that doesn’t rust or corrode. High-quality shower enclosure kits aren’t just about luxury — they save you time and stress every single day. When to Deep Clean Your Shower Kit Not every mess is visible. Even clean-looking shower kits collect invisible grime. So, when should you deep clean? Every 2 weeks: Wipe down glass and walls. Once a month: Deep clean the tiles, floor, and drains. Every 3 months: Check seals, caulking, and grout lines. Every 6 months: Polish glass and metal for that fresh, new look. Make it a schedule — it’s easier to maintain than a once-a-year deep scrub! FAQs Q1: How often should I clean my shower kit? It’s best to give your shower kits a light clean every week and a deep clean once a month. Regular upkeep helps avoid stubborn stains and soap scum. Q2: Can I use vinegar on all types of shower kits? Yes, vinegar is safe for most surfaces, but don’t leave it too long on metal trims or marble bases — it can cause dullness. Q3: What’s the best cleaner for a luxury shower enclosure? Use mild dish soap mixed with warm water or a vinegar solution. Avoid anything abrasive or acidic. Q4: How do I stop mold from growing in my shower? Ventilation is key! Open a window or use an exhaust fan after every shower. Also, dry your shower kits with a cloth or squeegee. Q5: Are complete shower kits easy to clean? Absolutely! Most modern complete shower kits are made with easy-clean materials like acrylic and tempered glass, which need minimal scrubbing. Final Thoughts There you have it — the easiest way to keep your shower kits spotless and shining without spending your entire weekend cleaning. With regular maintenance and gentle care, your luxury shower enclosure or shower enclosure kits will stay as stunning as the day you installed them. Remember, consistency is everything — clean a little, but clean often! If you’re looking for high-quality shower kits that are easy to clean, built to last, and look absolutely gorgeous in your bathroom, Dreamwerks has got you covered. Stylish, durable, and effortless — because your shower should be the best part of your day.


