



Dreamwerks BLOG / ARTICLES

Best Soap Scum Remover to Prevent Water Spots on Glass Doors
If you've ever stepped into your bathroom and noticed a hazy film creeping across the glass, you already know the frustration. That cloudy buildup is usually a mix of soap residue and mineral deposits, and once it sets in, it's tough to shift. Finding the right soap scum remover early on can save you hours of scrubbing later and keep hard water from ever getting the upper hand. This guide explains why that filmy buildup happens, which cleaners work without damaging your surfaces, and a few installation habits that help stop the problem before it starts. Why Soap Scum Builds Up in the Bathroom Soap scum forms when the fatty acids in bar soap and body wash react with minerals in your water supply. That reaction leaves behind a thin, waxy film that clings to glass, tile, and fixtures - and the harder your water, the faster it builds. The calcium and magnesium in hard water don't rinse away easily. They bond to surfaces as water evaporates, which is exactly how spotty white rings show up on glass and metal fixtures after every use. Left alone, that residue only gets thicker and harder to break down with each shower, and it's a big part of why a good cleaning routine matters so much. What Actually Causes Water Spots on Your Glass Water spots aren't just cosmetic annoyances - they're mineral deposits sitting on the surface until something breaks them down. A few habits make the problem worse: • Letting water air-dry on the glass instead of squeegeeing it off • Using the wrong cleaner, which can etch or dull the surface over time • Skipping regular maintenance until the buildup gets heavy • Ignoring a water-quality problem at the source, like an aging softener The fix is simpler than it sounds. A quick daily habit - a squeegee pass after each shower - combined with the right weekly cleaner keeps spots from ever piling up into a real project down the road. Choosing the Right Soap Scum Remover for Your Shower Not every bathroom cleaner belongs in a shower enclosure. Plenty of general-purpose products are too abrasive and end up scratching acrylic surfaces or dulling a glass coating over time. When you're comparing soap scum removers, look for something labeled non-abrasive and safe for shower glass - that's what breaks down residue without wearing away the finish underneath. Here are two options that consistently get the job done without harming your surfaces. Rejuvenate 32 oz. Soap Scum Remover The Rejuvenate 32 oz. Soap Scum Remover from Home Depot is formulated to be non-abrasive, which makes it a solid pick for glass shower enclosures. It cuts through built-up soap film and mineral haze without needing a scrub brush or an abrasive pad, so you're not putting extra wear on treated glass or acrylic panels. At under ten dollars, it's an easy one to keep under the sink for weekly touch-ups, and a little goes a long way on tough, set-in residue. Magic Shower Glass & Mirror Cleaner For lighter, everyday upkeep, this glass and mirror spray from Magic is built specifically for glass and mirrors in wet environments. It's a nice companion to a deeper-cleaning product - spray it on for quick daily maintenance between the heavier weekend cleanings, and it won't leave the streaky film that all-purpose glass cleaners sometimes do. Keep both on hand, and you've got your bases covered for everyday upkeep and weekly deep cleans alike. Keeping Acrylic Surfaces Scratch-Free If your shower has an acrylic base or acrylic wall panels, cleaner choice matters even more. Acrylic scratches far more easily than tile or fiberglass, so reach for an acrylic cleaner rather than anything gritty, bleach-heavy, or abrasive. A few rules of thumb worth following: • Never use steel wool, scouring pads, or powdered abrasive cleansers on acrylic or glass • Stick to soft microfiber cloths or non-abrasive sponges • Rinse thoroughly - leftover cleaner residue can actually attract more grime, not less • Avoid ammonia-based products on tinted or coated glass, since they can break down protective coatings over time Treat these surfaces gently,y and they'll stay clear for years instead of clouding over within a season. Protecting Your Shower Base During Installation A lot of the buildup problems homeowners deal with actually trace back to how the shower was installed, not just how it's cleaned afterward. If the base isn't fully supported underneath, it can flex slightly every time you step in, and that flexing stresses seams and grout lines over time - which gives water and residue more places to collect. This is where a mortar bed underneath the base earns its keep. A layer of mortar, mixed using a product like Quikrete sand mix, fills the void beneath the base and gives it solid, even support. Without it, you're relying on the base's own rigidity to handle daily foot traffic, which most manufacturers don't recommend for long-term use. A few things worth keeping in mind when setting a base: • Dry-fit the base first to check for gaps before mixing any mortar • Mix your Quikrete sand and water to a firm, damp consistency - not soupy - so it fully supports the base without oozing into drain lines • Preserve the weep channels around the drain, since they let any water that gets underneath the base drain out safely • Let the mortar cure fully before caulking or using the shower Sealing Your Shower Kit the Right Way Once everything is set and cured, sealing the seams correctly matters just as much as the base underneath it. This is where a lot of DIYers reach for whatever caulk is on hand, and that's a mistake that shows up later as leaks or mold. Skip painter's caulk entirely. It's designed for trim and paint lines, not constant water exposure, and it breaks down fast in a wet environment. Instead, use 100% silicone caulk at every seam where the base meets the wall panels and the glass doors. Silicone flexes as things settle slightly over time, staying watertight where a rigid or acrylic-latex caulk would eventually crack. A clean, smooth bead of silicone also gives future buildup less to grip onto, since there are no rough or porous edges for residue to collect in. A Simple Weekly Routine to Keep Things Clear Once your shower kit and glass are properly installed and sealed, maintenance is mostly about consistency. A little bit of regular care goes a long way toward keeping everything looking new: 1. Squeegee the glass after every shower to cut down on standing water 2. Spray a glass cleaner two to three times a week for light upkeep 3. Do a deeper clean with a dedicated soap scum remover once a week 4. Wipe down the shower base and corners where water tends to pool 5. Check caulk lines every few months for any early signs of cracking or peeling It also helps to keep a couple of trustworthy soap scum removers on hand rather than grabbing whatever's under the sink, since not every all-purpose spray is gentle enough for glass and acrylic. And an acrylic cleaner is worth keeping in the same cabinet if your base or panels are acrylic, so you're never tempted to reach for something abrasive in a pinch. This routine takes just a couple of extra minutes but keeps mineral stains and residue from ever getting a real foothold in your bathroom. Quick Answers to Common Questions Is it safe to use a soap scum remover every day? Most formulas are gentle enough for frequent use, but a daily squeegee pass plus a lighter spray cleaner is usually all you need. Save the stronger soap scum remover for a weekly deep clean rather than an everyday step. Can I make my own soap scum remover at home? Homemade mixes with vinegar or dish soap can help in a pinch, but they're not always safe for acrylic or coated glass, and vinegar's acidity can wear down certain seals over time. A store-bought, non-abrasive formula is the safer long-term bet. Why does my new shower already have spots after a few weeks? This usually points to mineral-rich water rather than anything wrong with the install. Starting a simple cleaning routine right away, before residue has a chance to build up, makes a noticeable difference within the first month. Does caulk choice really affect how much cleaning I have to do? Yes. A properly sealed, well-supported base sheds water more evenly and gives residue fewer nooks to settle into, which means less scrubbing down the road. Final Thoughts Keeping a shower clear isn't complicated once you understand what's actually happening on that surface. A good cleaner does the heavy lifting on cleaning day, while smart installation habits - a properly bedded base, preserved weep channels, and 100% silicone at the seams - keep water and residue from finding new places to settle in. Handle both sides of the equation and your glass will stay looking new for years, not months.
Read moreDreamwerks BLOG / ARTICLES
How to Clean Glass Doors: Best Way to Maintain Your Shower
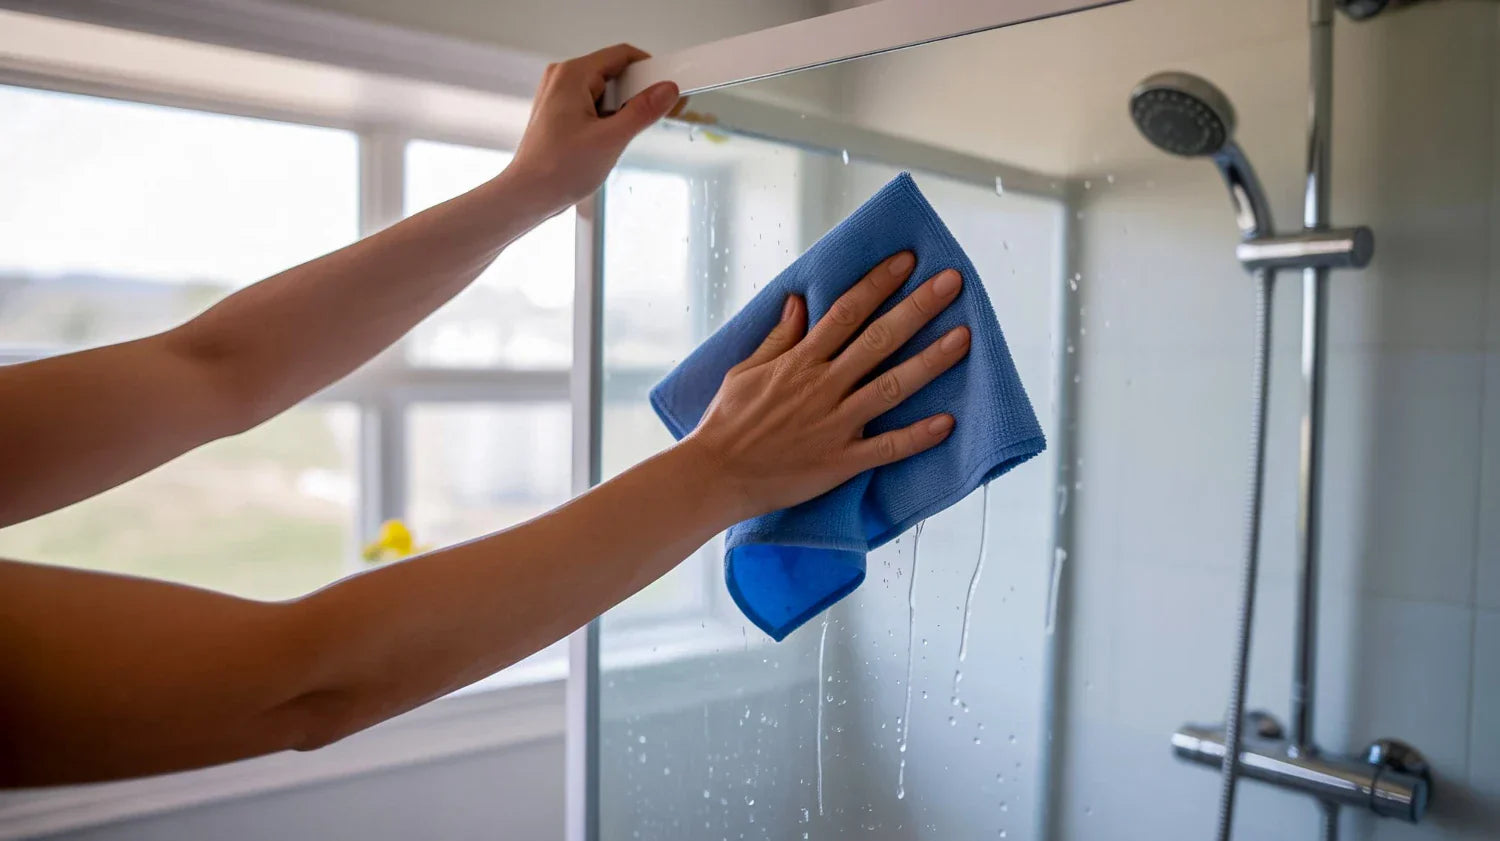
Let’s be honest for a second: nobody actually enjoys cleaning the bathroom. It’s usually the chore we kick down the road until we absolutely can’t stand looking at the grime anymore. And the biggest offender? Those glass shower doors. When they’re clean, the whole room looks like a five-star hotel. When they’re covered in that cloudy, white film, the whole vibe just feels... off. If you’ve been struggling to get that crystal-clear shine, don't worry. You don't need magic or a professional cleaning crew. You just need a better game plan. Learning how to clean glass doors is mostly about understanding what you’re up against and using the right tools for the job. Why Does My Shower Look So Cloudy? It’s frustrating, right? You take a shower to get clean, but the shower itself seems to get dirtier every time you use it. Most people think it’s just soap, but it’s actually a bit more scientific than that. First, you have hard water minerals. Depending on where you live in the USA, your water might be full of calcium and magnesium. When those water droplets dry on your glass, they leave the minerals behind. Over time, these build up into those annoying little white circles. If you want to remove water spots, you have to actually break down those mineral deposits. Then you have soap scum. This happens when the fats in your bar soap react with the minerals in the water. It creates a sticky, waxy layer that loves to grab onto everything-skin cells, hair, and dust. If you don't use a solid shower glass cleaner, you’re basically just moving that wax around instead of actually getting rid of it. The Essentials: What You Actually Need Before you start scrubbing until your arm hurts, let’s talk about your toolkit. You don't need a cabinet full of chemicals. In fact, some of the best stuff is probably already in your pantry. 1. The Right Scrubby Tool Stop reaching for the green scouring pads. You might think you're being tough on the grime, but you're actually leaving tiny scratches on the glass. Those scratches act like little "pockets" that trap even more dirt later. Stick to a soft microfiber cloth or a non-abrasive sponge. 2. A Reliable Squeegee If you don't have a squeegee yet, go get one. It is the single most important tool in this entire guide. It’s the difference between cleaning your shower once a week and cleaning it once a month. 3. The Best Shower Glass Cleaner You have two main choices here. You can go the DIY route or buy something off the shelf. The DIY Route: Mix equal parts white vinegar and water in a spray bottle. Add a few drops of blue dish soap (the kind used for greasy pots). The vinegar cuts the minerals, and the soap cuts the grease. It’s cheap, and it works. The Store-Bought Route: If the vinegar smell is too much for you, look for the best shower glass cleaner at the store. Look for brands that mention "dissolving minerals" or "water spot remover." The Deep Clean: Step-by-Step If your shower doors look like they’ve been through a sandstorm, a quick wipe won't cut it. You need to do a "reset" clean. Here is how to do it without losing your Saturday. Step 1: The Pre-Rinse Turn on the hot water for a minute to get the bathroom steamy. The heat helps loosen up the soap scum. Use your showerhead to rinse down the glass and get rid of any loose hair or surface dust. Step 2: Spray and Stay Spray your shower glass cleaner all over the door. Now, here is the secret: Wait. Don't start scrubbing immediately. Let the cleaner sit for at least 10 minutes. This gives the ingredients time to eat through the hard water buildup. If it starts to dry out, just spray a little more. Step 3: The Scrub Now that the gunk is softened up, take your microfiber cloth and work in circular motions. Start at the top and work your way down. You’ll feel the texture of the glass change as it gets smoother. Step 4: Focus on the Problem Areas To truly remove water spots that have been there for a while, you might need to apply a little more pressure. If the vinegar spray isn't doing it, make a paste out of baking soda and water. Rub it onto the spots, let it sit, and then wipe it away. The baking soda provides just enough grit to polish the glass without scratching it. Step 5: The Final Rinse Rinse everything off with cold water. Cold water doesn't create steam, so you can actually see if you missed any spots while the glass is still wet. How to Clean Hard Water Stains (The Heavy Duty Stuff) Sometimes, you move into a new place, and the shower looks like it hasn't been cleaned since the 90s. If the glass feels rough like sandpaper, you're dealing with serious mineral buildup. To clean hard water stains of this level, you might need a professional-grade acidic cleaner. Be careful with these, though-wear gloves and keep the door open for airflow. If you prefer to stay natural, lemon juice is a great alternative to vinegar. It’s highly acidic and smells a lot better. Just rub a cut lemon directly on the stains, let it sit, and rinse. The Secret to Never Scrubbing Again I’m going to let you in on a little secret. Professional cleaners don't have "magic" sprays; they just have better habits. If you want to clean glass doors less often, you have to stop the spots before they start. The 60-Second Squeegee Habit Every time you finish your shower, take your squeegee and wipe down the glass. It takes about one minute. By removing the water before it dries, the minerals never have a chance to stick. If the water isn't there, the spots can't form. It’s that simple. Use a Water Repellent. Once your glass is perfectly clean and dry, apply a glass treatment product (like the ones used on car windshields). It creates an invisible shield that makes water bead up and roll right off. It’s a total game-changer for keeping things low-maintenance. Common Mistakes People Make Using Dry Cloths on Dirty Glass: Never rub a dry cloth on a dry, dirty shower door. You’re just grinding the minerals into the glass. Always use a liquid cleaner to provide lubrication. Forgetting the Seals: Those clear plastic strips at the bottom of the door? They get nasty fast. Make sure to spray them with your best shower glass cleaner and use an old toothbrush to get into the grooves. Ignoring the Tracks: If you have a sliding door, the metal tracks at the bottom are usually full of standing water and soap. This is where mold starts. Dry them out after your shower to keep the bathroom smelling fresh. Why It Matters You might think, "It's just a shower door, who cares?" But taking the time to clean hard water stains is actually about protecting your home. If minerals stay on the glass for years, they can actually "etch" the surface. This means the minerals chemically bond with the glass, causing permanent damage that no amount of scrubbing will fix. At that point, your only option is to replace the glass, which can cost hundreds or even thousands of dollars. Cleaning it now saves you a massive headache (and a big bill) later. Plus, let’s be real, stepping into a crystal-clear shower just feels better. It makes your morning routine feel a little more like a treat and a little less like a chore. Wrapping It Up Keeping your bathroom looking great doesn't have to be your second full-time job. By using a simple vinegar mix or the best shower glass cleaner you can find, and spending sixty seconds with a squeegee every morning, you can keep that "just-cleaned" look for weeks at a time. Don't let the hard water win. Start with a deep clean this weekend to remove water spots, and then stick to the daily maintenance. Your future self will thank you when you don't have to spend three hours scrubbing on a Saturday.


