
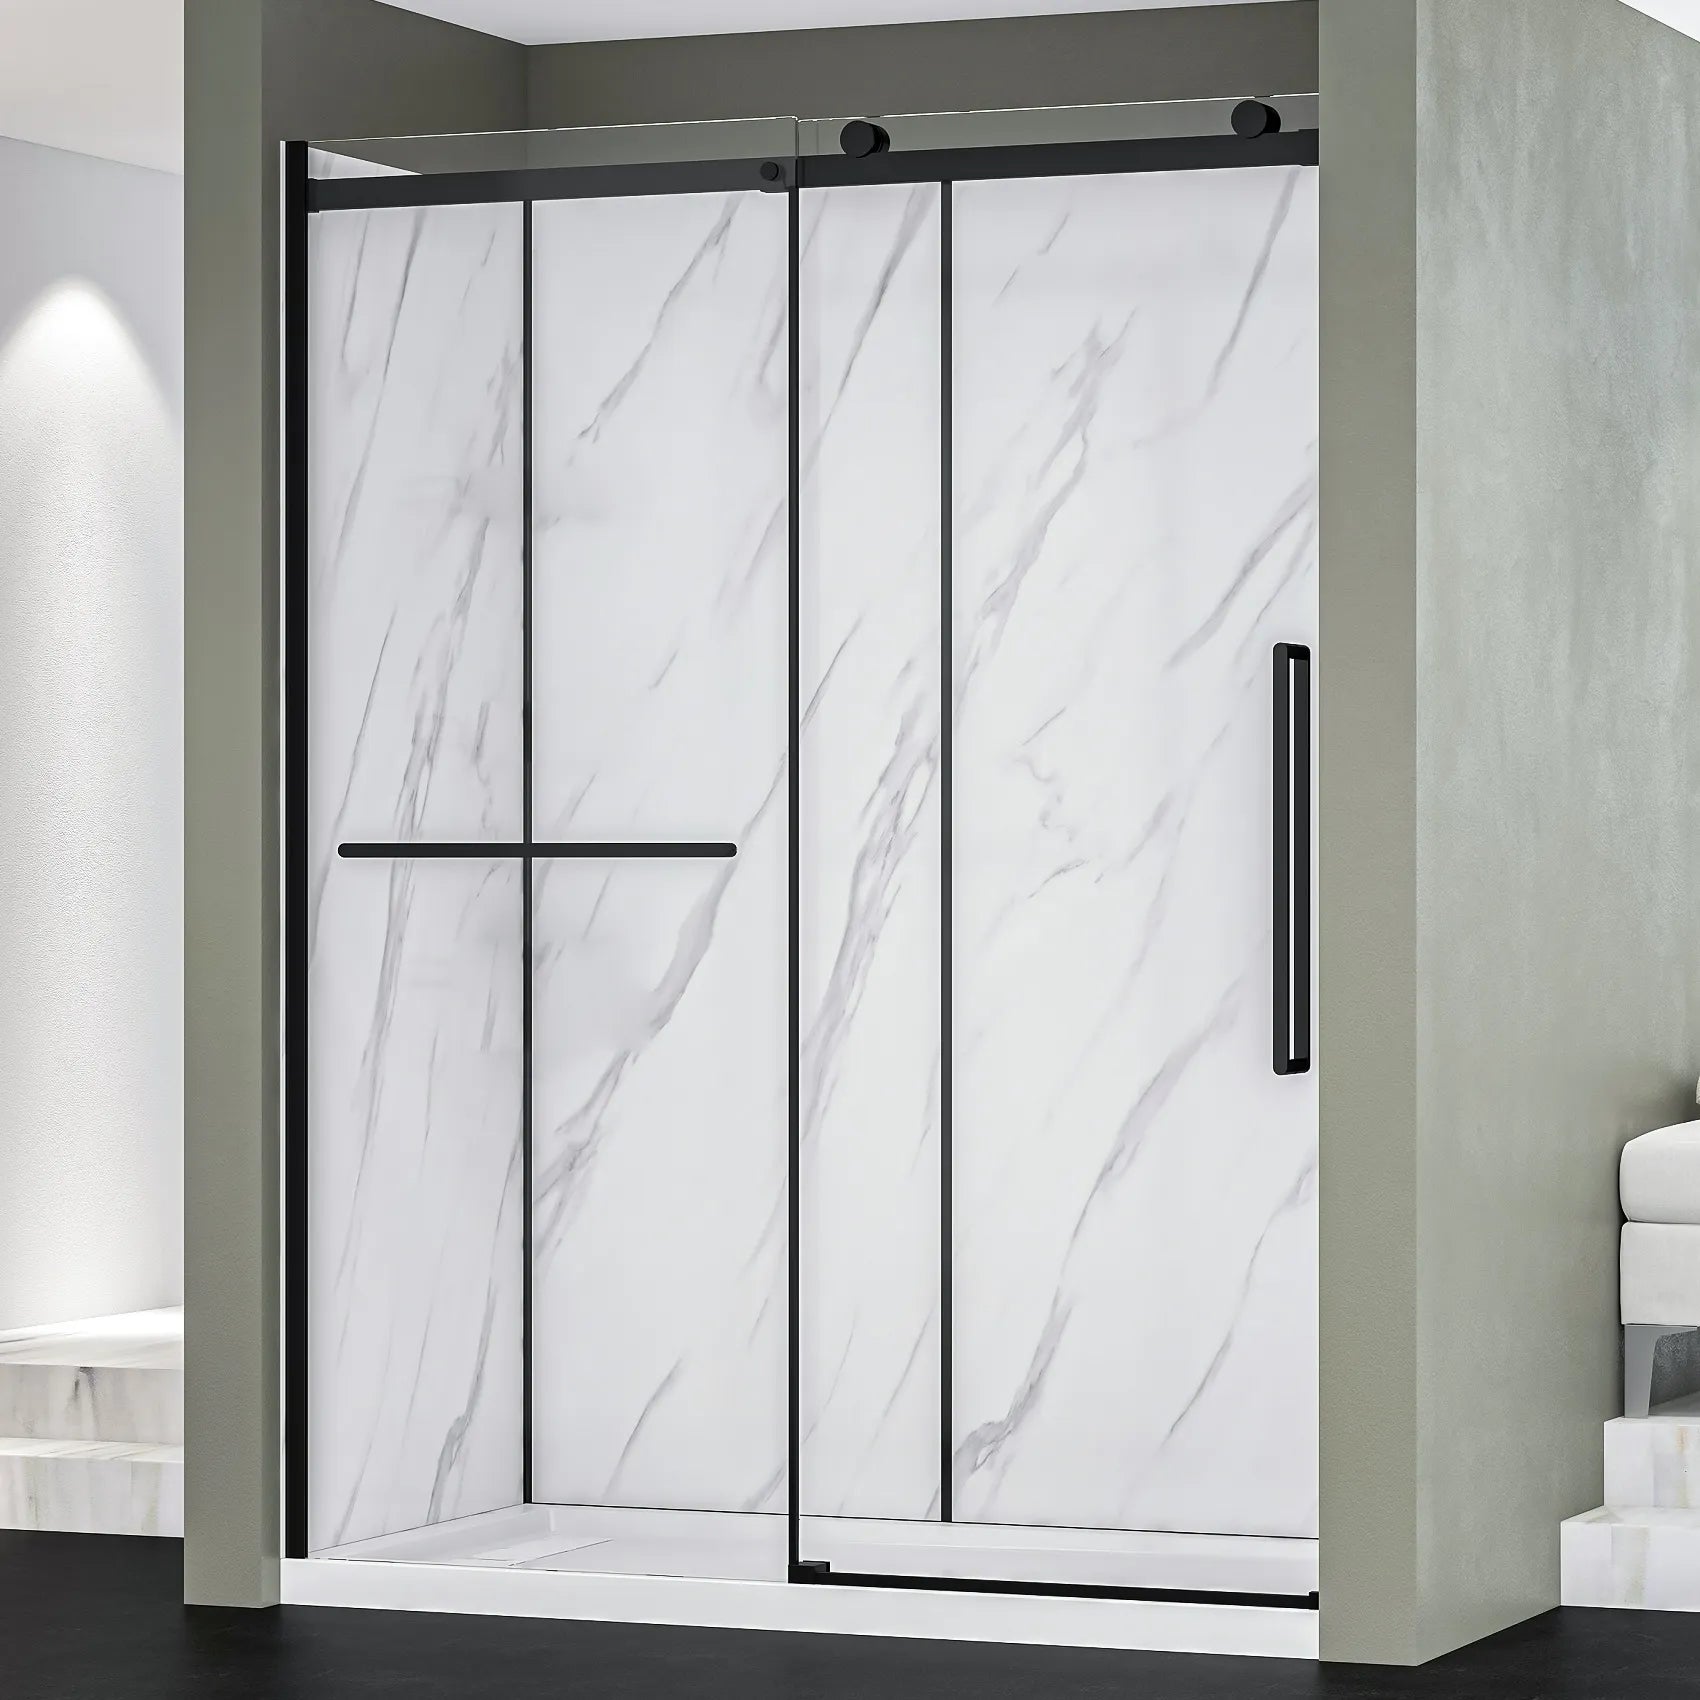
Keeping your bathroom clean doesn’t have to feel like a full-time job! If you’ve recently installed one of those stylish shower kits, you’re probably in love with how sleek and modern it looks. But here’s the thing — if you want it to stay that way, a little maintenance goes a long way.
Whether you own a complete shower kit, a luxury shower enclosure, or one of the modern shower enclosure kits, this simple guide will walk you through everything you need to know to keep your shower looking fresh, shiny, and as good as new. Let’s jump right in!
Why Cleaning Your Shower Kit Matters
Your bathroom is one of the most used areas in your home, and shower kits are often exposed to soap scum, water stains, and grime every single day. If left unattended, all that buildup can ruin the look of your beautiful setup and even damage the surface over time.
Here’s why regular cleaning and maintenance matter:
-
It prevents mold and mildew buildup.
-
Keeps your shower kits shiny and spotless.
-
Extends the life of your enclosure materials.
-
Saves money on expensive repairs or replacements later.
-
Makes your bathroom smell fresher and look brand new!
If you love a bathroom that sparkles, you’ll definitely want to make cleaning part of your weekly routine.
Step-by-Step Guide to Cleaning Your Shower Kit
Alright, let’s keep this simple and fun. No complicated jargon or fancy chemicals. Just real, easy steps that anyone can do!
Step 1: Gather Your Cleaning Supplies
Before you start, grab what you need.
Here’s a handy list:
A soft sponge or microfiber cloth
White vinegar
Baking soda
Spray bottle
Mild dish soap
Warm water
An old toothbrush for tight corners
Avoid harsh cleaners with bleach or ammonia — they can dull the finish of shower kits or damage the glass panels.
Step 2: Spray, Soak, and Wait
Combine equal amounts of warm water and white vinegar in a spray bottle. Spray generously on the glass panels and walls of your shower kits. Let it sit for about 10–15 minutes. This helps loosen soap buildup and hard water stains.
If you have a luxury shower enclosure, pay extra attention to the corners and edges where grime loves to hide.
Step 3: Scrub Gently
After soaking, take a soft sponge and gently scrub in circular motions. For tough spots, sprinkle a bit of baking soda on the sponge — it works like a natural scrubbing agent without scratching the surface.
Use the toothbrush to clean small areas like joints, hinges, or drain covers in shower enclosure kits.
Step 4: Rinse Everything Off
Once you’ve scrubbed away all the grime, rinse with clean water. Use a handheld shower or a bucket of warm water to wash away the residue.
Make sure no cleaning solution is left behind — it can leave streaks or attract more dirt later.
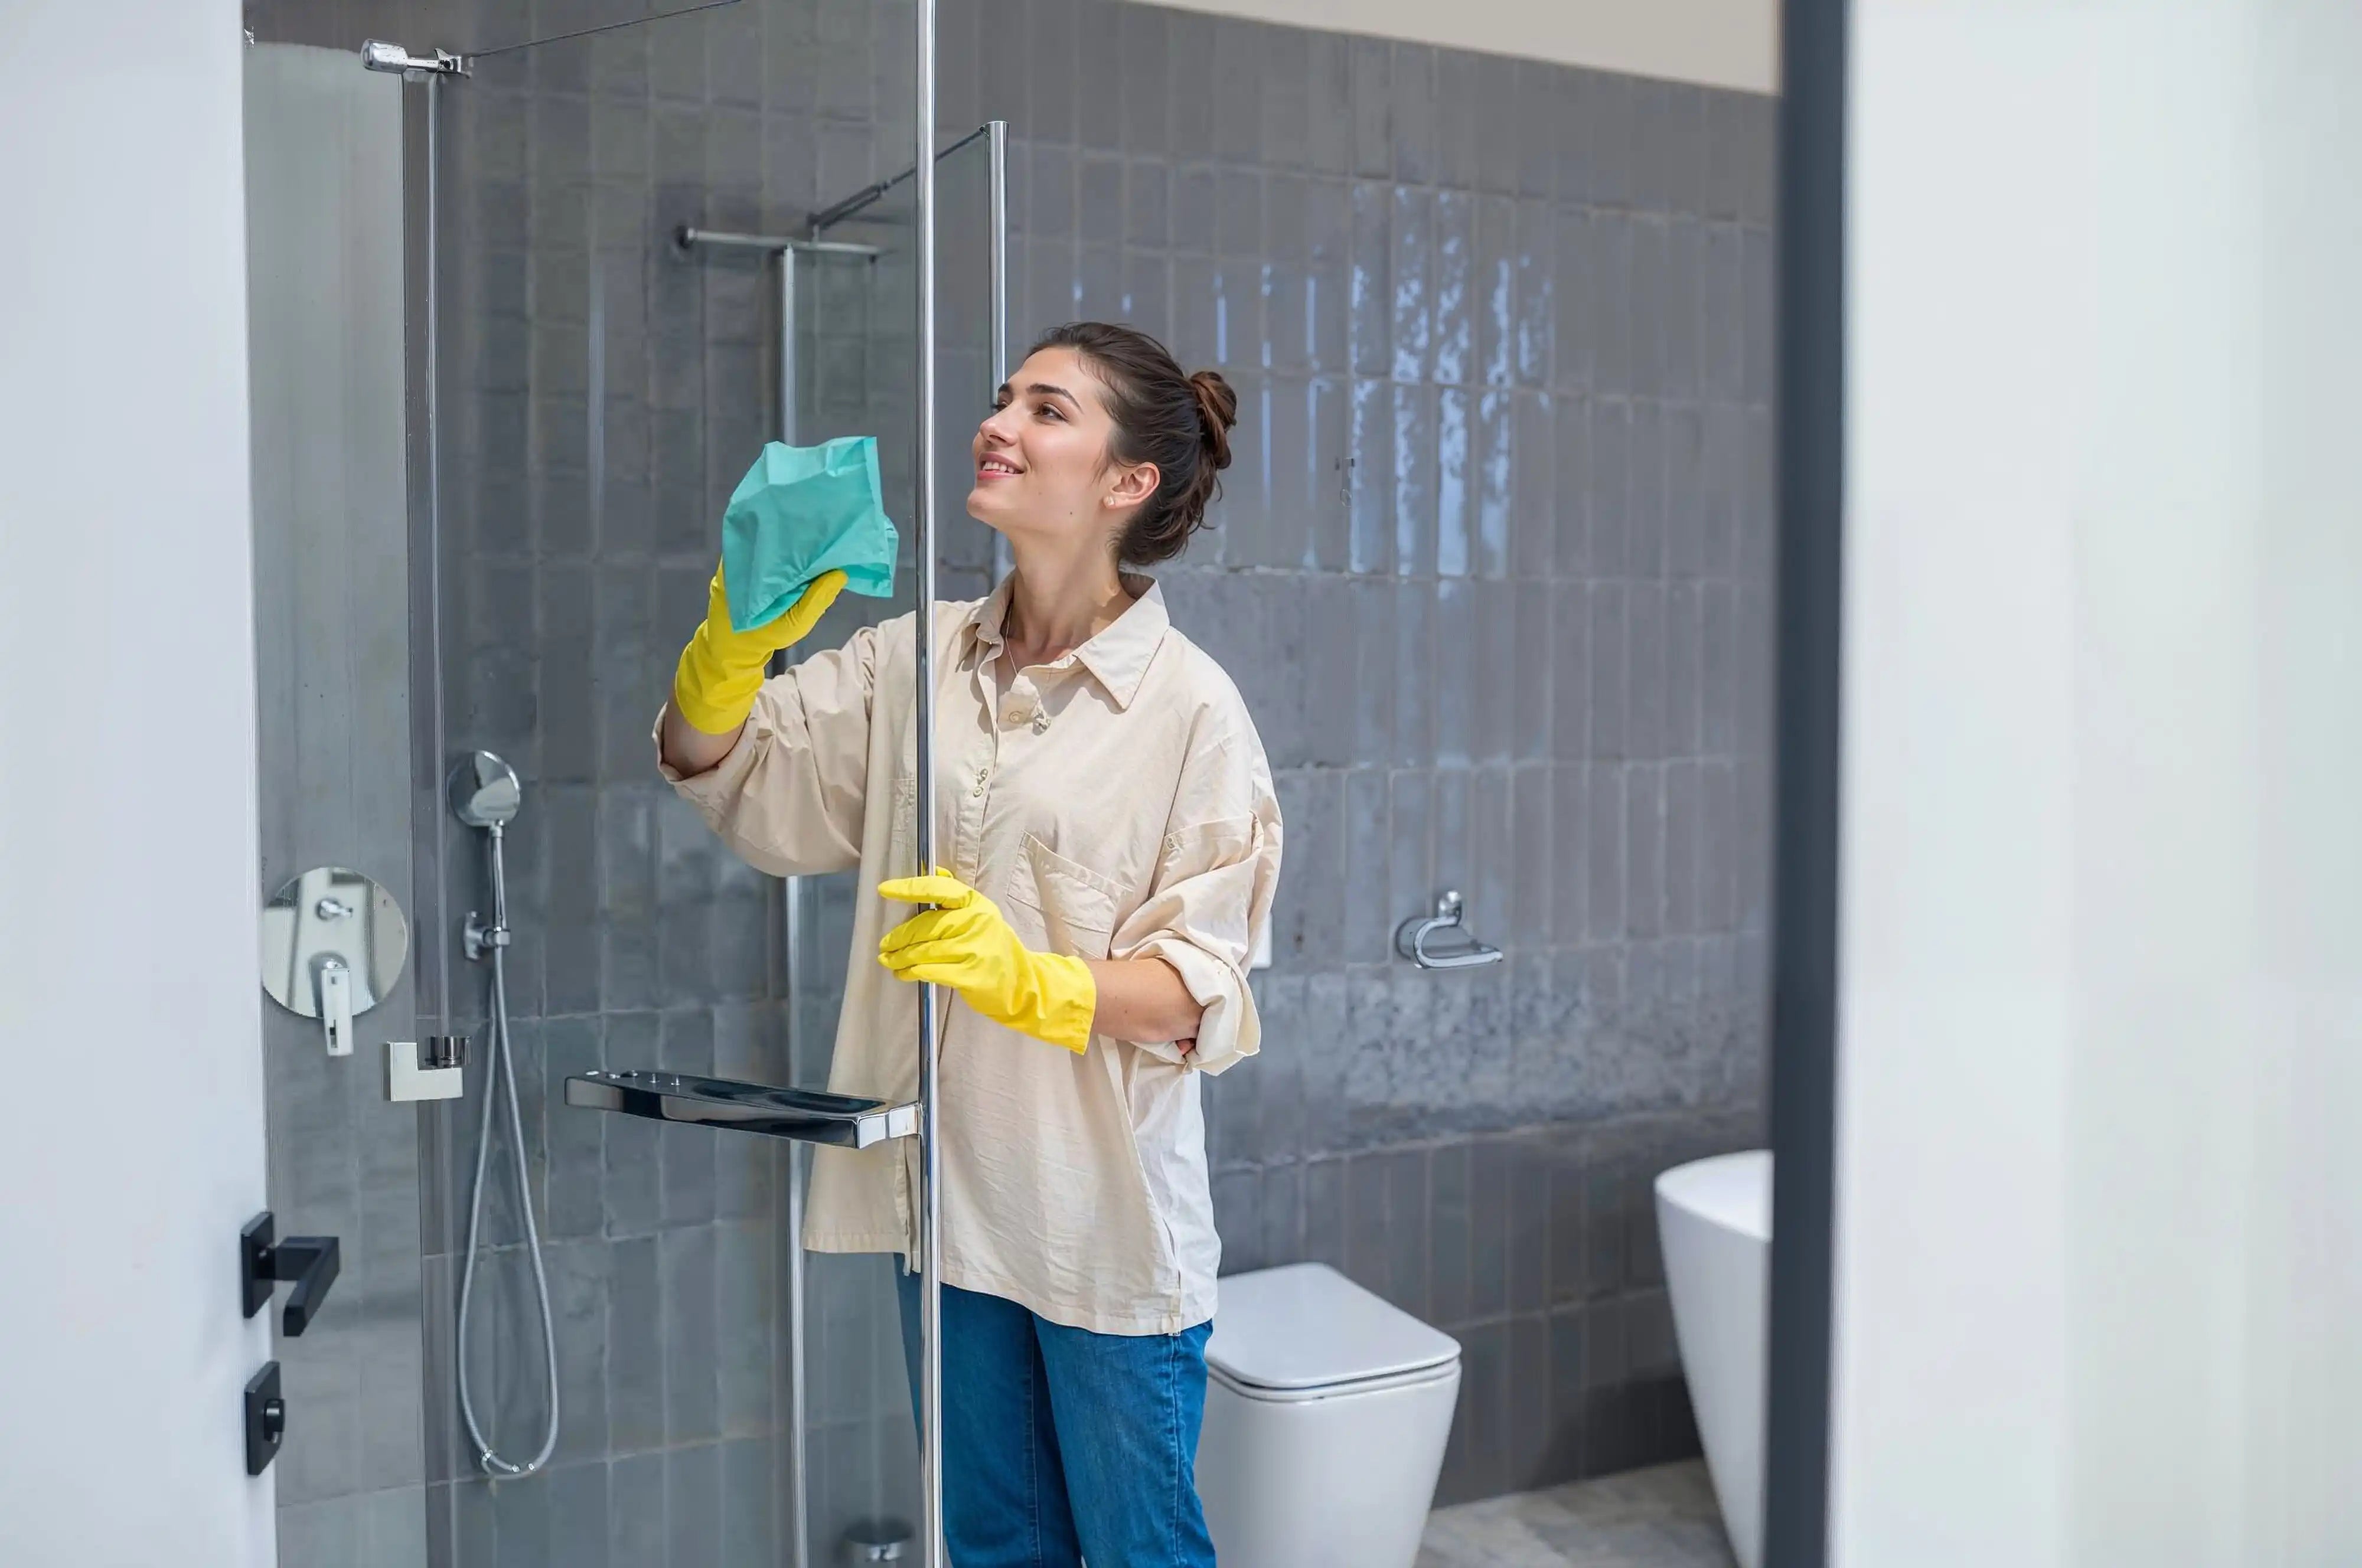
Step 5: Dry It Like a Pro
Here’s the secret step most people skip — drying!
After rinsing, use a clean microfiber cloth to dry the surfaces. This prevents water spots and streaks.Tip: Keep a squeegee in your bathroom and run it over your shower kits after every use. It takes less than a minute and keeps them spotless every day.
Maintenance Tips to Keep Your Shower Kit Looking New
You’ve cleaned your shower once, but what about keeping it that way?
Follow these easy maintenance tips and your complete shower kits will look brand new all year round!
-
Do a quick rinse daily: After every shower, rinse off the walls and doors. It prevents soap and shampoo buildup.
-
Use mild cleaners only: Harsh chemicals can ruin the glass and finish of shower kits.
-
Keep it dry: Moisture invites mold. Wipe down surfaces with a cloth or wiper after every shower.
-
Clean the drain weekly: Avoid clogs by removing hair and residue.
-
Polish the hardware: Use a soft cloth and gentle cleaner to make your metal parts shine.
-
Check for cracks or loose seals: Early fixes save money and keep your shower enclosure kits watertight.
-
Ventilate the bathroom: Turn on the fan or open a window after a shower to prevent moisture buildup.
Natural Cleaners That Work Wonders
Want to skip store-bought chemicals? Try these natural options for your shower kits:
-
Vinegar + Baking Soda Mix: Cuts through soap scum.
-
Lemon Juice: Removes water stains and smells amazing.
-
Hydrogen Peroxide: Great for whitening grout and removing mildew.
-
Salt + Vinegar Paste: Works great for deep-cleaning metal fixtures.
These are eco-friendly, budget-friendly, and safe for your luxury shower enclosure.
Common Shower Kit Mistakes to Avoid
Even with the best cleaning habits, mistakes happen. Here’s what to watch out for:
-
Using abrasive pads or steel wool — they’ll scratch your shower kits.
-
Leaving vinegar on too long — it can damage metal trims.
-
Ignoring water spots — they can etch into glass over time.
-
Not sealing grout lines — moisture sneaks in and causes damage.
-
Forgetting regular cleaning — consistency is key!
Remember, prevention is always easier (and cheaper!) than repairs.
Choosing Quality Shower Kits Makes Cleaning Easier
If your shower is a nightmare to clean, it could be the product quality. Complete shower kits from reputable brands like Dreamwerks are designed for easy maintenance and durability.
Here’s why top-quality shower kits are worth the investment:
-
Smooth, non-porous surfaces that resist stains.
-
Frameless or semi-frameless glass that wipes clean easily.
-
Smart drainage systems to prevent standing water.
-
Durable hardware that doesn’t rust or corrode.
High-quality shower enclosure kits aren’t just about luxury — they save you time and stress every single day.
When to Deep Clean Your Shower Kit
Not every mess is visible. Even clean-looking shower kits collect invisible grime.
So, when should you deep clean?
-
Every 2 weeks: Wipe down glass and walls.
-
Once a month: Deep clean the tiles, floor, and drains.
-
Every 3 months: Check seals, caulking, and grout lines.
-
Every 6 months: Polish glass and metal for that fresh, new look.
Make it a schedule — it’s easier to maintain than a once-a-year deep scrub!
FAQs
Q1: How often should I clean my shower kit?
It’s best to give your shower kits a light clean every week and a deep clean once a month. Regular upkeep helps avoid stubborn stains and soap scum.
Q2: Can I use vinegar on all types of shower kits?
Yes, vinegar is safe for most surfaces, but don’t leave it too long on metal trims or marble bases — it can cause dullness.
Q3: What’s the best cleaner for a luxury shower enclosure?
Use mild dish soap mixed with warm water or a vinegar solution. Avoid anything abrasive or acidic.
Q4: How do I stop mold from growing in my shower?
Ventilation is key! Open a window or use an exhaust fan after every shower. Also, dry your shower kits with a cloth or squeegee.
Q5: Are complete shower kits easy to clean?
Absolutely! Most modern complete shower kits are made with easy-clean materials like acrylic and tempered glass, which need minimal scrubbing.
Final Thoughts
There you have it — the easiest way to keep your shower kits spotless and shining without spending your entire weekend cleaning. With regular maintenance and gentle care, your luxury shower enclosure or shower enclosure kits will stay as stunning as the day you installed them.
Remember, consistency is everything — clean a little, but clean often!
If you’re looking for high-quality shower kits that are easy to clean, built to last, and look absolutely gorgeous in your bathroom, Dreamwerks has got you covered. Stylish, durable, and effortless — because your shower should be the best part of your day.


