



Dreamwerks BLOG / ARTICLES

Best Soap Scum Remover to Prevent Water Spots on Glass Doors
If you've ever stepped into your bathroom and noticed a hazy film creeping across the glass, you already know the frustration. That cloudy buildup is usually a mix of soap residue and mineral deposits, and once it sets in, it's tough to shift. Finding the right soap scum remover early on can save you hours of scrubbing later and keep hard water from ever getting the upper hand. This guide explains why that filmy buildup happens, which cleaners work without damaging your surfaces, and a few installation habits that help stop the problem before it starts. Why Soap Scum Builds Up in the Bathroom Soap scum forms when the fatty acids in bar soap and body wash react with minerals in your water supply. That reaction leaves behind a thin, waxy film that clings to glass, tile, and fixtures - and the harder your water, the faster it builds. The calcium and magnesium in hard water don't rinse away easily. They bond to surfaces as water evaporates, which is exactly how spotty white rings show up on glass and metal fixtures after every use. Left alone, that residue only gets thicker and harder to break down with each shower, and it's a big part of why a good cleaning routine matters so much. What Actually Causes Water Spots on Your Glass Water spots aren't just cosmetic annoyances - they're mineral deposits sitting on the surface until something breaks them down. A few habits make the problem worse: • Letting water air-dry on the glass instead of squeegeeing it off • Using the wrong cleaner, which can etch or dull the surface over time • Skipping regular maintenance until the buildup gets heavy • Ignoring a water-quality problem at the source, like an aging softener The fix is simpler than it sounds. A quick daily habit - a squeegee pass after each shower - combined with the right weekly cleaner keeps spots from ever piling up into a real project down the road. Choosing the Right Soap Scum Remover for Your Shower Not every bathroom cleaner belongs in a shower enclosure. Plenty of general-purpose products are too abrasive and end up scratching acrylic surfaces or dulling a glass coating over time. When you're comparing soap scum removers, look for something labeled non-abrasive and safe for shower glass - that's what breaks down residue without wearing away the finish underneath. Here are two options that consistently get the job done without harming your surfaces. Rejuvenate 32 oz. Soap Scum Remover The Rejuvenate 32 oz. Soap Scum Remover from Home Depot is formulated to be non-abrasive, which makes it a solid pick for glass shower enclosures. It cuts through built-up soap film and mineral haze without needing a scrub brush or an abrasive pad, so you're not putting extra wear on treated glass or acrylic panels. At under ten dollars, it's an easy one to keep under the sink for weekly touch-ups, and a little goes a long way on tough, set-in residue. Magic Shower Glass & Mirror Cleaner For lighter, everyday upkeep, this glass and mirror spray from Magic is built specifically for glass and mirrors in wet environments. It's a nice companion to a deeper-cleaning product - spray it on for quick daily maintenance between the heavier weekend cleanings, and it won't leave the streaky film that all-purpose glass cleaners sometimes do. Keep both on hand, and you've got your bases covered for everyday upkeep and weekly deep cleans alike. Keeping Acrylic Surfaces Scratch-Free If your shower has an acrylic base or acrylic wall panels, cleaner choice matters even more. Acrylic scratches far more easily than tile or fiberglass, so reach for an acrylic cleaner rather than anything gritty, bleach-heavy, or abrasive. A few rules of thumb worth following: • Never use steel wool, scouring pads, or powdered abrasive cleansers on acrylic or glass • Stick to soft microfiber cloths or non-abrasive sponges • Rinse thoroughly - leftover cleaner residue can actually attract more grime, not less • Avoid ammonia-based products on tinted or coated glass, since they can break down protective coatings over time Treat these surfaces gently,y and they'll stay clear for years instead of clouding over within a season. Protecting Your Shower Base During Installation A lot of the buildup problems homeowners deal with actually trace back to how the shower was installed, not just how it's cleaned afterward. If the base isn't fully supported underneath, it can flex slightly every time you step in, and that flexing stresses seams and grout lines over time - which gives water and residue more places to collect. This is where a mortar bed underneath the base earns its keep. A layer of mortar, mixed using a product like Quikrete sand mix, fills the void beneath the base and gives it solid, even support. Without it, you're relying on the base's own rigidity to handle daily foot traffic, which most manufacturers don't recommend for long-term use. A few things worth keeping in mind when setting a base: • Dry-fit the base first to check for gaps before mixing any mortar • Mix your Quikrete sand and water to a firm, damp consistency - not soupy - so it fully supports the base without oozing into drain lines • Preserve the weep channels around the drain, since they let any water that gets underneath the base drain out safely • Let the mortar cure fully before caulking or using the shower Sealing Your Shower Kit the Right Way Once everything is set and cured, sealing the seams correctly matters just as much as the base underneath it. This is where a lot of DIYers reach for whatever caulk is on hand, and that's a mistake that shows up later as leaks or mold. Skip painter's caulk entirely. It's designed for trim and paint lines, not constant water exposure, and it breaks down fast in a wet environment. Instead, use 100% silicone caulk at every seam where the base meets the wall panels and the glass doors. Silicone flexes as things settle slightly over time, staying watertight where a rigid or acrylic-latex caulk would eventually crack. A clean, smooth bead of silicone also gives future buildup less to grip onto, since there are no rough or porous edges for residue to collect in. A Simple Weekly Routine to Keep Things Clear Once your shower kit and glass are properly installed and sealed, maintenance is mostly about consistency. A little bit of regular care goes a long way toward keeping everything looking new: 1. Squeegee the glass after every shower to cut down on standing water 2. Spray a glass cleaner two to three times a week for light upkeep 3. Do a deeper clean with a dedicated soap scum remover once a week 4. Wipe down the shower base and corners where water tends to pool 5. Check caulk lines every few months for any early signs of cracking or peeling It also helps to keep a couple of trustworthy soap scum removers on hand rather than grabbing whatever's under the sink, since not every all-purpose spray is gentle enough for glass and acrylic. And an acrylic cleaner is worth keeping in the same cabinet if your base or panels are acrylic, so you're never tempted to reach for something abrasive in a pinch. This routine takes just a couple of extra minutes but keeps mineral stains and residue from ever getting a real foothold in your bathroom. Quick Answers to Common Questions Is it safe to use a soap scum remover every day? Most formulas are gentle enough for frequent use, but a daily squeegee pass plus a lighter spray cleaner is usually all you need. Save the stronger soap scum remover for a weekly deep clean rather than an everyday step. Can I make my own soap scum remover at home? Homemade mixes with vinegar or dish soap can help in a pinch, but they're not always safe for acrylic or coated glass, and vinegar's acidity can wear down certain seals over time. A store-bought, non-abrasive formula is the safer long-term bet. Why does my new shower already have spots after a few weeks? This usually points to mineral-rich water rather than anything wrong with the install. Starting a simple cleaning routine right away, before residue has a chance to build up, makes a noticeable difference within the first month. Does caulk choice really affect how much cleaning I have to do? Yes. A properly sealed, well-supported base sheds water more evenly and gives residue fewer nooks to settle into, which means less scrubbing down the road. Final Thoughts Keeping a shower clear isn't complicated once you understand what's actually happening on that surface. A good cleaner does the heavy lifting on cleaning day, while smart installation habits - a properly bedded base, preserved weep channels, and 100% silicone at the seams - keep water and residue from finding new places to settle in. Handle both sides of the equation and your glass will stay looking new for years, not months.
Read moreDreamwerks BLOG / ARTICLES

HOW TO CLEAN AND MAINTAIN YOUR SHOWER ENCLOSURE | bDreamwerks
BASIC STEPS TO CLEAN A SHOWER After each use, use a clean, dry cloth to wipe down your shower. This daily habit helps prevent mineral buildup. It might not be the first thing you think of, but it saves you time and effort later. If you see signs of mineral buildup, spray glass cleaner on the shower glass and let it sit for a minute. Use a paper towel to spread the glass cleaner over the glass and then dry it completely. WHAT ARE THE BEST PRODUCTS TO CLEAN A SHOWER? 1. ASTONISH DAILY SHOWER SELF-CLEANER 750ML This budget-friendly, quick, and easy cleaning liquid is a top choice for keeping your shower clean. It’s super convenient because you just spray and forget. The solution quickly gets rid of soap and water stains, leaving a sparkling finish. The key benefit is that regular use stops limescale from building up. This vegan solution works great on other shower parts like the plastic wheels of the shower door, the enamel tray, glass walls, tiles, and vinyl curtains. 2. CLEAN SHOWER DAILY SHOWER CLEANER SPRAY If you hate scrubbing, you'll love this cleaning solution. After showering, spray a light mist of this premium product and walk away. That's right, you can clean your shower – whether it's a walk-in or corner shower – without any rubbing, wiping, rinsing or squeegeeing. This product is especially helpful in areas with hard water. The only downside is this spray is not safe for use on natural stone or marble. Make sure to keep this in mind before you buy it. 3. MR MUSCLE PLATINUM SHOWER SHINE 750ML This daily shower cleaner is another affordable option that eliminates scrubbing, rinsing or wiping. You just spray and walk away. This convenient spray effectively prevents the build-up of soap scum, grime, grout, and limescale on the different surfaces in your shower. You can use this versatile cleaner on acrylics, plastics, fiberglass, chrome, porcelain, glass, tiles, and shower curtains. 4. HG 147050106 SHOWER & WASHBASIN SPRAY This everyday bathroom cleaner works well on plastic shower units, tiled walls, and sinks. This spray is effective on all bathroom surfaces, including marble, granite, travertine, enamel, and natural stone. A handy refill bottle makes this product even more budget-friendly. Using it is easy too. Simply spray the shower surface and let it sit for a few minutes. Then rinse the surface thoroughly with water. 5. MELLERUD SHOWER CUBICLE CLEAN AND CARE This premium product makes shower surfaces hygienically clean in a simple two-step process. This spray is suitable for use on showers made from glass, plastic, or aluminum. You can use it on shower dividers and curtains, too. After showering, spray a light mist and rinse off with water. HOW TO CLEAN SHOWER DOORS WITHOUT SCRATCHING OR DAMAGING THEM? A natural way to clean shower doors is to mix baking soda with water to make a thick paste. Next, scrub the glass surface with a non-abrasive sponge. Lastly, rinse the glass with vinegar until it shines. (Because undiluted vinegar can cause skin burns, it's best to wear gloves.) HOW TO CLEAN SHOWER DOORS WITH PROTECTIVE COATING? For glass with a protective coating, be careful. Don't use any product containing ammonia, hydrofluoric acid, or phosphoric acid. Avoid using sharp objects, abrasive brushes, or razor blades as these could scratch the coating. A natural way to clean shower doors with a protective coating is to use vinegar. Wipe the glass with a Scotch-Brite Non-Scratch Scrub Sponge dipped in vinegar. Then, rinse the glass clean with water. Since you can't wipe and rinse the shower door glass after each use, an easier way to clean glass with protective coating is to use Clean Shower Cleaner Shower Daily Spray. As mentioned above, this gives you a sparkling finish without any wiping or rinsing. You can use this premium cleaner to clean the entire shower – whether it's a walk-in or corner shower. HOW TO CLEAN SHOWER DOOR TRACKS? Unlike a walk-in shower, a corner shower has a sliding door. Shower door tracks can be the hardest part of the shower to clean because soap scum and dirt often build up there. They're also the most overlooked part of a shower. The best way – and, of course, the most effective way – to clean door tracks is to use common household cleaning supplies: an old toothbrush, one tablespoon of lemon juice, and two tablespoons of salt. Mix the lemon juice and salt to make a smooth paste. Use the toothbrush to apply this paste to all the hard-to-reach parts of the sliding rolls. Wait for 15 minutes, and rinse the dirt off with warm water. If necessary, repeat this process. HOW TO CLEAN THE SHOWER DRAIN? Cleaning the shower drain can be challenging. Ideally, if you do it once a month, your drain won't clog and the water will drain properly. While a chemical drain cleaner is fast and effective, we don't recommend it because the strong chemicals can damage your plumbing. So, we suggest doing it the natural way using the steps below. Step 1: Wear rubber gloves. Remove the shower drain cover. First, you'll need to remove any large debris, like hair. Use a drain snake for this. A thin wire coat hanger can also work. Step 2: Remove the initial debris with your fingers. Then, gently insert the movable end of the drain snake and push it down the drain. With a slight twisting motion, move the end forward so the snake winds down the drain. Step 3: Slowly pull the snake upwards. Pull out the blocking debris and put it in a plastic bag. Step 4: If needed, repeat this process. Make sure all blockages are cleared. Step 5: In this extra step, use 1 tbsp of baking soda and some vinegar to clear any remaining debris. Pour the baking soda down the drain. Then, pour in some distilled white vinegar. A fizzing sound means the remaining blockages are being cleared. Step 6: Wait for 30–40 minutes. Pour half a bucket of hot water into the shower drain to flush the mixture. Replace the shower drain cover. If all this seems like too much work, then you can try Mr Muscle Max Gel Unblocker or Scotch Corporation Liquid Drain Opener. These unclogging liquids do the same job quickly, offering an easier solution. HOW TO CLEAN SHOWER WALL OR FLOOR TILES? Dirty shower tiles are not only unhygienic, but they're also embarrassing. Scrubbing is the best way to clean them, but this can take a long time. If you have the time and your tiles aren't natural stone, you can use lemon juice to clean them. This method doesn't involve any scrubbing. First, spread lemon juice evenly on the stubborn spots on the tiles. Then, let it sit for two hours. Lastly, wipe with a soft cloth and rinse the tiles thoroughly. HOW TO CLEAN A SHOWER WITH COMMON KITCHEN ITEMS LIKE VINEGAR AND BAKING SODA? A mix of vinegar and baking soda is a practical solution for cleaning most surfaces. But this mix should never be used on natural stone because it can cause discoloration. Using them separately is more effective than using them together. This is because combining them can neutralize their effects, mostly producing water and some sodium acetate. So, make a thick paste by mixing baking soda with water. Wear rubber gloves and apply this paste evenly over the shower surface you want to clean. Let it sit for a few minutes before wiping the surface with a clean, soft towel dipped in vinegar. Rinse the surface thoroughly with water. HOW OFTEN SHOULD YOU CLEAN YOUR SHOWER? Ideally, you should clean your shower weekly to prevent mildew and stains from building up. But if you miss a week, you'll have to work harder the next week. If you rely on a spray-and-forget cleaner every day, make sure to rinse the shower once a week after spraying. Pay attention to the showerhead, shower unit, and wall tiles
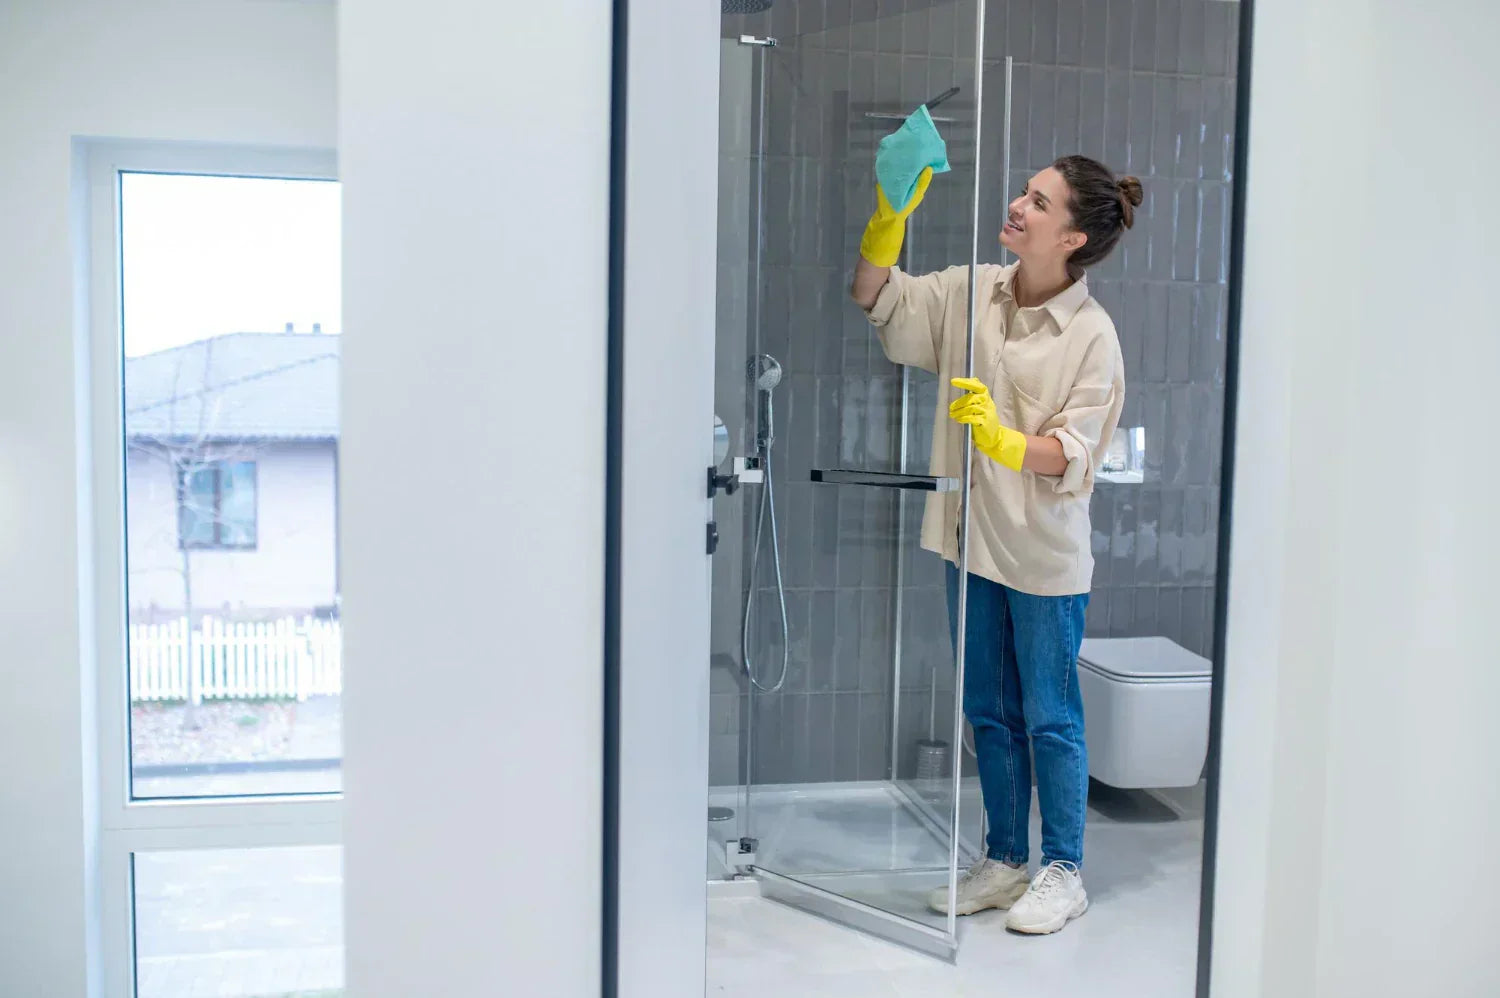
How to Clean a Shower Enclosure to Extend Its Lifespan
A shower enclosure gets used every single day, yet it’s often the last thing people think about maintaining. Over time, soap residue, water spots, and moisture quietly build up. Left alone, they can dull the glass, damage hardware, and shorten the life of the enclosure. The good news? Keeping your enclosure looking new doesn’t require special tools or hours of effort. With a few smart habits, you can protect everything from the glass to the rollers. This matters whether you’re using a basic setup, full shower kits, or a high-end luxury shower enclosure. Let’s keep this simple and practical. Why Regular Cleaning Makes Such a Difference A clean enclosure isn’t just about looks. It affects how smoothly the doors move, how long seals last, and how fresh your bathroom feels. When cleaning becomes part of your routine, you: Keep glass clear instead of cloudy Prevent rust and corrosion on metal parts Avoid stiff or noisy doors Extend the life of seals and rollers Maintain a cleaner, healthier bathroom If you’ve invested in complete shower enclosure kits, proper care helps protect that investment long term. Start by Knowing Your Shower Enclosure Before cleaning, it helps to understand what your enclosure is made of. Glass Panels Most enclosures use tempered safety glass. Clear glass shows water spots more easily, while frosted or textured glass hides them a bit better but still needs regular cleaning. Frames and Hardware Framed and semi-frameless enclosures include metal edges and trims that should be cleaned gently to avoid scratches. Frameless styles rely heavily on spotless glass and clean hardware to look their best. Tracks and Seals Sliding doors, common in many shower kits, depend on clean tracks. Rubber seals keep water inside and need attention to prevent mold and wear. Daily Habits That Save You Time Later Here’s the thing: the easiest way to clean a shower enclosure is to stop buildup before it starts. After each shower: Run a squeegee over the glass Wipe down handles and metal edges Leave the door slightly open to let moisture escape It takes less than a minute, but it makes weekly cleaning much easier. A Simple Weekly Cleaning Routine Once a week, give your enclosure a proper clean. This keeps it looking good and working smoothly. Clean the Glass Use a mild, non-abrasive cleaner and a soft cloth. Spray lightly, wipe gently, and dry the glass to avoid streaks. Harsh chemicals and rough pads do more harm than good. Wipe the Frames and Hardware Soap residue loves metal surfaces. Wipe frames, hinges, and handles with a damp cloth, then dry them right away. This is especially important if you have a luxury shower enclosure with premium finishes. Check Sliding Tracks If your enclosure slides, inspect the bottom track. Remove hair, soap buildup, and debris. Clean tracks mean smoother doors and fewer problems over time. Monthly Checks That Prevent Bigger Issues Once a month, take a closer look. Check rubber seals for mold or cracks Clean corners where grime tends to hide Make sure handles and hardware are secure Pay attention to how smoothly doors move Catching small issues early can save you from costly repairs later. What Not to Do When Cleaning Some common habits can shorten the life of your enclosure. Avoid: Scrubbing with abrasive pads or steel wool Using strong bleach or acidic cleaners Letting cleaning products sit too long Ignoring moisture around seals and frames Gentle cleaning always works better in the long run. How Cleaning Protects Shower Enclosure Kits Regular cleaning doesn’t just keep things shiny. It keeps everything working as it should. Clean glass resists permanent stains. Dry hardware resists rust. Flexible seals last longer. If your bathroom includes complete shower enclosure kits, this kind of care helps every part perform better for longer. Extra Care for Luxury Shower Enclosures A luxury shower enclosure is designed to look refined, so a little extra care goes a long way. For best results: Stick to gentle cleaners Dry metal finishes after cleaning Keep hinges and tracks clean Make sure your bathroom is well-ventilated These small habits help preserve that polished, high-end look. Long-Term Maintenance Tips That Actually Work If you want your enclosure to stay in great shape: Clean it consistently, not occasionally Replace worn seals as soon as you notice them Fix stiff doors before they get worse Reduce moisture with proper airflow Simple habits make a big difference over time. FAQs How often should I clean my shower enclosure? Light cleaning once a week, plus quick daily wipe-downs, works best. Can I use regular household cleaners? Mild cleaners are fine. Avoid anything harsh that could damage glass or finishes. How do I stop water spots from forming? Using a squeegee after every shower is the most effective method. Are sliding shower enclosures harder to maintain? They need a bit more attention in the tracks, but regular cleaning keeps them smooth. Does cleaning really extend the lifespan? Yes. It protects glass, hardware, and seals from early wear and damage. Final Thought A shower enclosure is something you rely on every day, so taking care of it is worth the effort. With the right routine, it can stay clear, smooth, and good-looking for years. If you’re thinking about upgrading or exploring modern shower kits and shower enclosure kits, Dreamwerks offers well-designed options that balance style, durability, and easy maintenance. Take a look through the collection and choose an enclosure that fits your space and your lifestyle.


