



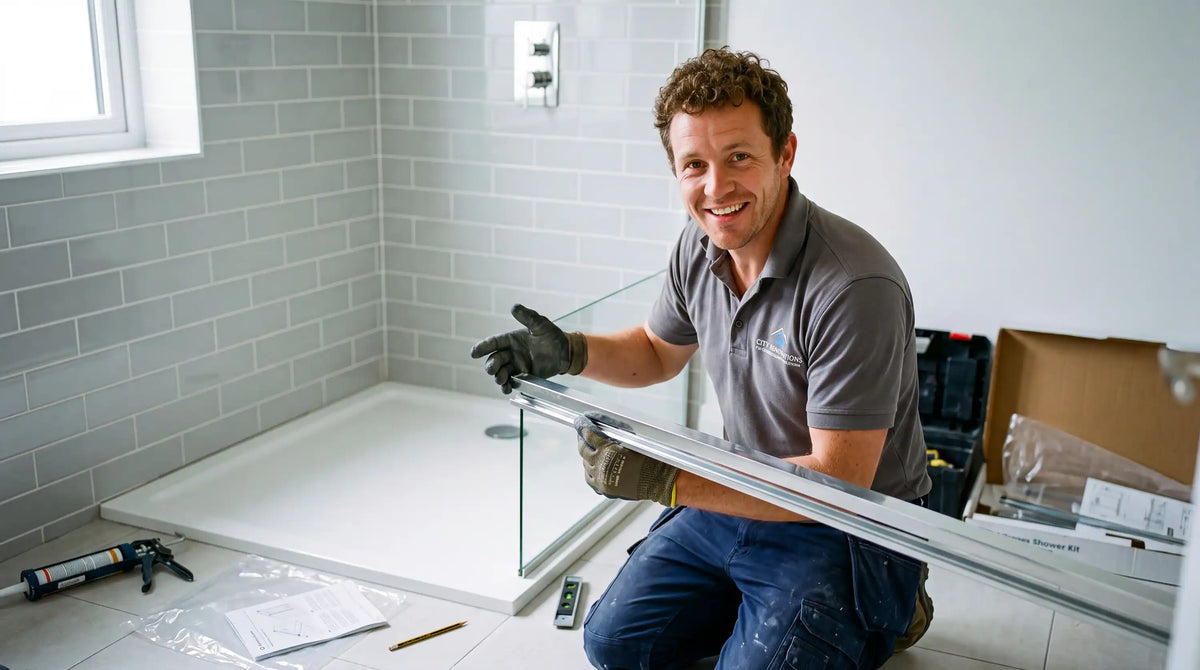
If you've got an awkward corner in your bathroom that never seems to earn its keep, a corner shower kit can turn that dead space into one of the most functional spots in the house. These units are built specifically to fit into a 90-degree angle, which makes them a favorite for small bathrooms, guest baths, and finished basements where square footage is tight. Knowing how to install a corner shower kit step by step takes the mystery out of the project and helps you avoid the leaks and misalignment that trip up a lot of first-time DIYers. This guide walks through the whole process, from prepping the substrate to sealing the final joint, so you can get a clean, professional-looking result without hiring it out.
At a Glance
● Most kits include a base, two or three wall panels, and a door, and a homeowner with basic tools can usually finish the job in a weekend.
● Getting the shower pan installation level and properly sealed is the single most important step for preventing leaks down the road.
● Manufactured acrylic and fiberglass units are the easiest materials for a DIY project, while a fully tiled surround takes more time and skill.
Why a Corner Layout Works So Well in Small Bathrooms
A corner shower stall is exactly what it sounds like: a self-contained shower designed to tuck neatly into a corner instead of running along a flat wall. Most kits come as a package deal, which is why people often call them a corner shower unit rather than buying the base, panels, and door separately. That bundling is a big part of the appeal. You're not guessing whether your panels will match your door frame or whether your base will line up with your drain rough-in dimensions, because the manufacturer has already worked that out.
These units show up a lot in remodels where floor space is at a premium. A rectangular tub-shower combo can eat up a huge footprint, but a corner shower unit angles into the room in a way that frees up walking space near the vanity or toilet. That's part of why basement bathrooms, in particular, lean on this layout so often; a basement shower kit lets you carve a full bathroom out of a mechanical room or a corner near the laundry hookups without sacrificing the whole space to plumbing fixtures.
Homeowners also like corner units because they tend to be more budget-friendly than a fully custom, tiled enclosure. You're paying for a manufactured product with predictable rough-in dimensions, not custom fabrication. If you're weighing your options, it helps to browse a few manufacturers directly. Dreamwerks, for instance, carries a range of shower kits and doors built around standard rough-in sizes, which makes it easier to match new fixtures to an existing bathroom layout without a lot of custom carpentry.
How to Install a Corner Shower Kit: Step-by-Step Process
Here's the process broken into stages. Read through everything once before you start, since a few of these steps need to happen in a specific order to avoid tearing out work you already finished.
1. Measure and confirm your rough-in. Before you install corner shower fixtures of any kind, measure the corner, the drain location, and the ceiling height. Most kits are sized for either 32, 36, or 38-inch corners. If you're doing a shower pan installation on an existing drain, double-check that the drain sits where the kit's template expects it.
2. Remove the old fixture and prep the subfloor. Tear out the old tub or stall down to the studs and subfloor. Check for soft spots, rot, or old moisture damage, and replace any compromised plywood. This is also the point to confirm your load-bearing studs are sound, since the wall panels will be screwed directly into them.
3. Dry-fit the base. Set the corner shower base in place without adhesive first. Check it with a level in both directions and shim underneath as needed until it's dead level. An unlevel base is the number one cause of standing water and premature failure, so don't rush this part.
4. Set the base permanently. Once you're satisfied with the fit, apply the manufacturer's recommended mortar bed or adhesive, set the base back in place, and weight it down while it cures. Connect the drain fitting according to the kit instructions, and test it with a bucket of water before moving on.
5. Install the wall panels. This is the core of the shower kit installation. Starting with the back corner panel and working outward, screw each panel into the studs, following the manufacturer's spacing guide. Behind the shower wall panels, run a bead of manufacturer-approved sealant along every seam where panels meet, and along the top edge of the base. This is your moisture barrier, so don't skip it or skimp on coverage.
6. Add trim pieces and corner caulk joints. Most kits include finishing strips or corner moldings that cover the raw panel edges. Once those are screwed or glued in place, run a bead of 100% silicone caulk (not standard latex caulk) along every interior corner and the base seam. Proper shower wall installation depends on solid framing and full sealant coverage behind every one of those seams.
7. Hang the shower door. With the walls and base cured and sealed, it's time to hang the corner shower door. Attach the door track to the panel edges, check it for plumb, and hang the door or sliding panels according to the hardware instructions. A door that's even slightly out of plumb will bind or fail to seal, so take your time with the leveling here.
8. Caulk, test, and let it cure. Do a final bead of silicone around the door track and any remaining gaps, then let everything cure for the full time listed on the caulk and adhesive labels, usually 24 hours, before running water.
A couple of notes for special situations: if you're doing an install shower kit over tile job, confirm the existing tile is sound and flat, since most manufacturers don't recommend installing directly over damaged or uneven tile without a backer board. And if you're installing a shower kit in a basement, pay extra attention to the drain height and any need for an upflush or ejector system, since basement plumbing doesn't always have the gravity fall a main-floor bathroom does.
Choosing the Right Shower Kit for Your Bathroom
Before you order anything, think through size, layout, and how the space gets used day to day. A corner shower base needs to physically fit your rough framing, but it also needs to leave enough room to open a door and dry off comfortably. Most codes and manufacturers put the practical minimum at around 32 by 32 inches, though 36 by 36 feels noticeably more comfortable for daily use. Anything smaller starts to feel cramped fast, especially for taller users. A shower kit installation done right starts with a level base and ends with a fully sealed door, so don't let size be the only thing you plan around.
Shopping for a corner shower stall usually means picking between a straight door, a sliding door, or an angled neo angle door, so measure the opening carefully before you commit to a style. If you like an open, modern look, a neo angle shower is worth considering. These units have an angled front panel instead of a straight corner shower door, which creates a wider entry point and a more spacious feel even in a small footprint. Framed and frameless glass are both common finishes for a corner shower surround today, so it's mostly a matter of budget and personal taste. A neo angle shower is a popular pick for anyone doing a primary-bathroom remodel where appearance matters as much as function.
For material selection, think about how the room actually gets used. A basement shower kit or a guest bath that doesn't see daily traffic can usually get away with a more budget-friendly fiberglass or acrylic unit. A primary bathroom used every day benefits from a sturdier acrylic shower kit or a semi-custom corner shower enclosure that can take years of regular wear. If comparing shower surround installation methods, remember that panel systems generally install in a single weekend, while tile can take several days plus curing time. And if you want your shower to genuinely coordinate with your vanity and countertops, it's worth checking a supplier that carries both. Dreamwerks sells matching vanity and shower collections, which can save you from chasing down finishes separately across three different retailers.
Plenty of homeowners install corner shower fixtures themselves without ever calling a contractor, but if you're not confident measuring rough-in dimensions or working with silicone sealant, it's worth budgeting for a pro. Rushing the framing or skipping a sealant bead is one of the most common mistakes people make with shower wall installation, since the missed spot stays invisible until a leak shows up months later behind the wall.
Frequently Asked Questions
What goes behind a shower kit?
Behind the shower wall panels, you need a solid substrate like moisture-resistant backer board or greenboard, plus a taped and sealed moisture barrier at every seam. This keeps water from reaching the studs and framing over time.
Are corner showers outdated?
No. Corner showers remain popular, especially in smaller bathrooms and basements, because they maximize floor space. Modern styles like angled glass doors and frameless hardware keep the look current rather than dated.
What is the minimum size for a corner shower?
Most building codes and manufacturers set a practical minimum around 32 by 32 inches. A 36 by 36-inch model is generally more comfortable for daily use, especially for taller household members.
Which is better for showers, PVC or acrylic?
Acrylic is lighter, easier to handle, and simple to clean, while PVC panels are thicker and hold up especially well in consistently damp basements. Both are solid, waterproof options for most bathrooms.
Final Thoughts
A corner shower kit is one of the more approachable bathroom upgrades a homeowner can tackle solo, as long as you respect the leveling, sealing, and curing steps along the way. Once you understand how to install a corner shower kit step by step, from prepping the subfloor to hanging the door, the actual work moves faster than most people expect. Take your time on the base and the seams, since that's where almost every leak starts, and the rest of the project tends to fall into place.


