



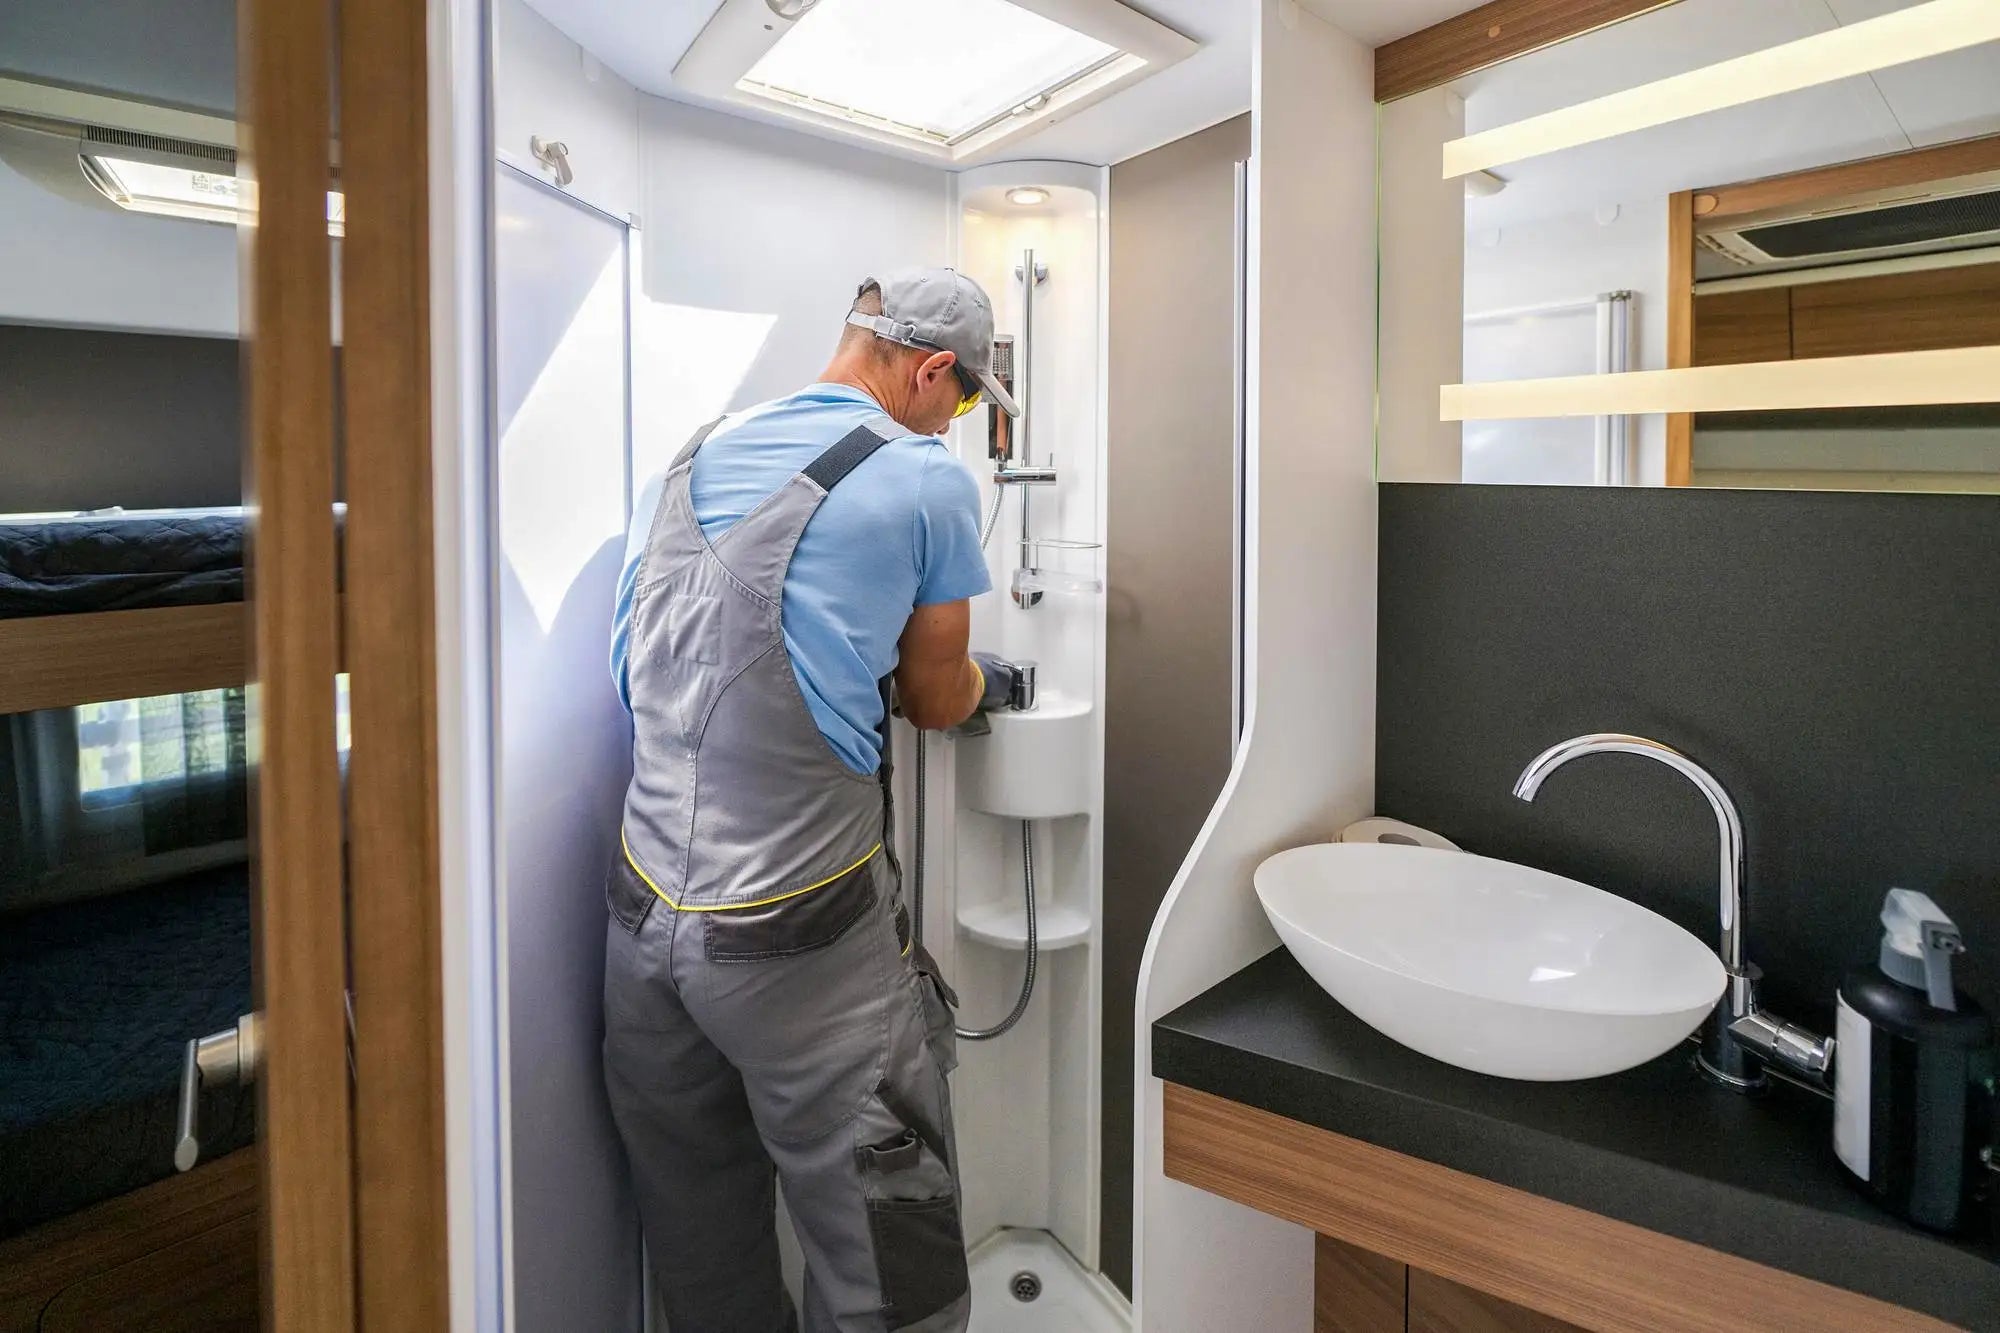
If you've been searching for how to install a shower kit, you already know the payoff: a brand-new shower in a weekend, at a fraction of the cost of hiring a full remodeling crew. The good news is that shower kits are built for exactly this kind of DIY project. The base, walls, and hardware arrive pre-formed and ready to assemble, so you're not tiling, waterproofing from scratch, or guessing at measurements.
The tricky part is that "shower kit" isn't one single product. Whether you're working with an alcove, a walk-in, a corner unit, or a fully waterproof system, the steps shift just enough to trip up a first-time installer. This guide walks through how to install a shower kit from start to finish, then breaks down what changes for each shower type, so you can follow the exact path that matches your bathroom.
What You Need Before You Start
Before you touch a single panel, gather these basics. Having everything on hand is the single biggest time-saver in any shower kit installation:
• Tape measure and level
• Utility knife and hacksaw
• Drill/driver with mixed bits
• Silicone caulk gun and 100% silicone sealant
• Construction adhesive (kit-approved)
• Waterproofing membrane or seam tape (if not pre-attached)
• Shims
• Screwdriver set
• Safety glasses and gloves
How to Measure
Every successful install starts before the kit is even out of the box. Measure the width, depth, and height of your alcove or corner space at three points each (top, middle, bottom), since older framing is rarely perfectly square. Record the smallest measurement at each point and shop to that number, not the largest. If you're replacing an existing tub or stall, also check the drain location against your new base's drain placement; adapter kits exist, but confirming this early avoids a plumbing surprise on install day.
How to Install a Shower Kit: Step-by-Step
This is the core process behind how to install shower kit units of nearly every style. Once you know these six steps, the type-specific sections below will make a lot more sense.
Step 1: Remove the Old Fixture and Prep the Space
Strip out the old tub, stall, or wall surround down to the studs or subfloor. Check for water damage in the framing and subfloor, replace anything soft or discolored, and make sure the space is clean, dry, and structurally sound before you bring in new materials.
Step 2: Dry-Fit the Base
Set the shower base or pan into the opening without adhesive first. Confirm it sits level in every direction, the drain lines up, and there's no rocking. Shim under low corners now, because adjusting after the base is glued down is much harder.
Step 3: Secure the Base
Once you're happy with the fit, apply construction adhesive or mortar (whichever your kit specifies) to the subfloor, set the base in its final position, and weigh it evenly while it cures. Connect the drain per the manufacturer's instructions and test for leaks with a bucket of water before moving forward.
Step 4: Install the Wall Panels
Starting with the back panel and working outward, apply adhesive to the panel back (or wall, depending on the kit), press each panel into place, and press firmly along the full surface to avoid air pockets. Panels typically interlock at the seams; check your kit's diagram, since panel order matters more than it looks like it should.
Step 5: Seal Every Seam
Run a continuous bead of 100% silicone along every seam, corner, and where the panels meet the base. This step is what actually keeps water inside the shower, so don't rush it. Smooth each bead with a wet finger or caulk tool for a clean, waterproof line.
Step 6: Add the Door or Curtain Hardware
Once the caulk has fully cured (check your product's cure time, usually 24 hours), install the door track, hinges, or curtain rod according to the kit's hardware guide.
How to Install a Walk-In Shower Kit
A walk-in shower kit skips the raised threshold, so the base sits flush or nearly flush with the bathroom floor. That makes subfloor prep the most important part of the whole job: the framing needs a slight slope built in before the base ever goes down, so water runs to the drain instead of toward the bathroom.
When you install a walk-in shower kit, pay close attention to the transition strip where the shower floor meets the rest of the bathroom. This is the number one leak point on curbless designs, so it typically needs its own dedicated waterproofing strip in addition to the seam sealant used on the walls.
How to Install an Alcove Shower Kit
An alcove shower kit is designed for a three-wall recess, so squareness matters more here than anywhere else. Before you set the base, hold a level against all three walls; if the framing is out of square by more than about a quarter inch, you'll want to add furring strips to true it up first, or the wall panels won't sit flush, and every seam will fight you.
From there, the alcove kit follows the standard six-step process above almost exactly, with one exception: install the two side panels before the back panel, since alcove kits are typically designed to have the back panel overlap the side panels at the seams for better water resistance.
How to Install a Corner Shower Kit
Corner kits (sometimes called neo-angle units) use an angled front wall, which means the base has five sides instead of four. Measure the two straight walls and the diagonal opening separately, and double-check that your drain rough-in sits at the base's true center point, since corner bases are less forgiving of an off-center drain than rectangular ones.
Because the front panel is angled, dry-fit it before applying any adhesive. Corner kits often ship with a slightly different panel order than alcove kits, so it's worth laying every piece out on the floor first to confirm you can identify each one before installation day.
How to Install a Waterproof Shower Kit
Some kits are fully self-contained, while others expect you to add a separate waterproofing membrane over the studs before the panels go on. If your kit falls into the second category, staple or adhere the membrane first, overlapping seams by at least two inches and taping every seam and corner with manufacturer-approved seam tape.
If you're building a shower with a waterproof shower kit from a bare, unfinished space rather than replacing an old surround, install the membrane on the walls before the base goes in, then run the membrane down over the top lip of the base itself so water is directed down into the pan, never behind it.
How to Install Sliding Shower Doors
Sliding doors are the most common upgrade for alcove and corner kits alike. Start by installing the bottom track level along the front edge of the base, using a level at multiple points, since even a slight tilt will cause the door to drift open or shut on its own.
Next, attach the side jambs plumb (perfectly vertical) against the wall panels, then set the top track to connect them. When you install a shower sliding door, hang the panels last, adjusting the rollers until each door glides smoothly without catching. Finish by installing the door sweep and any side seals, which close the small gaps that let water splash out during use.
Common Mistakes to Avoid
• Skipping the dry-fit and gluing the base down before confirming it's level
• Using standard caulk instead of 100% silicone at seams (it won't hold up to constant moisture)
• Rushing the caulk cure time before running water
• Forgetting to slope the subfloor slightly toward the drain on curbless designs
• Leaving gaps in the waterproofing membrane at inside corners, which is one of the most common causes of hidden mold behind the panels down the line
Frequently Asked Questions
How long does it take to install a shower kit?
Most DIYers can complete a standard shower kit installation in one to two days, including a full 24-hour cure time for the caulk before the shower can be used.
Do I need a plumber to install a shower kit?
If your new drain lines up with the existing rough-in, most homeowners can handle the installation themselves. A licensed plumber is worth calling in only if the drain needs to be relocated.
What's the difference between an alcove and a walk-in shower kit?
An alcove kit fits into a three-wall recess with a raised threshold, while a walk-in kit has a flush or low-profile base with no barrier to step over.
Can I install a shower kit over an existing tile wall?
It's not recommended. Panels need a flat, even surface to adhere to and seal against, so tile should be removed down to the studs or a smooth backer board first.
How do I measure for a shower kit before buying one?
Measure the width, depth, and height of the space at the top, middle, and bottom, and use the smallest measurement at each point since framing is rarely perfectly square.
Bring Your New Shower to Life
Whichever kit you're working with, the fundamentals stay the same: measure twice, dry-fit before you glue, and never skimp on the seams. Get those three things right, and you'll have a shower that looks professionally installed and holds up for years.
Ready to pick out your kit? Dreamwerks carries alcove, walk-in, corner, and fully waterproof shower systems designed to make this exact process as straightforward as possible, along with the sliding shower doors, hardware, and finishing pieces to match. And once your new shower kit is installed, a little regular upkeep goes a long way toward keeping seals and grout lines free of buildup for years to come.


