



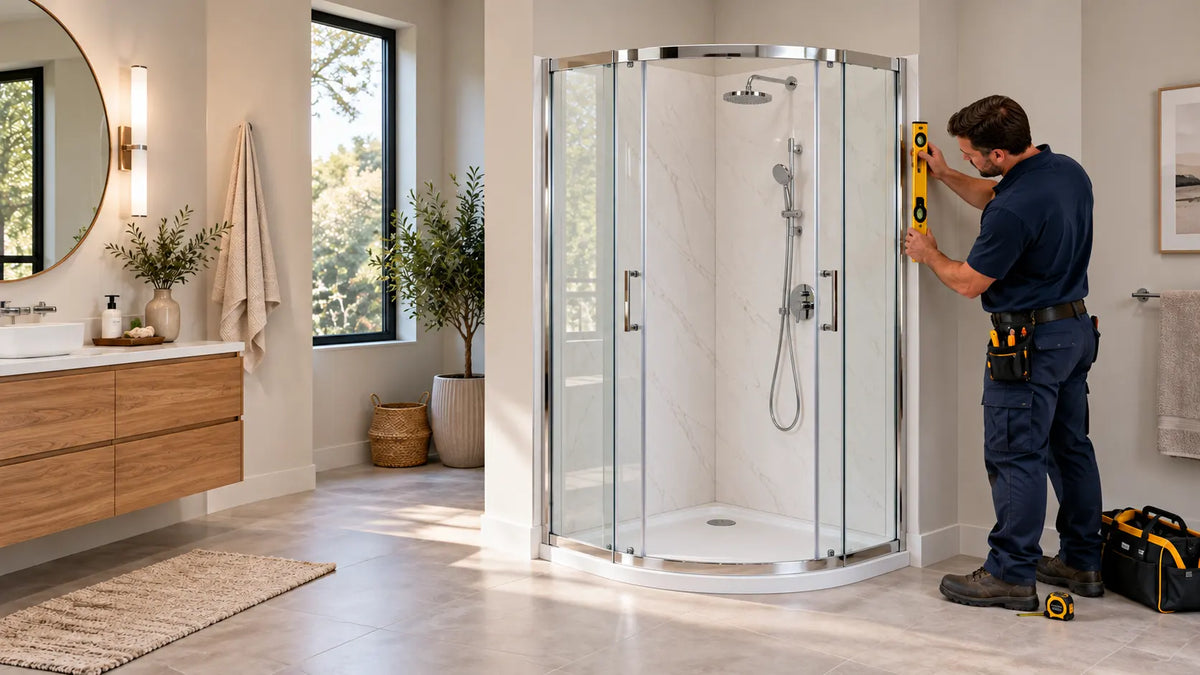
Corner Shower Kit Sizes: What Fits Your Bathroom
Measuring a bathroom for a corner shower kit feels simple until you're standing there with a tape measure and three different numbers. Is it 36 by 36 or 38 by 38? Will the door swing into the toilet? Will the whole thing even fit through the hallway? Pick wrong, and you're returning a box the size of a refrigerator.
The good news is that corner shower kit sizes follow a few predictable patterns. Once you know them, matching one to your space takes about twenty minutes. This guide covers the standard footprints, how to measure for them, how materials compare, and what to check before you buy, whether you're remodeling a main bath or finishing a basement.
At a Glance
-
Common sizes: Most corner shower kit footprints run from 32 x 32 to 42 x 42 inches. The 36 x 36 and 38 x 38 sizes fit the widest range of bathrooms.
-
Measure first: Measure finished wall to finished wall at three heights, and mark the drain location before you pick a size.
-
Check codes and clearance: Many areas require at least 30 x 30 inches of finished interior, plus room for the door to swing or slide.
Why Corner Shower Kit Sizes Matter Before You Buy
A corner shower stall fits where two walls meet, which is why it's the go-to layout for small and mid-size bathrooms. But "fits" depends on a handful of numbers: the footprint, the ceiling height, the drain location, and the clearance you need for the door.
Kits are sold by footprint, written as width by depth. Here's the usual range:
-
32 x 32 inches: Tight, but workable for guest baths and basements.
-
36 x 36 inches: The most popular size, comfortable for most adults.
-
38 x 38 inches: A bit more elbow room, and a common size for a neo angle shower.
-
42 x 42 inches and up: Roomy, as long as you have the floor space.
Some kits ship as a one-piece corner shower unit. It goes up fast, but it has to make it through your doorway and around hallway turns. Multi-piece kits are easier to carry in, and shower surround installation is simpler when you can work one panel at a time.
Codes matter here, too. Many areas require at least 30 by 30 inches of finished interior space, and some set a minimum of 900 to 1,024 square inches of floor area. Call your local building department before ordering, because a size that passes in one town can fail inspection in the next.
Measure at floor, waist, and shoulder height, since older homes rarely have square corners, and go with the smallest number. Shower wall installation is much easier when the kit isn't being forced into a tight space. Also note where the drain rough-in sits. A corner shower base has to line up with that drain, or you'll be cutting into the subfloor to move it. Fixture retailers like Dreamwerks list shower kits and bases by footprint, so it's easy to match a size to your measurements before you commit.
How to Install Corner Shower Kit Pieces: Step by Step
Whichever size you pick, the order of work stays the same. Most shower kit installation comes down to a solid substrate, a level base, dry-fitted walls, and good sealant. Plumbing changes are the one part many DIYers hand off to a licensed plumber.
-
Prep the substrate. Strip back to the studs or sound cement board and confirm the framing is plumb. Studs should sit 16 inches on center, and you'll want blocking wherever grab bars or door hardware will land. Add a moisture barrier if your kit manufacturer calls for one.
-
Set the base. Shower pan installation starts with a dry fit. Check that the corner shower base lines up with the drain, bed it in mortar or follow the manufacturer's directions, and confirm it's dead level before anything else goes up.
-
Dry fit the walls. Shower wall panels usually come in two or three pieces that overlap at the corner seam. Test the fit, mark the plumbing cutouts, and trim any overhang with a fine-tooth blade.
-
Bond and seal. Apply the adhesive the manufacturer specifies, press the panels into place, and run a continuous bead of 100 percent silicone at every seam and along the base. Skip painter's caulk. Large panels flex, so a helper makes this step much easier.
-
Add the door and hardware. A corner shower door goes on last, usually onto a metal track or frame screwed into solid backing. Follow the door maker's sealing instructions, since where you caulk affects how water drains.
-
Cure and test. Give the sealant at least 24 hours before the first shower. Then run water and check the seams, drain, and supply valves for drips.
If you're still wondering how to install corner shower kit hardware without hiring a crew, the answer is that it's a solid weekend project when the base is level, and the walls are plumb. A surround forgives small mistakes, but it won't forgive a base that's out of level.
Corner Shower Kit Materials and Layouts Compared
|
Material |
Common Sizes |
Pros |
Cons |
Best For |
|
Acrylic |
32 x 32 to 42 x 42 |
Warm underfoot, glossy, lightweight |
Can flex without proper support |
Most remodels |
|
Fiberglass |
32 x 32 to 38 x 38 |
Lowest price, easy to repair |
Surface dulls over time |
Rentals, tight budgets |
|
Solid surface |
36 x 36 to 42 x 42 |
Dense, stain resistant |
Heavy, higher price |
Long-term primary baths |
|
Tile on prefab base |
Custom |
Fully custom look |
More labor, extra waterproofing |
Design-driven remodels |
An acrylic shower kit is the sweet spot for most remodels. The surface is warm, light enough for one person to carry, and easy to keep clean. Fiberglass costs less, and a one-piece fiberglass corner shower unit is the cheapest way in, but it dulls sooner. Solid surface shower wall panels and tile on a prefab base add cost and labor, so they make sense when you're designing around a specific look, like tiled backsplashes or a custom niche.
Layout is the other decision. A square corner kit is the simplest and least expensive. A neo angle shower clips the corner with a diagonal front, which opens up the room and makes a corner shower enclosure feel less boxy. It needs a bit more floor space, though, and the glass costs more. Rounded fronts need the most room of all.
Buying Guide: Picking the Right Size and Style
-
Match the footprint to the room. Leave at least 24 inches in front of the opening so the door isn't fighting a toilet or vanity. Measure the room first, then pick the kit.
-
Choose the right door style. A hinged corner shower door needs swing clearance, while sliders suit tight bathrooms. Frameless glass makes a corner shower enclosure look larger, though framed doors cost less and forgive uneven walls.
-
Look at the surround finish. A corner shower surround with molded shelves and backsplash ledges saves you from framing and waterproofing a niche later. On an acrylic shower kit, a lightly textured finish hides water spots better than high gloss.
-
Plan for the basement. A basement shower kit often means cutting into the slab to move or add a drain, or using an up-flush system if you're below the sewer line. Shower pan installation on a slab also goes better when the floor is flat, so grind high spots first. Confirm drain location and venting before you buy any basement shower kit.
-
Read the instructions before you buy. Review the manufacturer's shower kit installation guide first, since some corner shower surround designs call for a specific adhesive or backing.
Frequently Asked Questions
What is the most common corner shower kit size?
The most common corner shower kit size is 36 by 36 inches. It gives most adults enough room to turn and wash comfortably, fits in many bathrooms, and is widely available in multiple styles and finishes.
What is the smallest corner shower kit that meets code?
Many codes require at least 30 by 30 inches of finished interior space, and some require 900 to 1,024 square inches of floor area. A 32-by-32-inch kit often passes, but confirm with your local building department.
Can I put a corner shower kit in a bathroom corner that isn't square?
Slightly out-of-square walls can usually be handled with shims and flexible sealant, but larger gaps call for reframing or a different size. Measure at several heights to see how far off your corner really is.
How long does it take to install a corner shower kit?
Most DIYers need a full weekend: one day for prep, base, and walls, and a second for the door and sealing. Add 24 hours of cure time before the first shower, and extra days if plumbing changes are needed.
Final Thoughts
Getting corner shower kit sizes right comes down to measuring twice, checking local code, and matching the footprint to your drain and door clearance. A well-sized corner shower stall feels bigger than its footprint, and a careful install keeps it leak-free for years. When you're ready to compare sizes and styles, Dreamwerks has shower kits, doors, and bases worth a look alongside the rest of your bathroom lineup.


