
Let's be honest - a leaky shower is one of the most frustrating things to deal with at home. You spend a weekend putting everything together, turn on the water, and then notice a slow drip behind the wall or under the base a few days later. The good news? If you plan things right from the start, you can completely avoid that nightmare. Whether you're doing a full bathroom remodel or just upgrading an old setup, knowing how to install a shower kit the right way makes all the difference.
This guide walks you through the whole process in plain language - no confusing jargon, no skipping the important parts. By the end, you'll know exactly what to do and what to watch out for.
Why Picking the Right Shower Kit Matters Before You Even Start
A lot of people jump straight into installation without thinking much about which product they're working with. But the type of kit you choose has a big impact on how smooth the process goes. There are complete shower kits that come with everything bundled together - walls, a base, a door or curtain rod, and sometimes even the fixtures. These are great if you want a straightforward setup with fewer decisions to make along the way.
If your bathroom has an angled wall or a tight space in one corner, corner shower kits are worth a close look. They're designed specifically to fit into corners and save floor space, which is a big deal in smaller bathrooms. They also tend to look clean and modern, so you're not sacrificing style for function.
Before buying anything, measure your bathroom carefully. Note the width, depth, and ceiling height of the space you're working with. Also check your current plumbing setup - where the drain is, where the water supply lines come in, and whether there's a wall stud where you'll need to anchor things.
Tools and Materials You'll Need
Getting everything together before you start saves a ton of back-and-forth. Here's what most shower kit installations require:
• Drill and drill bits
• Level (a long one works best)
• Utility knife
• Tape measure
• Screwdriver set
• Caulk gun
• Silicone caulk (100% waterproof)
• Mortar mix or foam base support (if needed)
• Plumber's putty or plumber's tape
• Safety glasses and gloves
You might also want a rubber mallet for tapping pieces into place without cracking them. And always keep a bucket and some old towels nearby - plumbing work tends to get a little messy.
Step 1: Prep the Space and Remove the Old Setup
If you're replacing an existing shower, turn off the water supply first. Then remove the old fixtures, walls, and base. Check the subfloor underneath - if there are any soft spots, water damage, or rot, you'll want to fix that before going any further. Trying to install a shower base over a damaged subfloor is a recipe for future problems.
Once the old stuff is out, give the walls and floor a good look. Make sure the framing is solid and the walls are plumb (straight up and down). If anything is off by more than a quarter inch, it can cause your panels to sit unevenly, which creates gaps where water can sneak through.
Step 2: Install Shower Base - This Is the Most Important Step
Here's the truth: most leaks come from a poorly installed base, not from the walls or fixtures. That's why we're dedicating a full section to this one step. To properly install a shower base, you need to make sure it's perfectly level. A base that's even slightly off can cause water to pool and eventually find its way through small gaps.
Connect the Drain First
Position the base over the drain opening and connect the drain assembly before you set anything permanently. Apply plumber's putty around the drain flange, press it into place, and tighten the drain body from underneath. Some modern bases use a snap-in drain that's easier to work with - check your kit's instructions for the exact method.
Level the Base and Secure It
Once the drain is connected, set the base in place and use your level to check it in multiple directions. Most shower kits come with adjustable legs or suggest using a mortar bed underneath for support. If you skip the mortar bed on an acrylic or fiberglass base, it can flex when you step on it, eventually cracking the seal around the drain.
Apply a bead of silicone caulk where the base meets the wall studs and along the back edge of the base. Press the base down firmly and let the caulk cure before you move on. Don't rush this - 24 hours minimum, 48 is better.
Step 3: Put Up the Wall Panels
Now comes the part most people actually think of when they picture shower kit installation. Most kits include three or four wall panels that interlock or overlap at the seams. Before you stick anything to the wall, do a dry fit - hold each panel in place without adhesive to confirm everything lines up with your plumbing cutouts and the base.
Mark where your showerhead and faucet handles will poke through the wall, then cut those holes before applying adhesive. A hole saw works great for clean, round cutouts.
Apply Adhesive and Hang the Panels
Use the adhesive recommended by your kit's manufacturer - not all adhesives work well with acrylic or fiberglass surfaces. Apply it in vertical strips on the back of the panel, press it to the wall, and hold or brace it in place while it grabs. Start with the back wall, then move to the sides. Make sure each panel is plumb before it sets.
After all panels are up, seal every seam with silicone caulk. Don't use grout here - it's not flexible enough and will crack over time. Focus especially on the corners and the joint where the walls meet the base. Those are the spots most likely to let in water if they're not properly sealed.
Step 4: Hook Up the Fixtures and Showerhead
With the walls up and cured, it's time to connect the plumbing fixtures. This is where things vary a bit depending on whether your kit includes fixtures or you're installing them separately. If you bought one of the shower kits that came with faucet hardware, follow the included instructions carefully - every brand does it a little differently.
Wrap plumber's tape (Teflon tape) around all threaded connections. It only takes a minute and prevents the tiny, slow leaks that are a pain to track down later. Hand-tighten first, then snug it up with a wrench. Don't over-tighten - especially on plastic fittings, which crack more easily than they look.
Connect the showerhead arm to the supply line stub-out in the wall, then attach the showerhead itself. Test for leaks before you close up the wall or move on to the enclosure.
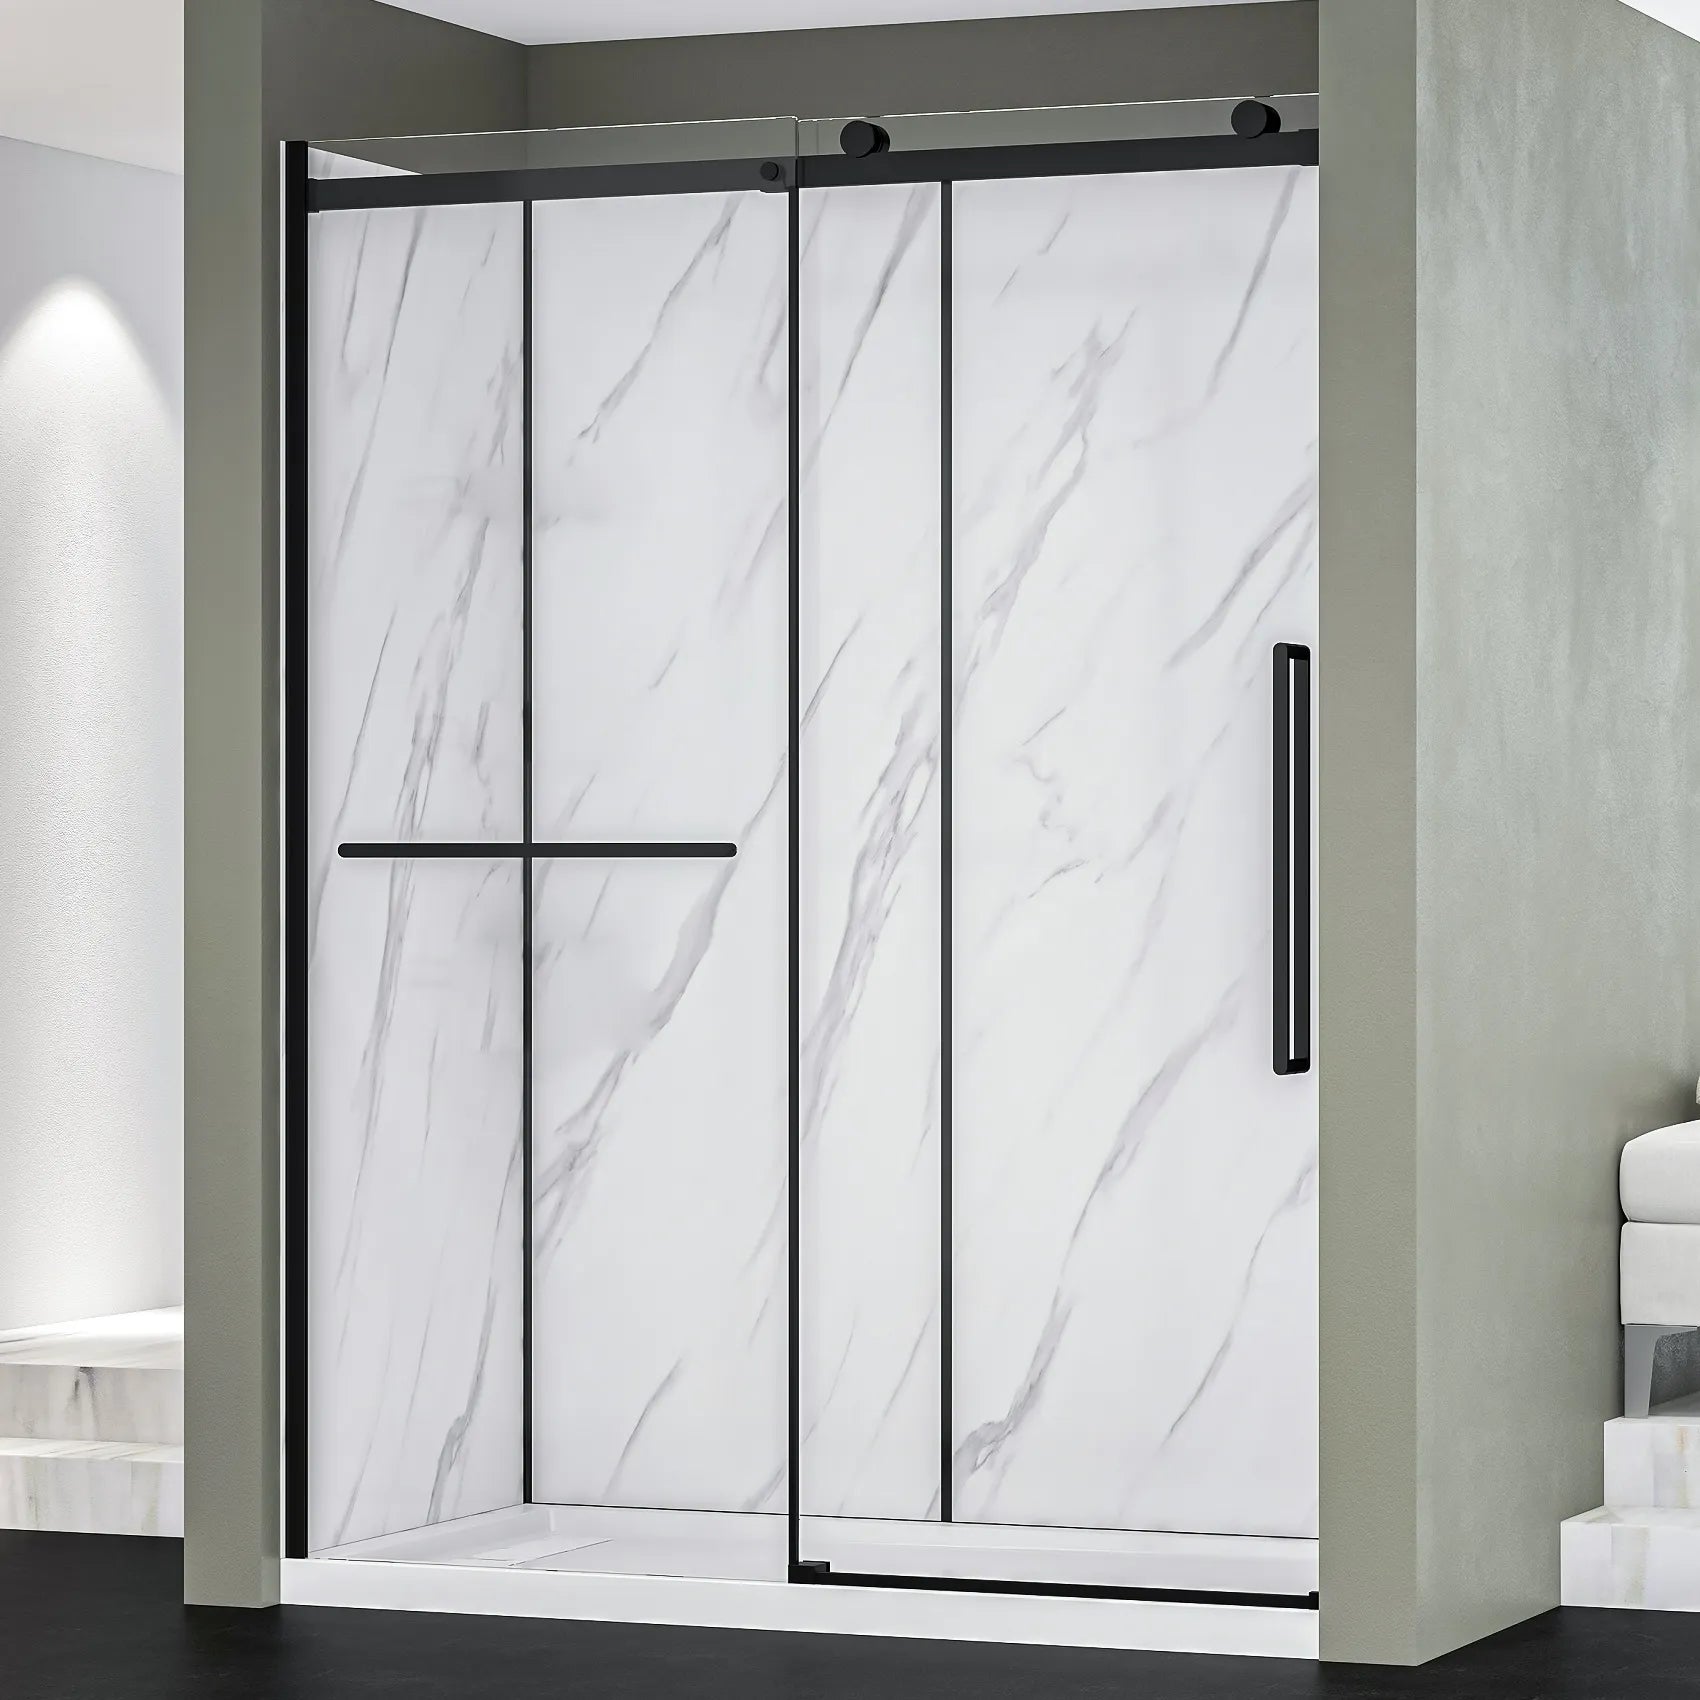
Step 5: Install the Shower Enclosure or Door
If your kit includes a shower enclosure kit, now's the time to install it. Most sliding door systems come with a top and bottom track, side jambs, and the door panels themselves. Attach the bottom track to the base first - it usually screws directly into the base or floor. Then set the vertical jambs against the wall, making sure they're plumb. Attach the top track last.
Slide the door panels into the tracks and test them - they should glide smoothly with no wobble. Seal around the bottom of the jambs with silicone caulk to prevent water from getting under the track and sitting on the floor.
FAQ: How to Install a Shower Kit Without Hidden Leaks
What's the most common reason shower kits leak?
Most leaks happen because the base wasn't properly leveled, or because corners and seams weren't caulked well enough. Even a tiny gap in a corner joint can let water in over time, especially with daily use. Always use 100% silicone caulk (not latex) and give it at least 24 hours to fully cure before running water.
Do I need a plumber to install a shower kit?
Not necessarily. If you're replacing an existing shower with a similar setup and the plumbing is already in place, most handy homeowners can handle the whole project themselves. However, if you're moving drain locations, adding new water supply lines, or dealing with a complicated existing setup, it's worth calling a licensed plumber for at least that portion of the work.
Are corner shower kits harder to install than standard ones?
Corner shower kits are actually pretty similar in difficulty to standard setups. The main difference is that you're working with two walls instead of three, and you need to make sure both walls meet at a clean 90-degree angle. If your walls are slightly off, the kit may not fit flush, which can create gaps. It's a good idea to check the angle with a square before you start.
What type of caulk should I use for shower installation?
Always use 100% silicone caulk for shower applications. It stays flexible, doesn't crack with normal movement, and is highly resistant to water and mold. Avoid acrylic or latex caulk in wet areas - it breaks down faster and won't hold up the way silicone does. Look for a product labeled 'kitchen and bath' or 'mold resistant' for the best results.
How long does a shower kit installation take?
For someone doing it for the first time, plan on a full weekend - one day for demo and prep, and one day for the actual installation. A lot of that time is waiting for caulk and adhesive to cure. If you try to rush those drying times, you're asking for trouble. Experienced DIYers who know how to install shower systems can sometimes knock out the whole thing in a single day, but it's better to give yourself more time than you think you'll need.
Can I use any shower kit in a small bathroom?
Size matters a lot here. Standard shower kits come in common sizes like 32x32, 36x36, and 36x48 inches. Measure your space carefully and pick a kit that fits with a little room to spare - you don't want to be cutting panels or forcing things to fit. If space is really tight, corner shower kits are often your best bet since they tuck neatly into a corner and maximize the usable floor area.
A Few Final Tips Before You Wrap Up
Once everything is installed, do a full leak test before you tile or close up any walls. Run the shower for a good 10–15 minutes and check every connection - behind the wall where you can see, under the base, and around the drain. Use a flashlight. Even a slow drip can cause major water damage over months of daily use.
Also, keep in mind that learning how to install shower systems properly is a skill that pays off for life. Once you've done one installation, the next one goes much faster and with a lot more confidence. Take photos as you go - not just for reference if something goes wrong, but because it's genuinely satisfying to look back at the before and after.
Take your time on the base and sealing steps. Be patient with cure times. Follow the manufacturer's instructions for your specific kit, since details vary between brands. And don't hesitate to watch a few installation videos for your exact model before you start - seeing it done once in real time is worth more than reading ten paragraphs about it.
You've Got This
Installing a shower yourself is one of those home improvement projects that feels really intimidating until you're actually doing it. With the right prep work and a little patience, most homeowners can pull it off without hiring anyone. The secret to a leak-free result isn't anything complicated - it's just doing each step carefully and not cutting corners on the sealing and leveling.
Whether you went with a simple three-wall kit or one of the fancier complete shower kits with a built-in seat and niche, the process is the same at its core. Plan well, measure twice, seal everything properly, and you'll have a shower that stays dry where it's supposed to stay dry - and keeps water where it belongs.