
Let’s be honest — your shower should be your happy place. That quiet little corner where you start your day fresh or unwind after work. But when your shower kits start giving you trouble — leaks, loose panels, low pressure, or mold — that peaceful vibe turns into frustration.
Don’t worry, though! Most complete shower kits' issues are easy to fix if you know what’s causing them. So today, we’re diving into the most common shower kit problems and how to tackle them like a pro (without calling one).
Understanding Your Shower Kit Setup
Before we get into problems, let’s make sure we understand what a shower kit actually is.
A shower kit is basically a ready-made package that includes:
-
Shower base or tray
-
Wall panels
-
Doors or enclosure (glass or acrylic)
-
Fixtures like showerheads, handles, and drains
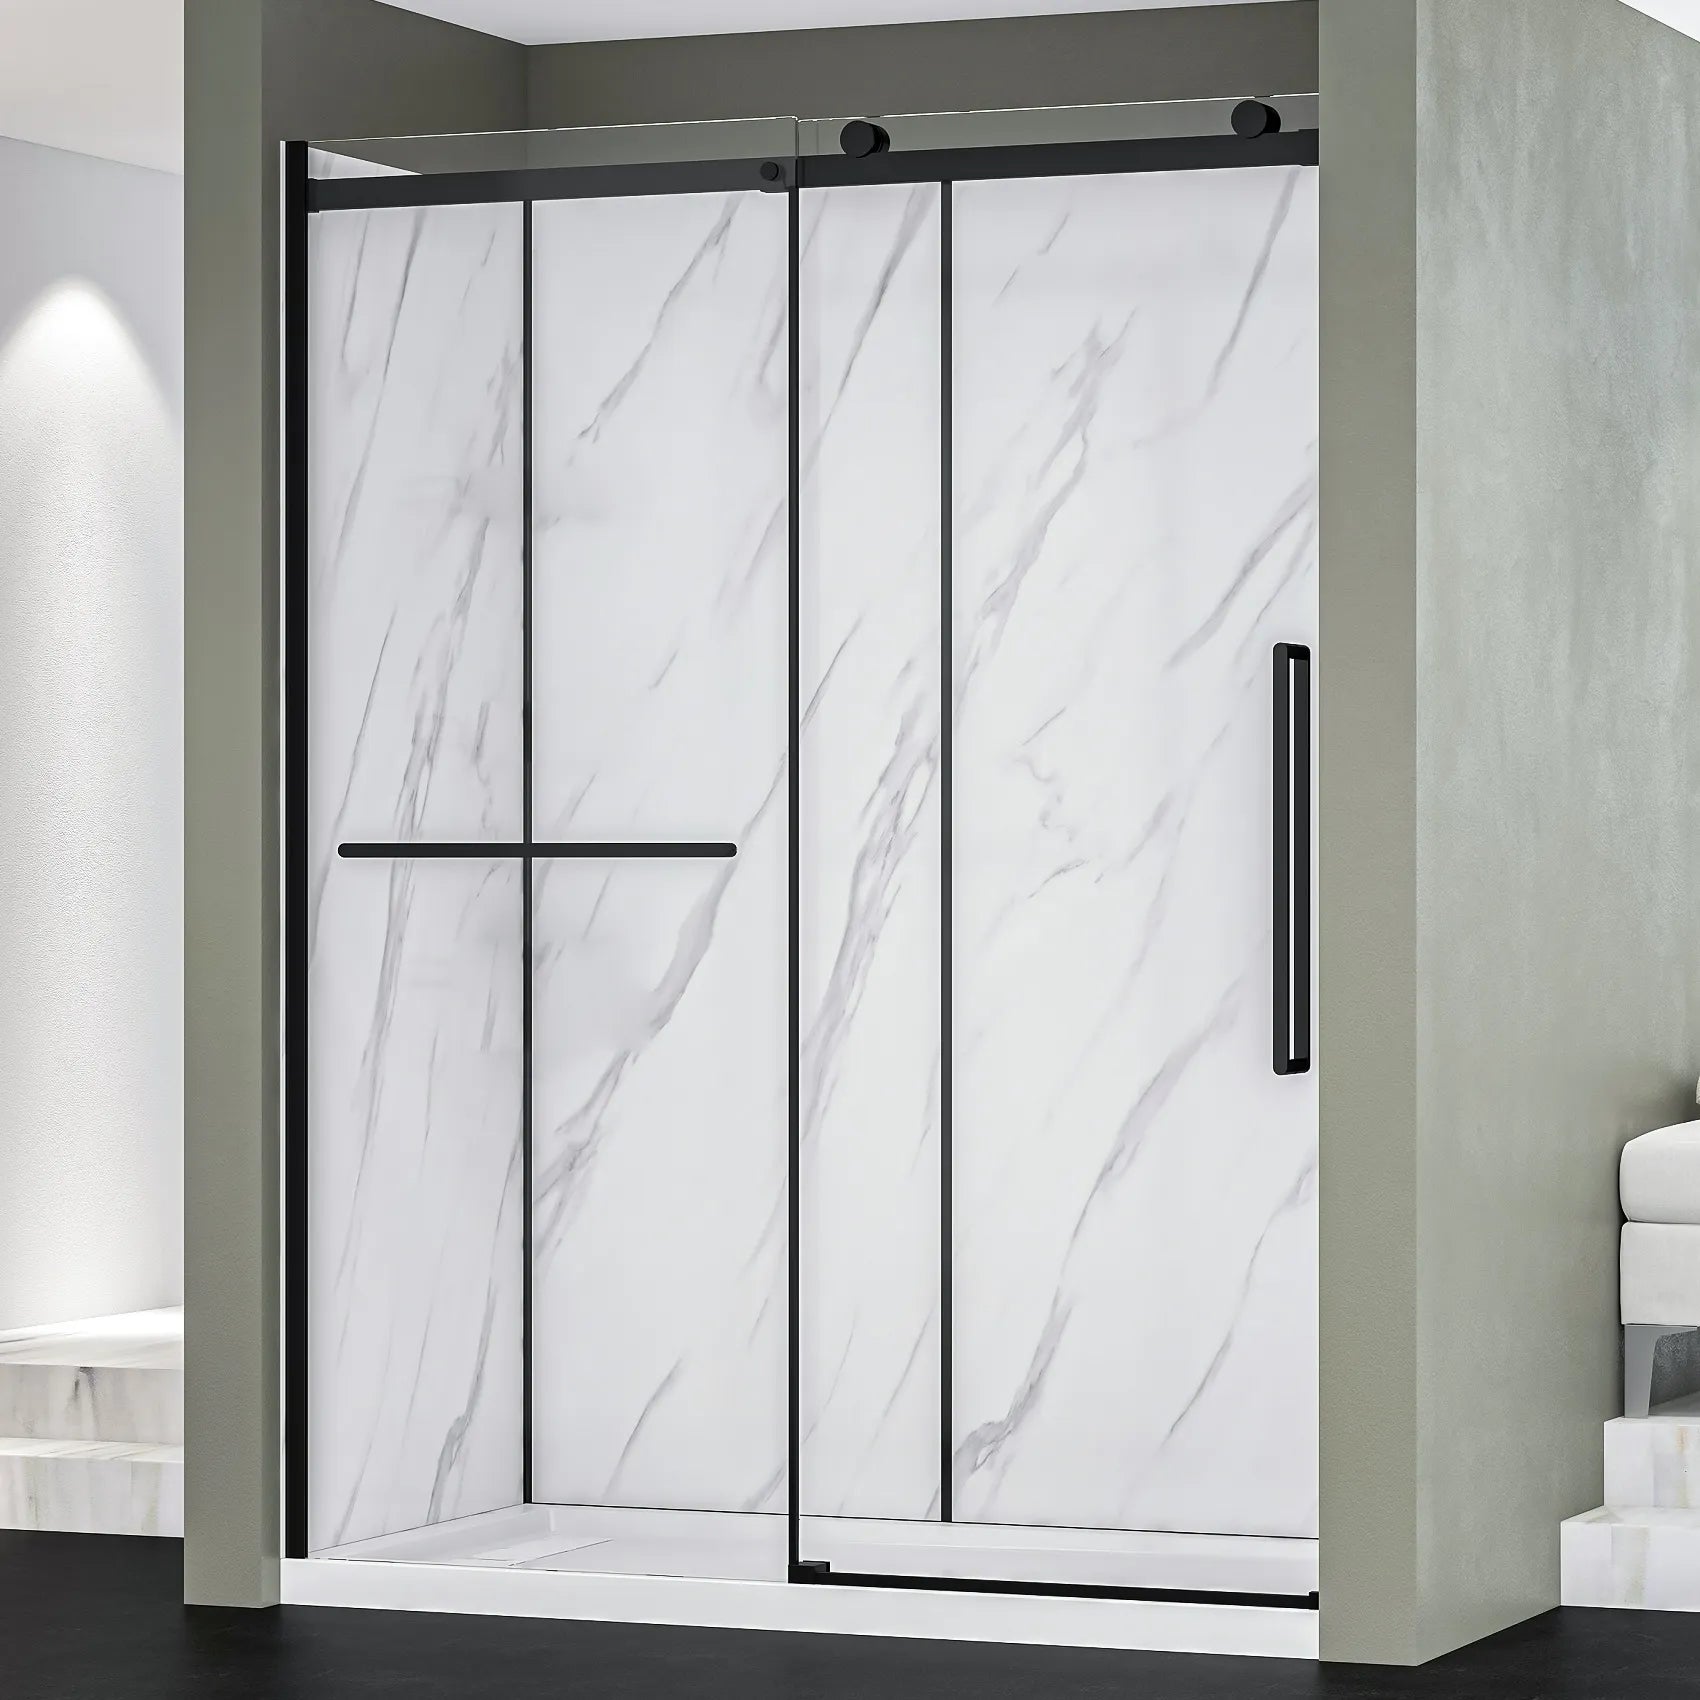
These shower enclosure kits are super popular because they’re easy to install, come in different sizes, and make bathroom remodeling quick and budget-friendly. Plus, luxury shower enclosures now combine style with performance — giving your bathroom a spa-like feel.
But even the best affordable shower kits can run into problems over time. Let’s look at them one by one.
1. Water Leaks Around the Edges
One of the most common and annoying issues with shower kits is leakage — especially around the base or where panels meet.
Why does it happen:
-
The sealant (caulk) around the edges wears out.
-
Panels or doors aren’t aligned properly.
-
The drain gasket is loose or damaged.
How to fix it:
-
Remove the old sealant using a plastic scraper.
-
Clean the area and dry it completely.
-
Apply a fresh line of high-quality waterproof silicone sealant.
-
Check the alignment of panels and doors — they should close snugly.
Pro Tip: Always give the sealant 24 hours to cure before using your shower again.
2. Mold and Mildew Build-Up
Mold and mildew love moisture — and your shower kit is their favorite place to live.
Why does it happen:
-
Poor ventilation in your bathroom.
-
Water is sitting in corners or crevices.
-
Using non-mold-resistant sealant.
How to fix it:
-
Combine equal amounts of white vinegar and water in a spray bottle.
-
Spray affected areas and let it sit for 15 minutes.
-
Scrub gently with a soft brush or sponge.
-
Wipe dry and apply a mold-resistant sealant if needed.
Prevention tip:
Keep a small squeegee in your bathroom — after every shower, quickly wipe down the walls and doors to prevent moisture buildup.
3. Low Water Pressure
When your shower goes from a relaxing rainfall to a sad drizzle, it’s time to check a few things.
Possible causes:
-
Mineral buildup in the showerhead.
-
Kinks or clogs in the water line.
-
Faulty pressure valve.
How to fix it:
-
Unscrew your showerhead and soak it in vinegar overnight to remove mineral deposits.
-
Flush out any debris from the pipe.
-
If the issue persists, call a plumber to inspect your water pressure regulator.
This quick DIY trick often restores the refreshing flow of your complete shower kit setup.
4. Cracked or Loose Shower Panels
Panels make up the visual appeal of your luxury shower enclosure, but they can crack or loosen over time.
Why does it happen:
-
Age and wear-and-tear.
-
Improper installation or poor adhesive.
-
Sudden temperature changes cause expansion and contraction.
How to fix it:
-
For minor cracks, apply clear epoxy resin to seal them.
-
For major damage, replace the affected panel entirely.
-
Always ensure panels are properly secured with waterproof adhesive.
Remember: A cracked panel isn’t just ugly — it can also cause leaks and mold behind the walls.
5. Stuck or Squeaky Shower Doors
Nothing’s more annoying than a shower door that jams or squeaks every morning.
Causes:
-
Dirt or mineral buildup in the tracks.
-
Loose rollers or hinges.
-
Misaligned frame.
How to fix it:
-
Clean the tracks thoroughly with a toothbrush and mild cleaner.
-
Tighten the screws on the hinges or rollers.
-
Lubricate the track with silicone-based lubricant.
-
Recheck alignment — doors should slide or swing smoothly.
If you’ve got one of those sleek shower enclosure kits, regular cleaning keeps your glass doors looking crystal clear and friction-free.
6. Drainage Problems
Standing water is not only gross — it can lead to mold, soap scum, and bad odors.
Causes:
-
Hair or soap buildup in the drain.
-
Poor slope on the shower base.
-
Clogged pipes.
How to fix it:
-
Use a drain snake or a mixture of baking soda and vinegar to clear clogs.
-
Check if your shower base is level — a small tilt helps water flow easily.
-
Consider installing a drain cover to prevent future blockages.
Clean drainage equals a happy shower.
7. Fading or Stained Shower Surfaces
Over time, even the most affordable shower kits can lose their shine. Soap residue, hard water, and everyday grime can dull the surface.
Quick fixes:
-
Mix baking soda with a little water to create a paste.
-
Gently scrub the surface using a soft sponge.
-
Rinse with warm water and wipe dry.
Avoid harsh chemicals or abrasive scrubbers — they’ll damage the finish.
8. Door Seal Leaks
If water leaks under your shower door, it’s likely a worn-out door seal.
What to do:
-
Remove the old seal strip.
-
Clean the door edge thoroughly.
-
Attach a new waterproof seal strip (they’re easy to find online).
It’s a quick 5-minute fix that makes a big difference in keeping your luxury shower enclosure dry and spotless.
9. Foggy or Cloudy Glass
Glass in your shower enclosure kits should sparkle, not look fogged up.
Why does it happen:
-
Hard water spots or soap scum.
-
Using the wrong cleaner.
How to fix it:
-
Spray a vinegar-water solution and let it sit for 10 minutes.
-
Wipe clean with a microfiber cloth.
-
For long-term clarity, apply a water-repellent coating every few months.
Your glass will shine like new again!
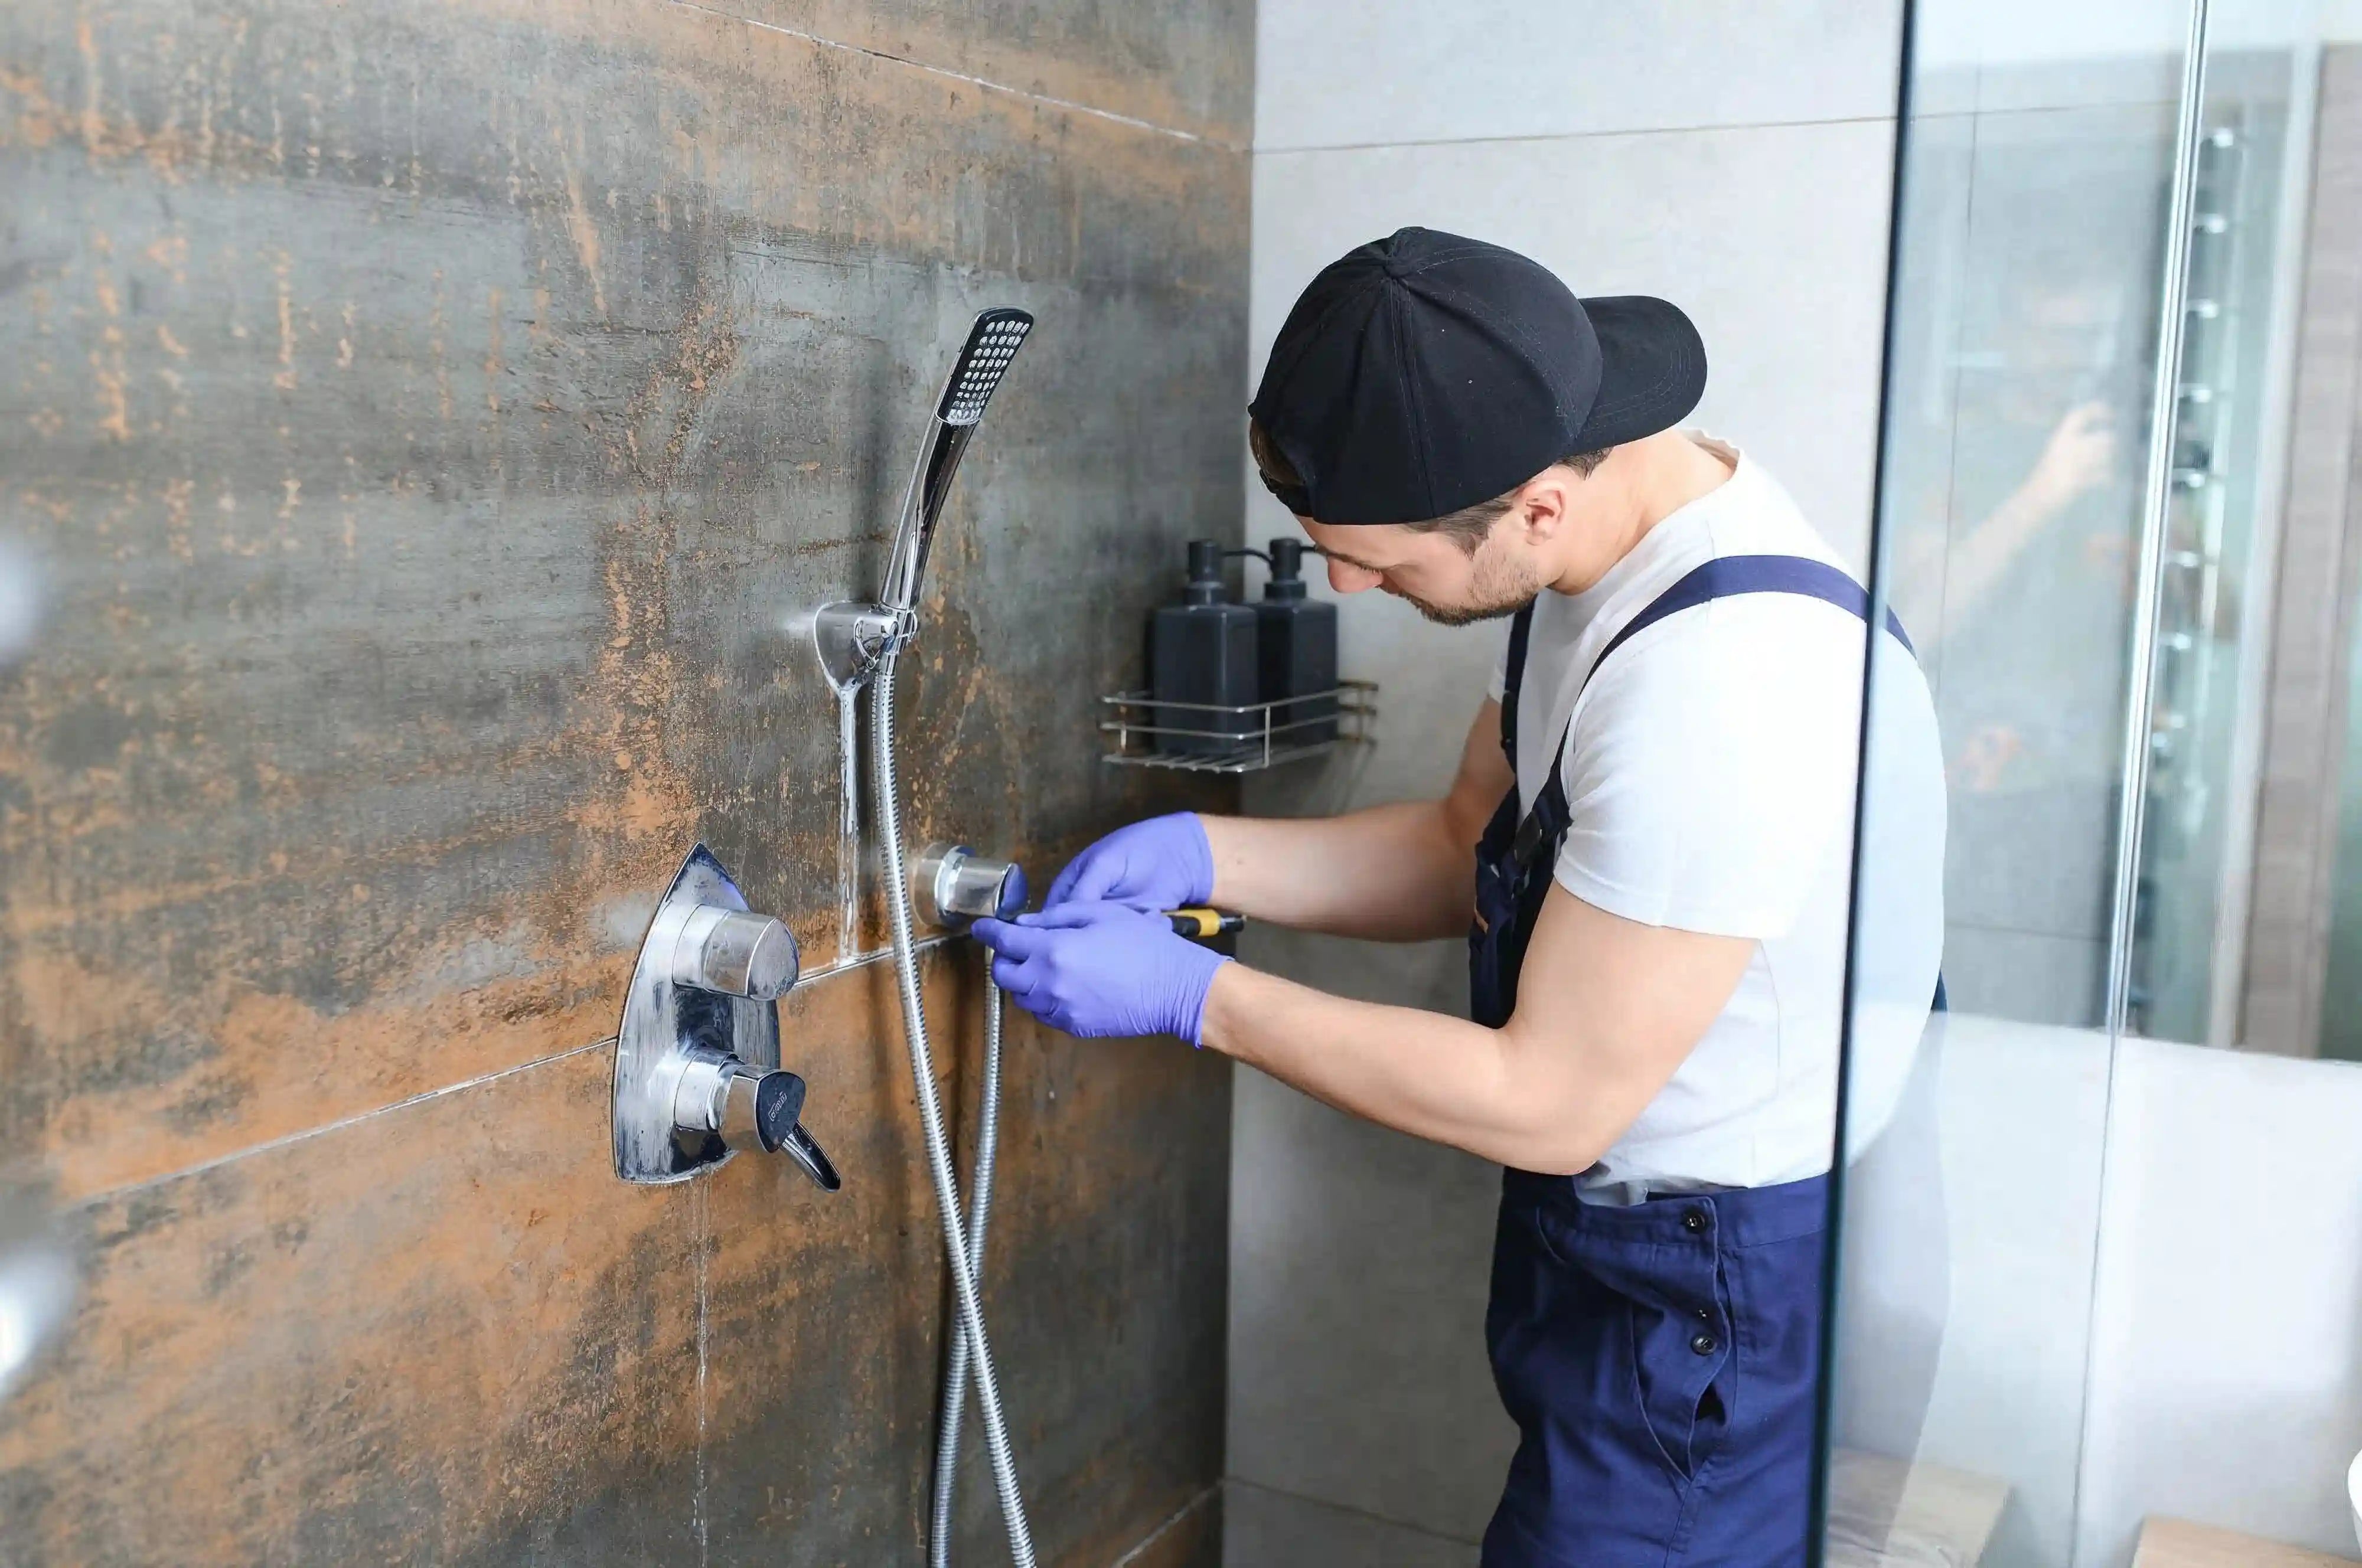
10. Loose Fixtures and Handles
If your shower handle wobbles or your showerhead feels loose — it’s a quick DIY fix.
How to fix it:
-
Tighten screws on handles and knobs.
-
Apply plumber’s tape to threads for a tighter seal.
-
If parts are rusted or corroded, replace them entirely.
Small tweaks can bring big improvements to your shower experience.
Maintenance Tips to Keep Your Shower Kit in Top Shape
To make your complete shower kit last for years, just follow a few easy habits:
-
Clean your shower weekly using gentle, non-abrasive cleaners.
-
Reseal joints and corners every 12–18 months.
-
Always ventilate your bathroom after a hot shower.
-
Check for leaks or mold signs monthly.
-
Avoid hanging heavy items on shower panels or doors.
Taking care of your shower kit now means fewer problems later — and a bathroom that always looks brand new.
FAQs About Shower Kits
1. How long do shower kits last?
With proper maintenance, a good shower kit can easily last 10–15 years or more.
2. Are complete shower kits worth it?
Yes! Complete shower kits save installation time, cost less than custom builds, and come with everything you need for a perfect setup.
3. Can I install a shower kit myself?
If you’re handy, yes. Most shower enclosure kits are designed for easy DIY installation. Just follow the instructions carefully.
4. How do I prevent mold in my shower enclosure?
Good ventilation and regular cleaning are key. Always dry surfaces after use and use mold-resistant sealant.
5. Are luxury shower enclosures expensive?
Not necessarily. There are plenty of affordable shower kits that still give a high-end, luxury look.
Final Thoughts
Shower kit issues might sound intimidating, but most are simple to fix — no need to panic or call an expert right away. Whether it’s sealing leaks, cleaning panels, or tightening fixtures, a few small tweaks can make your shower look and feel brand new again.
At the end of the day, your bathroom deserves care just like any other part of your home. A well-maintained luxury shower enclosure not only looks stunning but also lasts for years without trouble.
Ready to upgrade your bathroom or fix what’s not working? Explore premium, durable, and affordable shower kits at Dreamwerks — where quality meets modern design.


